Ghost Write Emboss
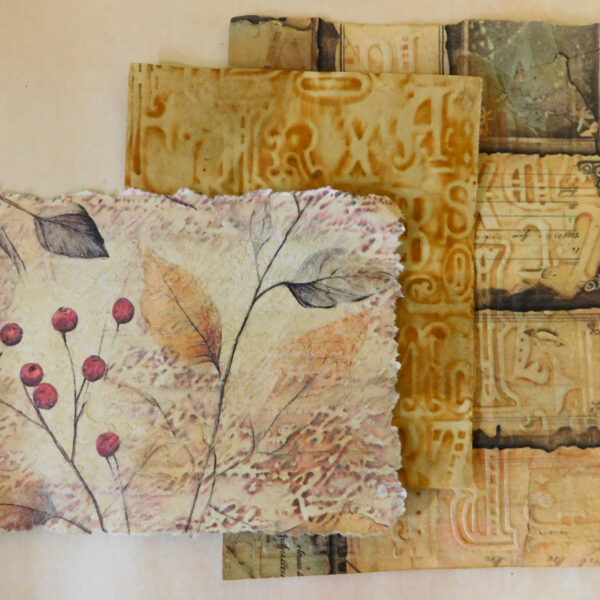
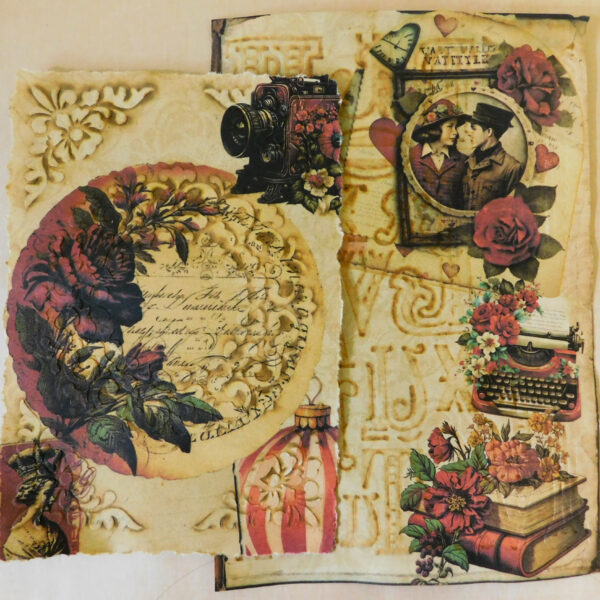
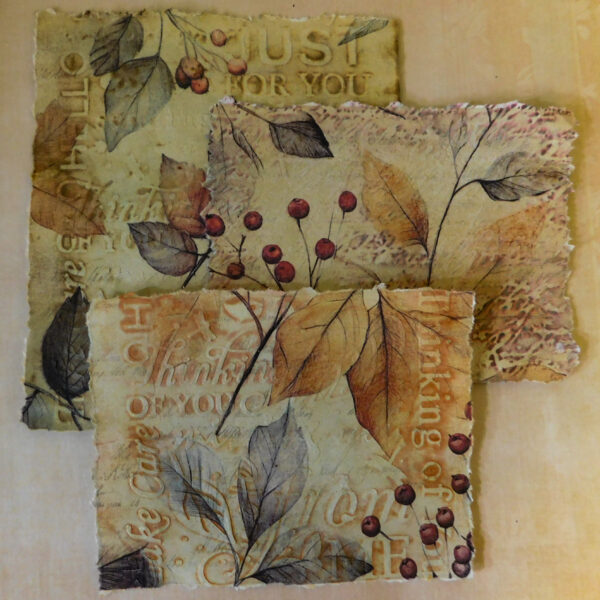
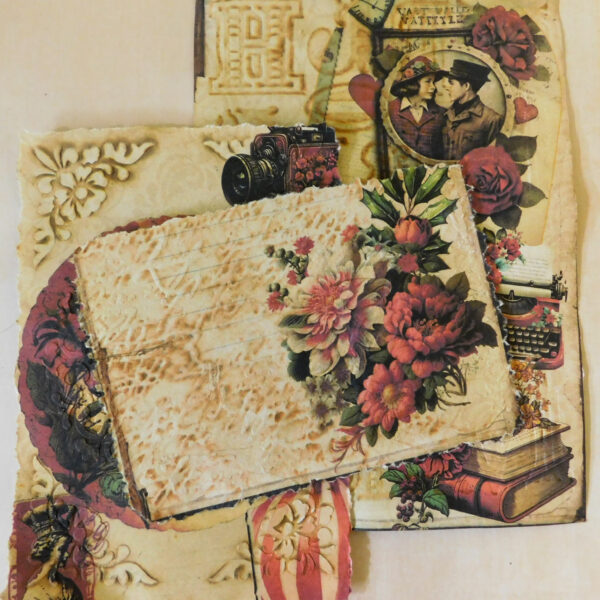
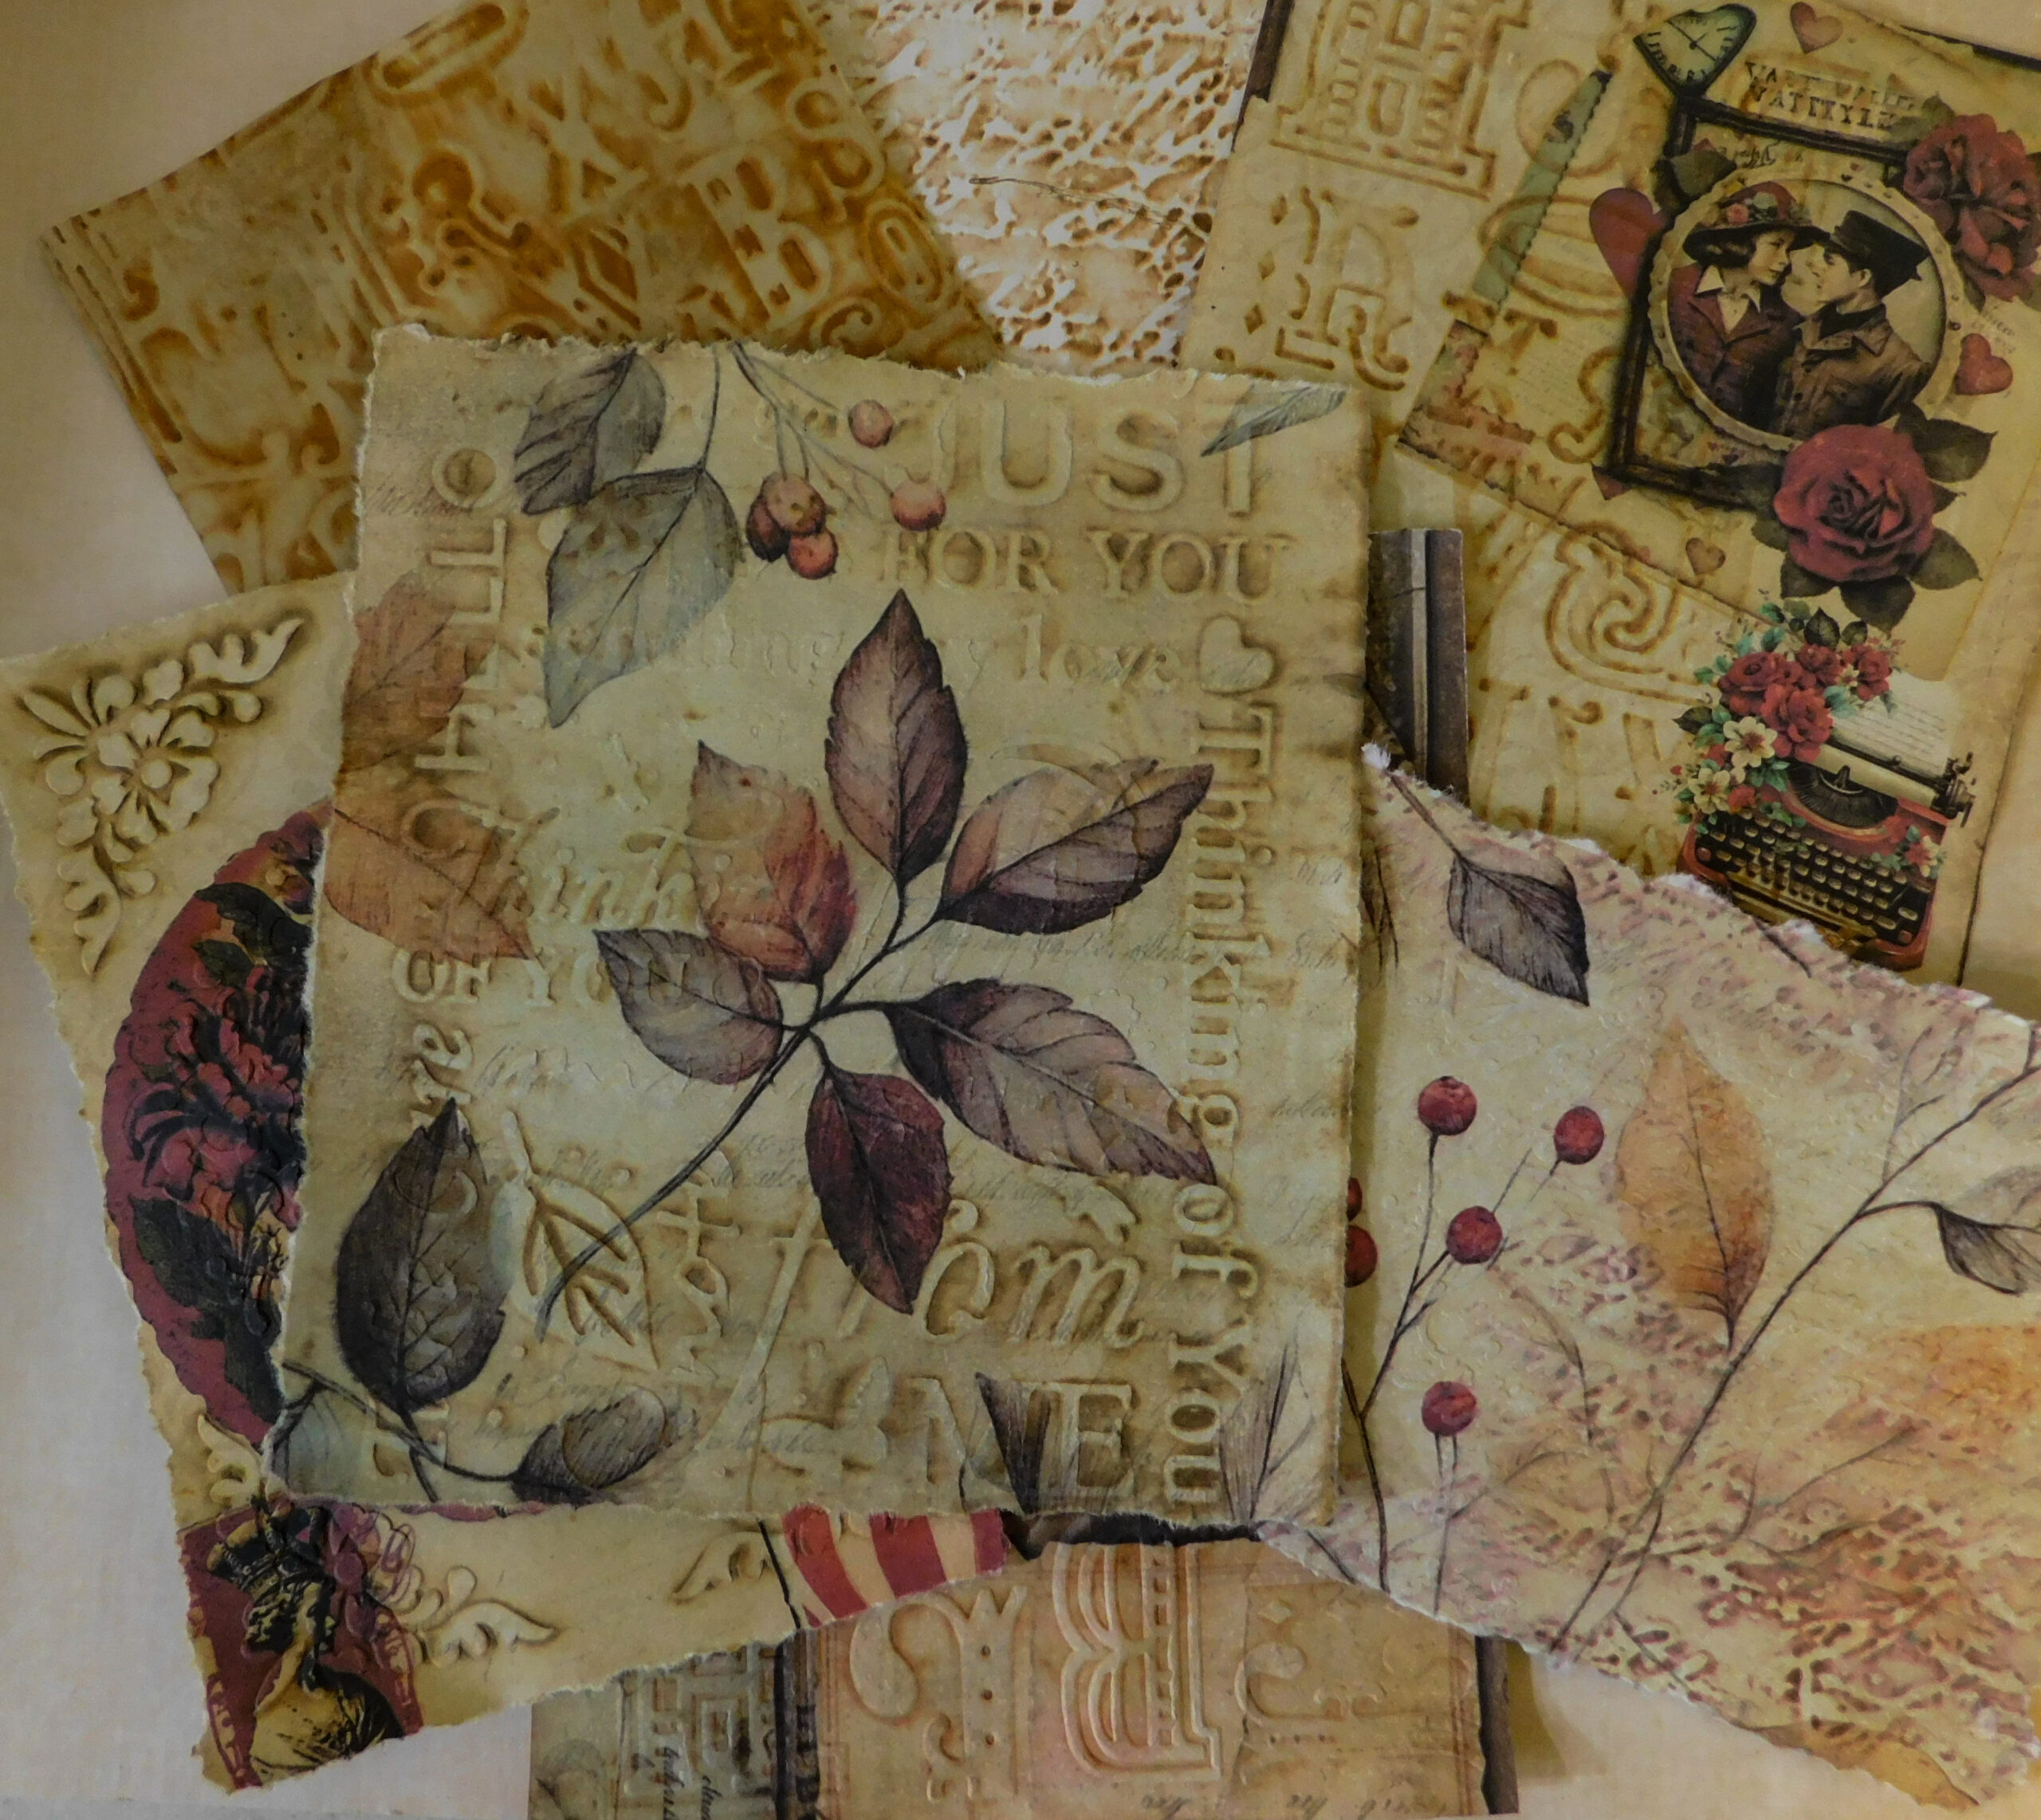
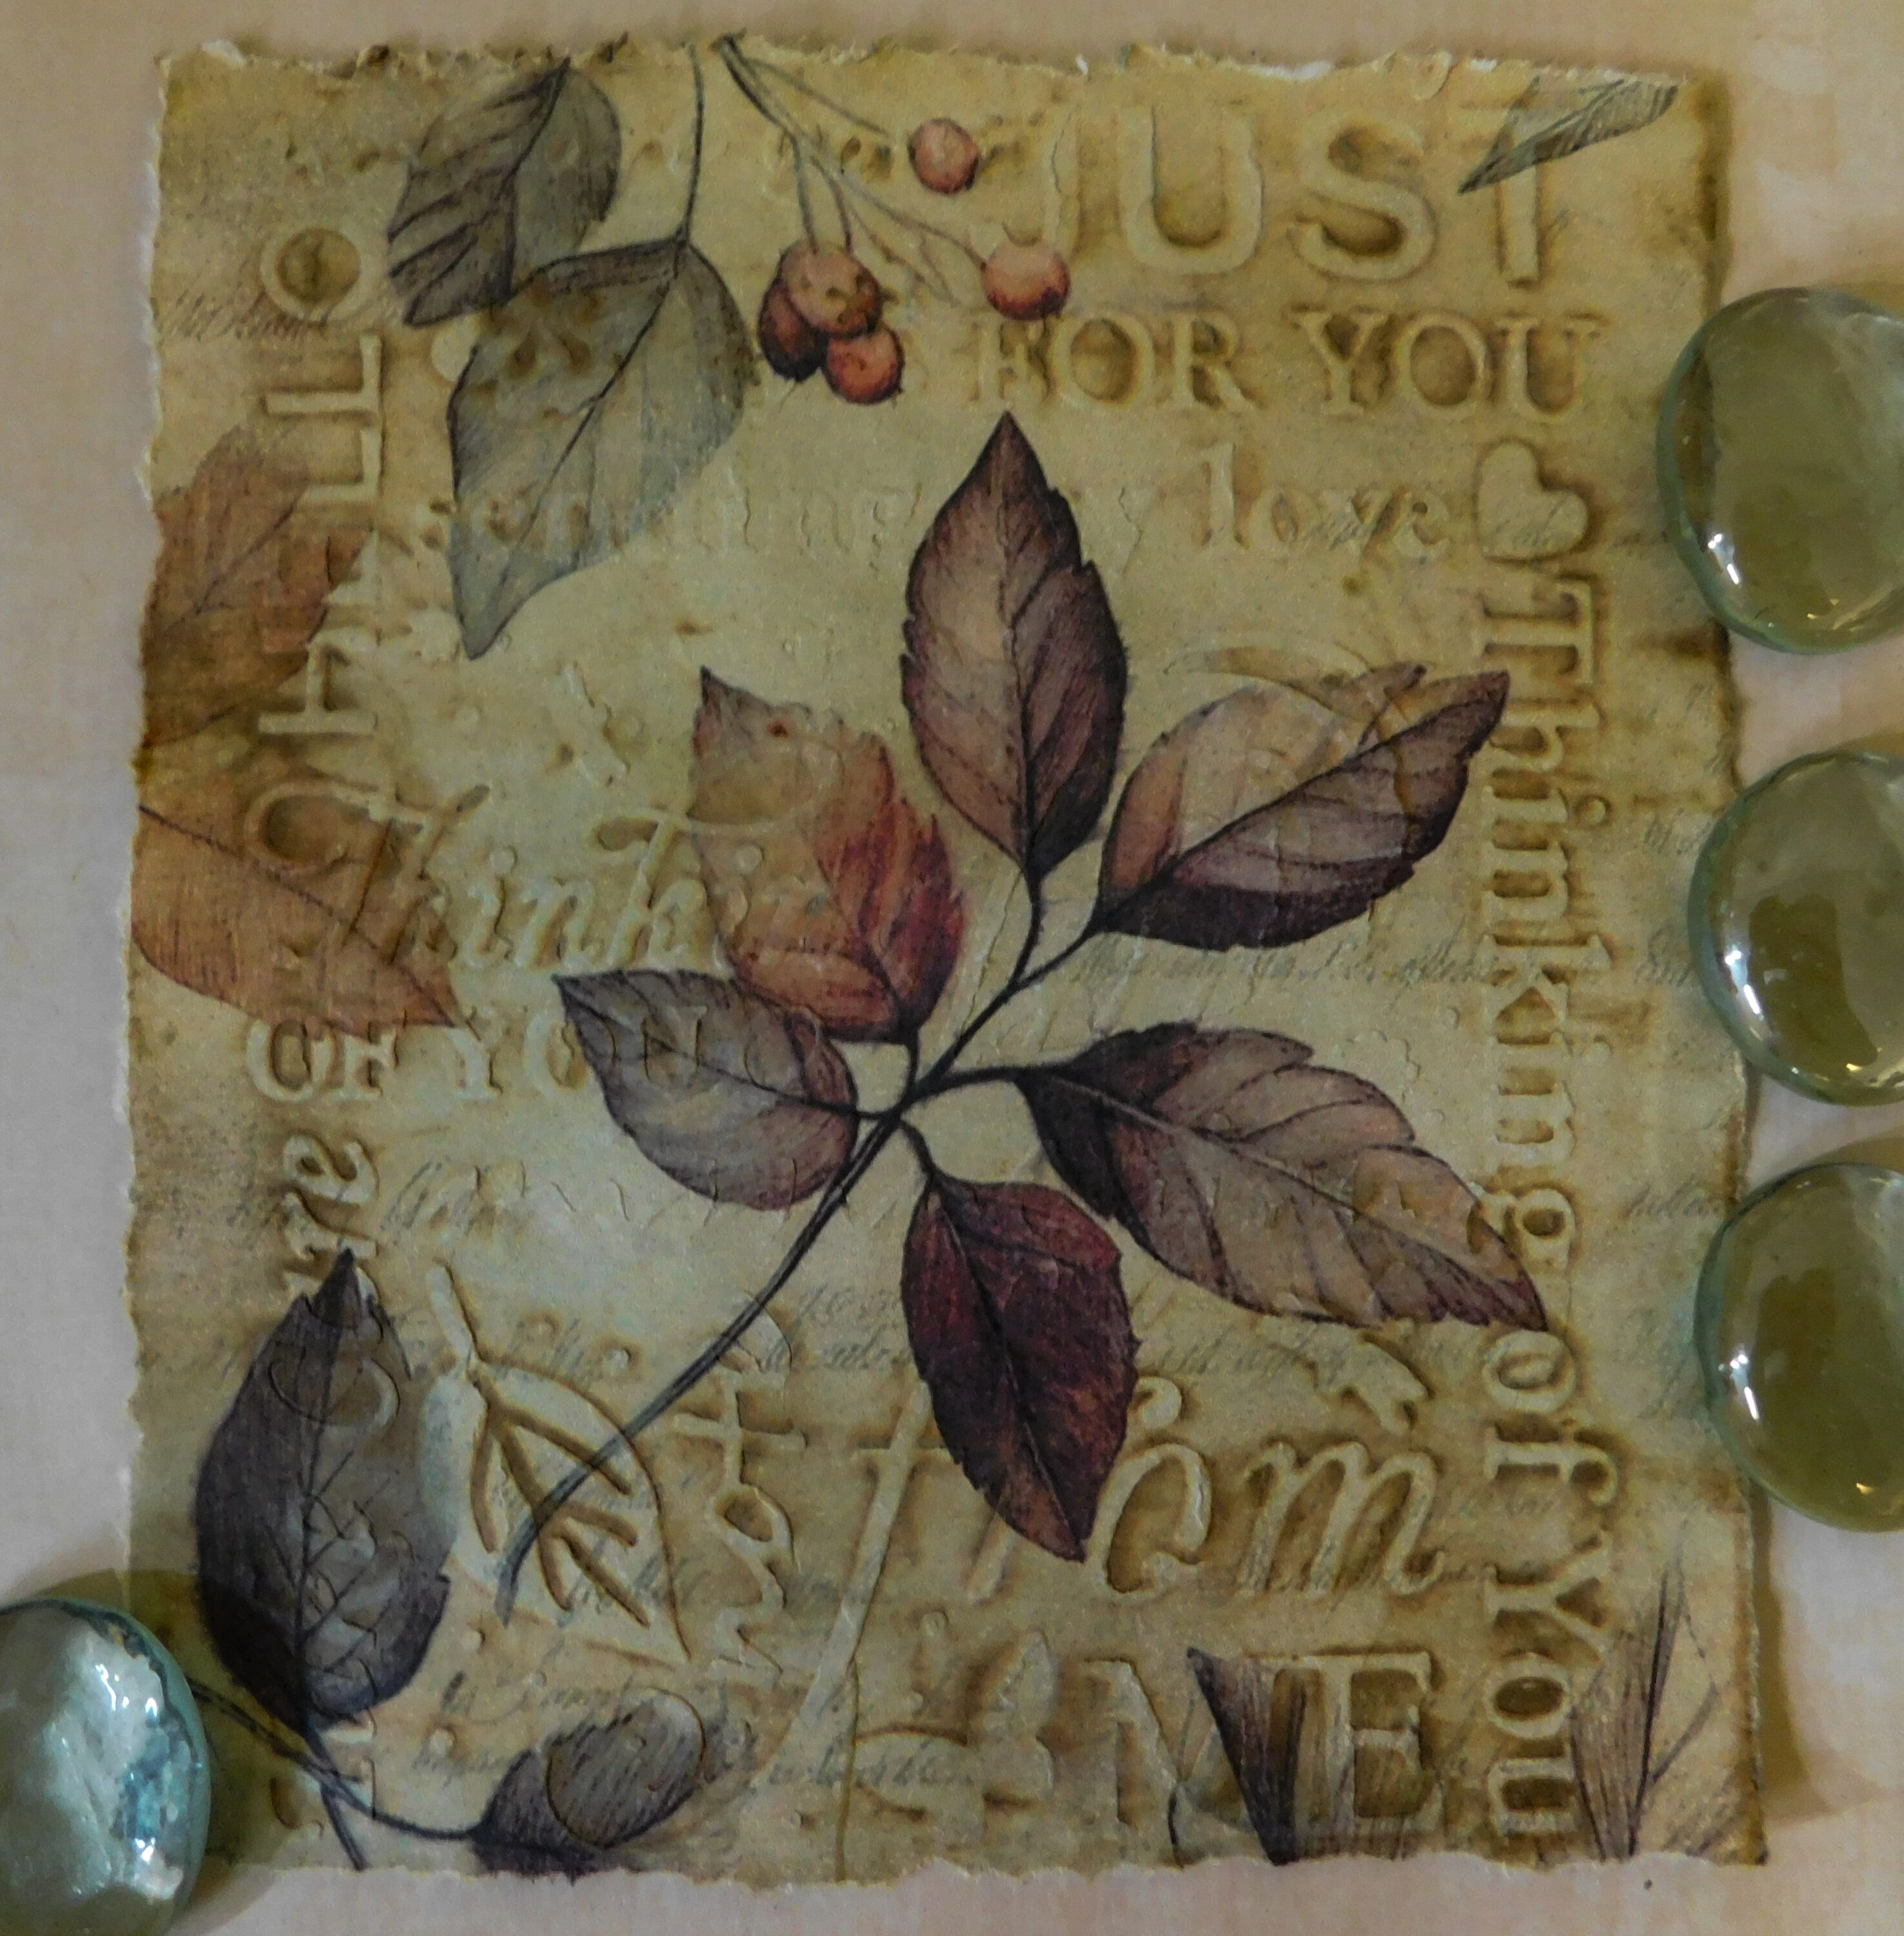
Use your embossing folders in a whole new way to create backgrounds or enhance an image. This simple fun technique uses just ink and a spray bottle with water to make your embossed design appear as if by magic. You can also keep the texture or not if you prefer to write on the back. Use any light weight paper to begin creating fun designs today.
materials
What you’ll need:
An embossing/die cutting machine
Embossing folders (your choice)
Ink (large ink pads work best)
Spray bottle with water
Light weight paper (copy paper, digitals, light weight scrapbook paper)
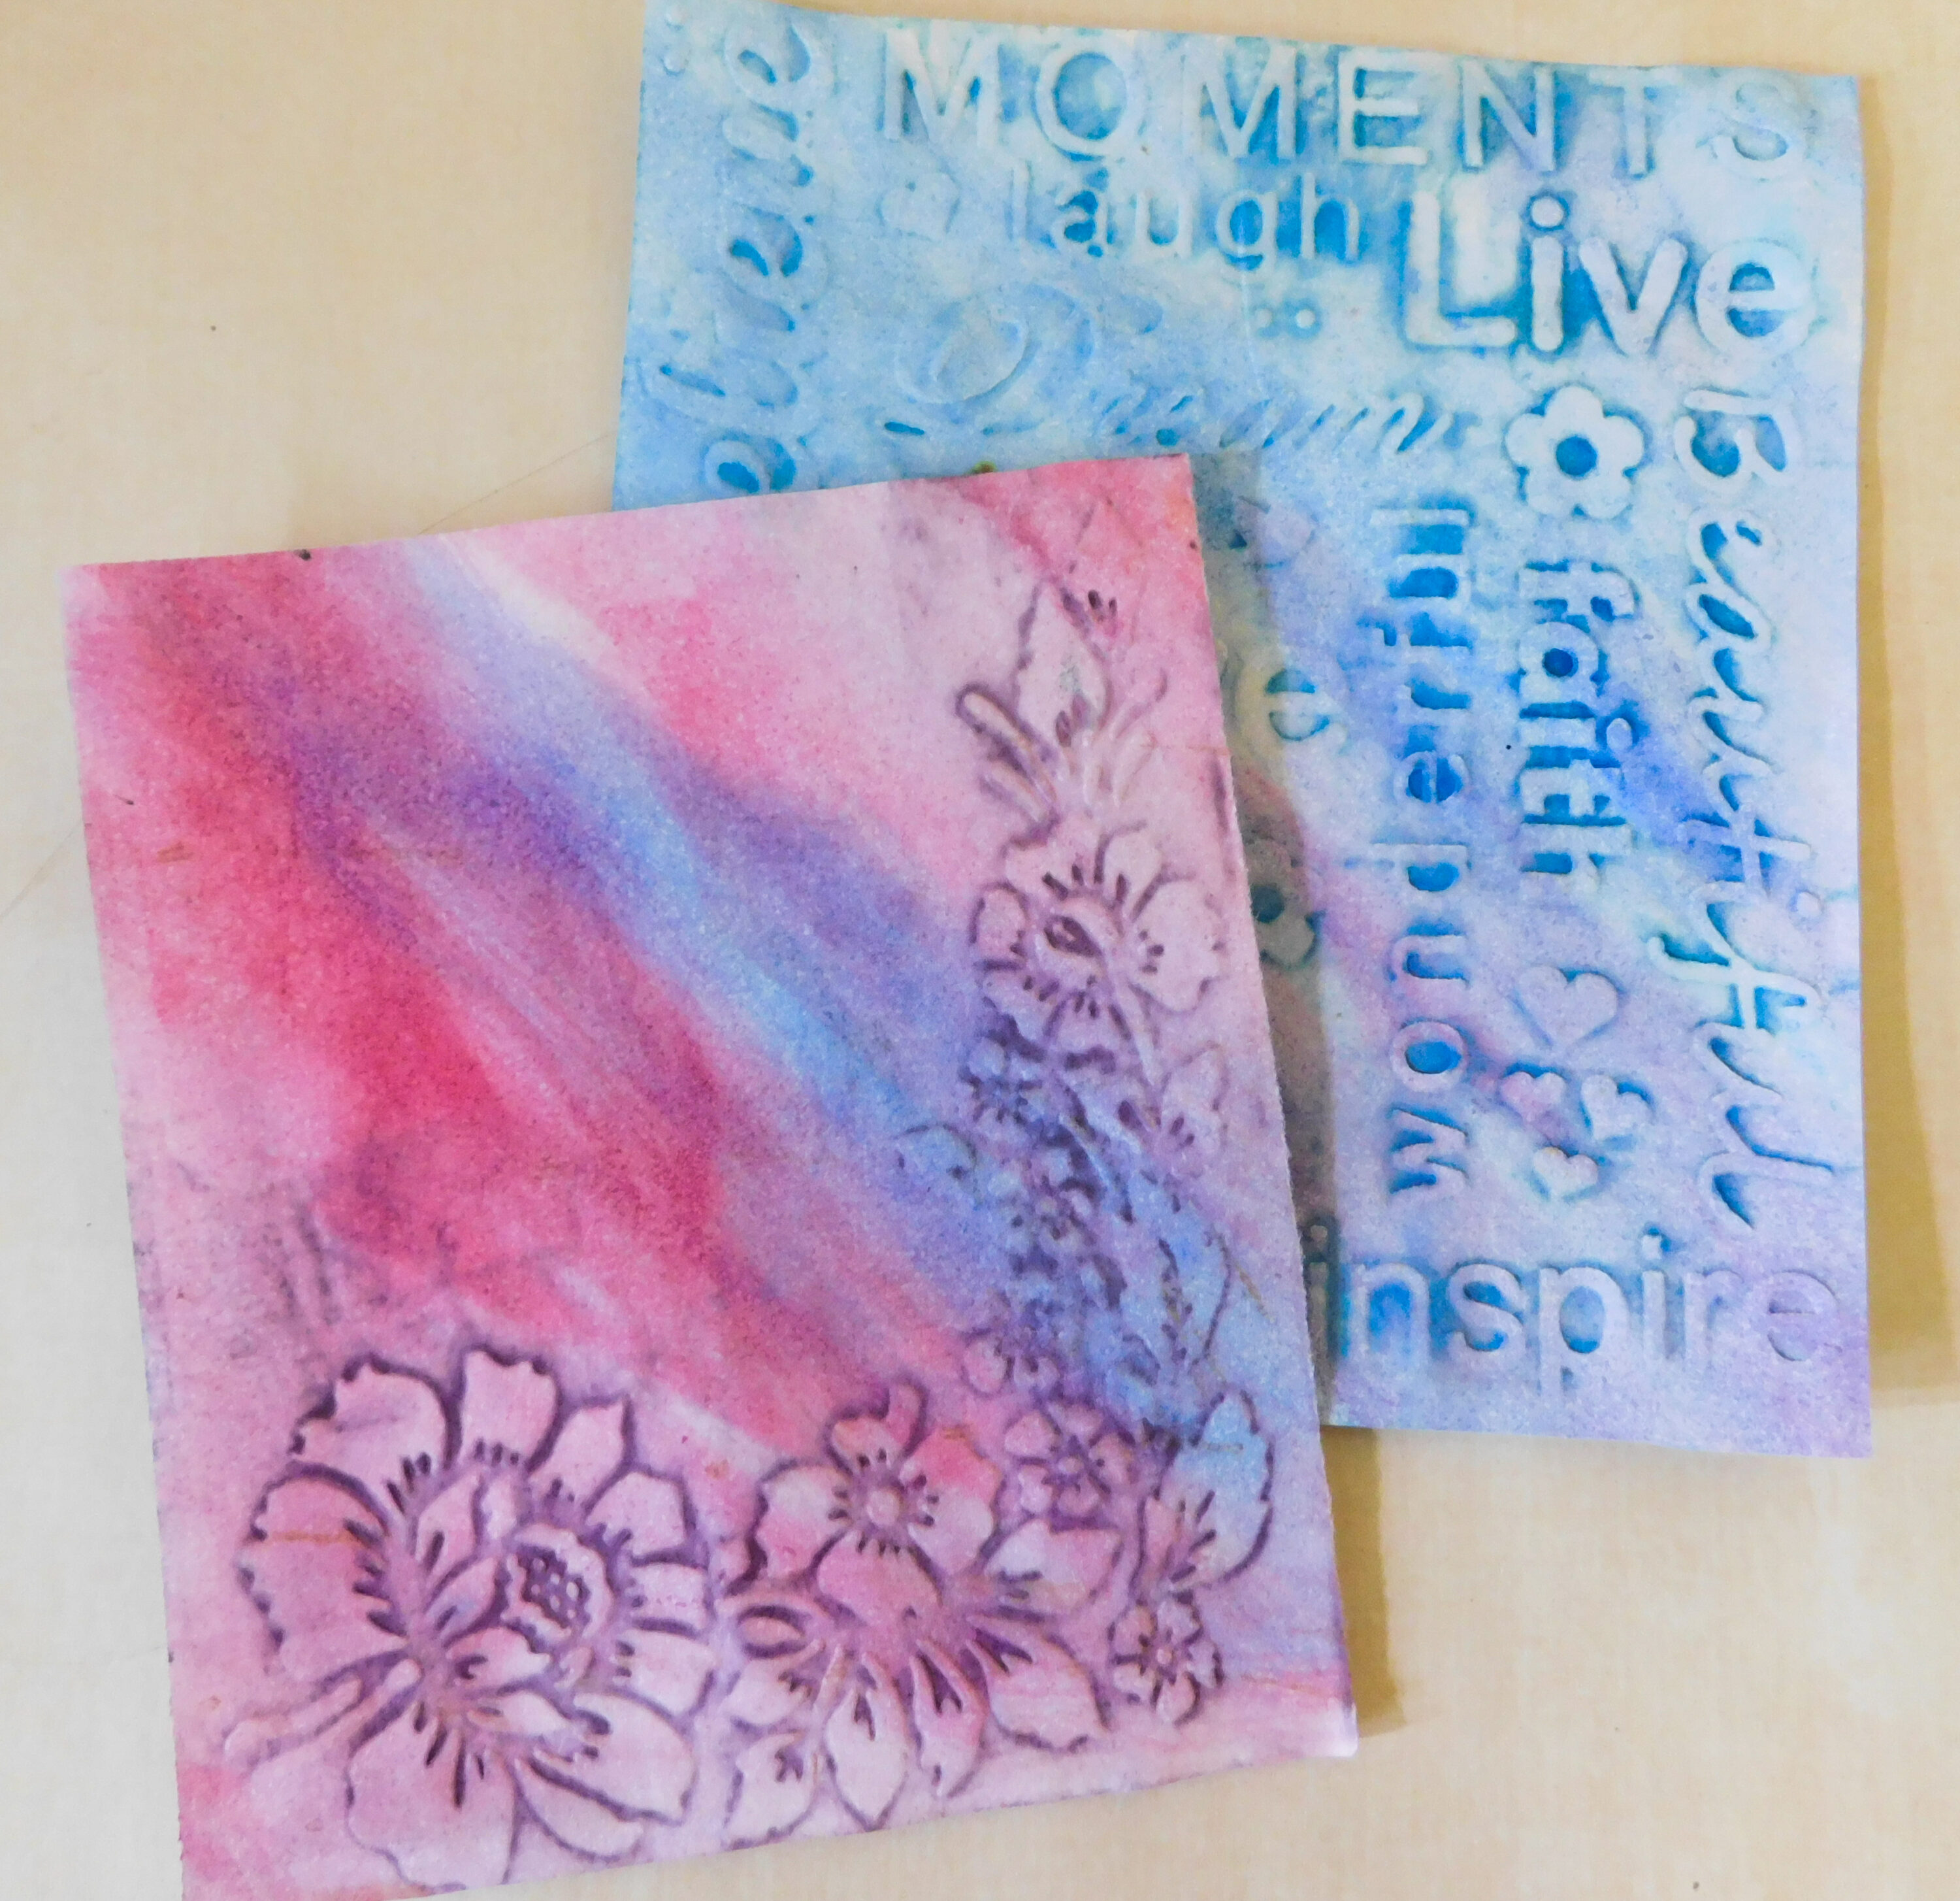
Emboss your design. Image side up if using paper with a printed design so the emboss side is on the front. Flip your paper and ink on the the deboss side as shown. Spray the back of your paper as much as you want keeping in mind that more water will weaken the paper further at this stage as you’ve already stretched and inked the fibers.
Use a brayer to flatten your texture while the paper is still wet or damp if you want to write on the back. Ink will dry lighter but choose a lighter ink color to ensure enough contrast to enable writing on the back side.
Tips:
If your embossing folder cuts too deeply into light weight paper, use another piece on top while embossing. You don’t need a deep emboss to do this technique as the water will soften all edges but you can spray your paper lightly before embossing to create a crisper edged design. Allow to dry before applying ink.
Try using more than one color of ink for different effects.
Remember you’ll be limited to the size of your embossing folder.
Try adding your ink inside large images instead of going around them, for example if using an apple image apply ink to the inside of the image so it looks as if the apple is written on.
This is a fun technique to easily add more interest to colored or designer paper. Use your imagination and then apply the technique to your own paper projects.
Happy paper crafting!
