
Ink Stamped Unwanted Photos
Ink stamping on tissue paper is a great way to camouflage parts of an image while allowing you to keep a focal point. Retain your less than perfect photos with this easy transformation and make some quick journal cards or postcards.
materials
What you’ll need:
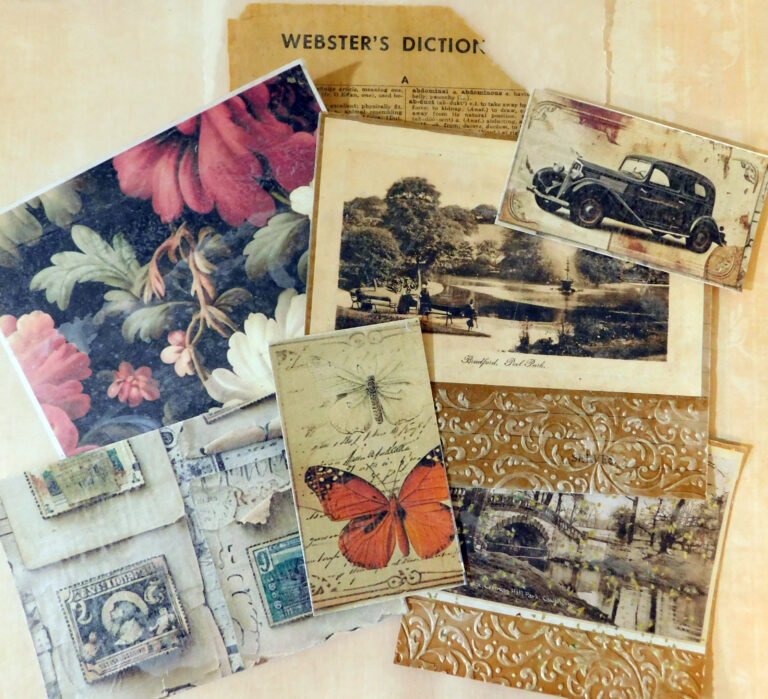
Photos or images (your choice)
Ink
Stamps (your choice)(at least one background type stamp)
Stencils (optional)
Gluestick
Tissue paper
Scissors
Low tack tape

Begin by choosing an image with at least one focal point that you can highlight. You can apply your tissue paper with gluestick to the photo first if you desire but hinging it as shown in the video tutorial will allow for you to correct or start over if your stamping is less than perfect. Tape everything as shown in the video tutorial to keep your photo in place.
Next choose at least three different stamp colors in a light, medium and dark so there is enough contrast between them. You can make two of your colors similar or neutral and then add one bright color for more interest.
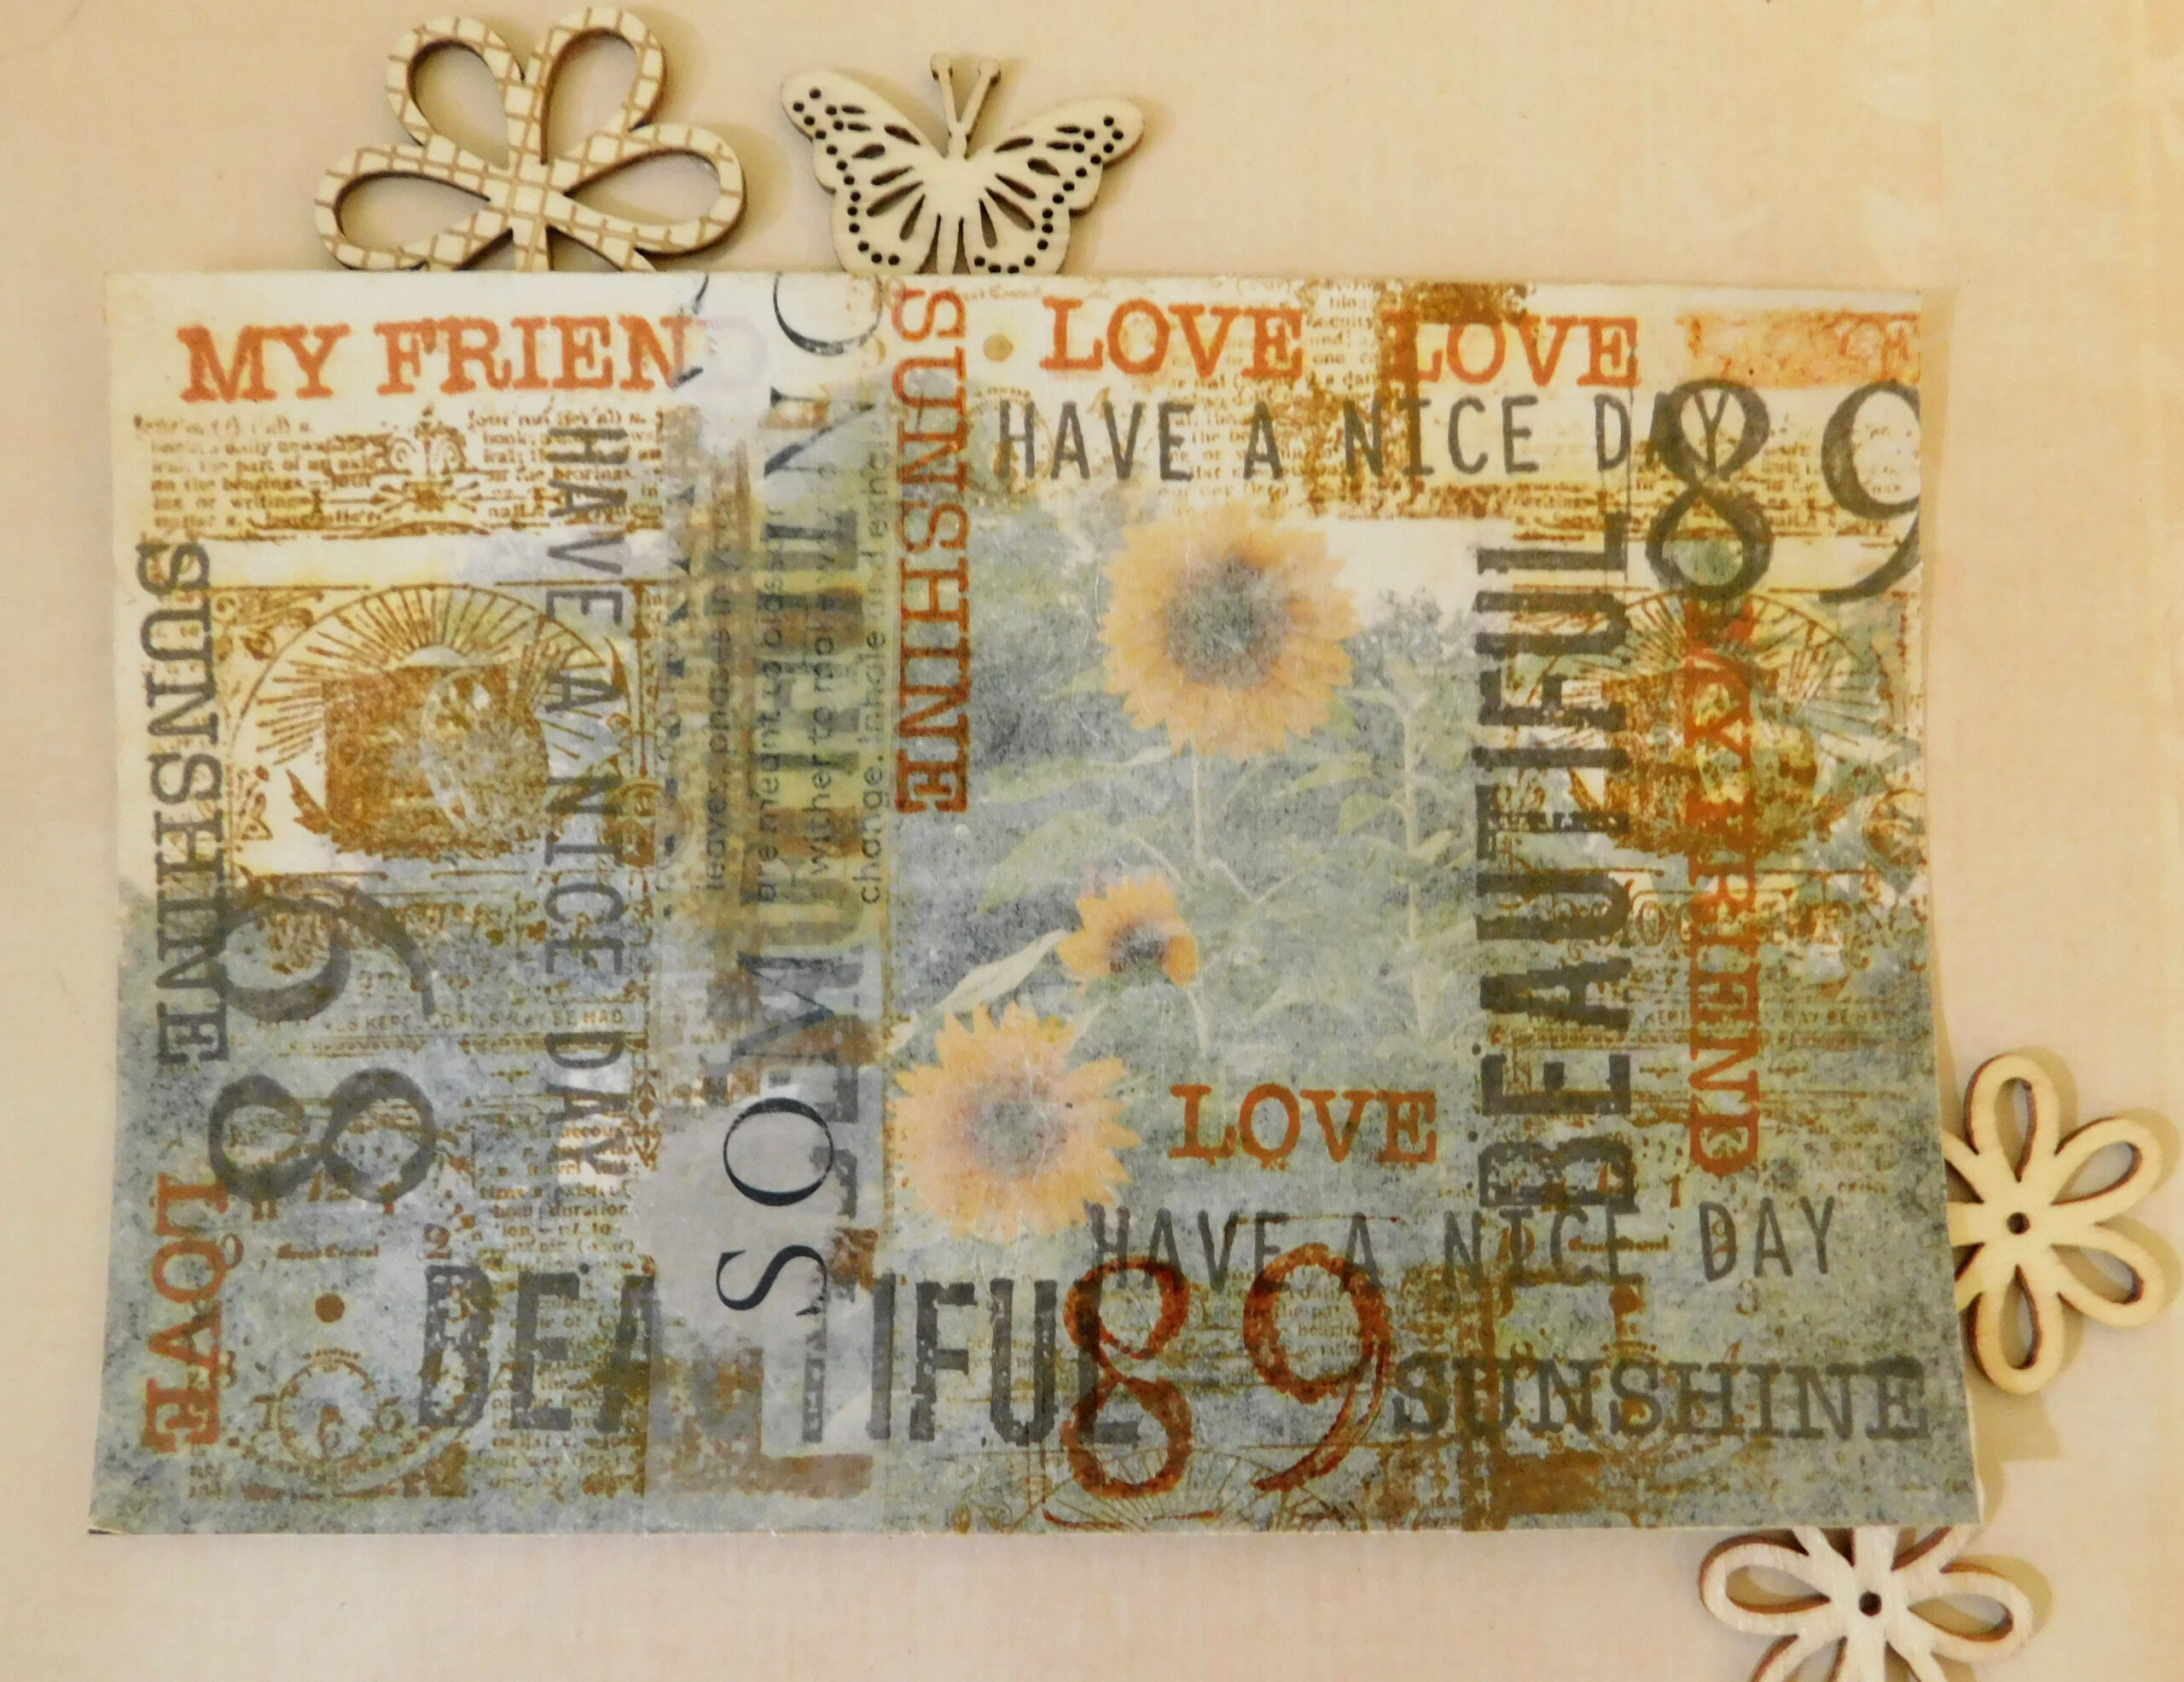
Choose your lightest color and a background type stamp for your first stamp application. Stamp areas around your focal point keeping the stamped edges random if you desire. You can stamp each time full strength or ghost image.
Next choose a few bold text stamps in your medium ink color and stamp randomly and horizontally or vertically around your focal point. Odd numbers create a more pleasing composition so try to stamp each word at least three times as you move around your photo.
Finally choose your focal point color, choose a few more stamps and stamp your photo again. If any areas look too sparse choose your medium or focal color and fill.
Glue your tissue paper to your photo with gluestick and allow to dry completely. Choose a gluestick with a very creamy consistency to go over the entire image once your ink is completely dry to avoid smudging the ink. This will help seal your stamping, provide a protective coat, make your colors more vibrant and create some transparency to let your photo show through.
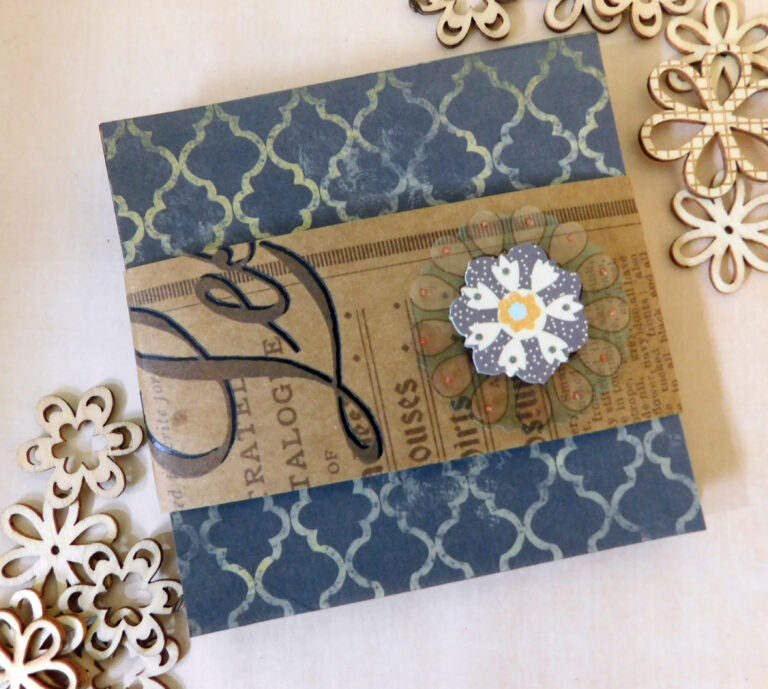
Finish with a border or add some more texture with a stencil if desired.
This project is a great way to save less than perfect images and create a new card or piece of ephemera for journaling.
Happy paper crafting!