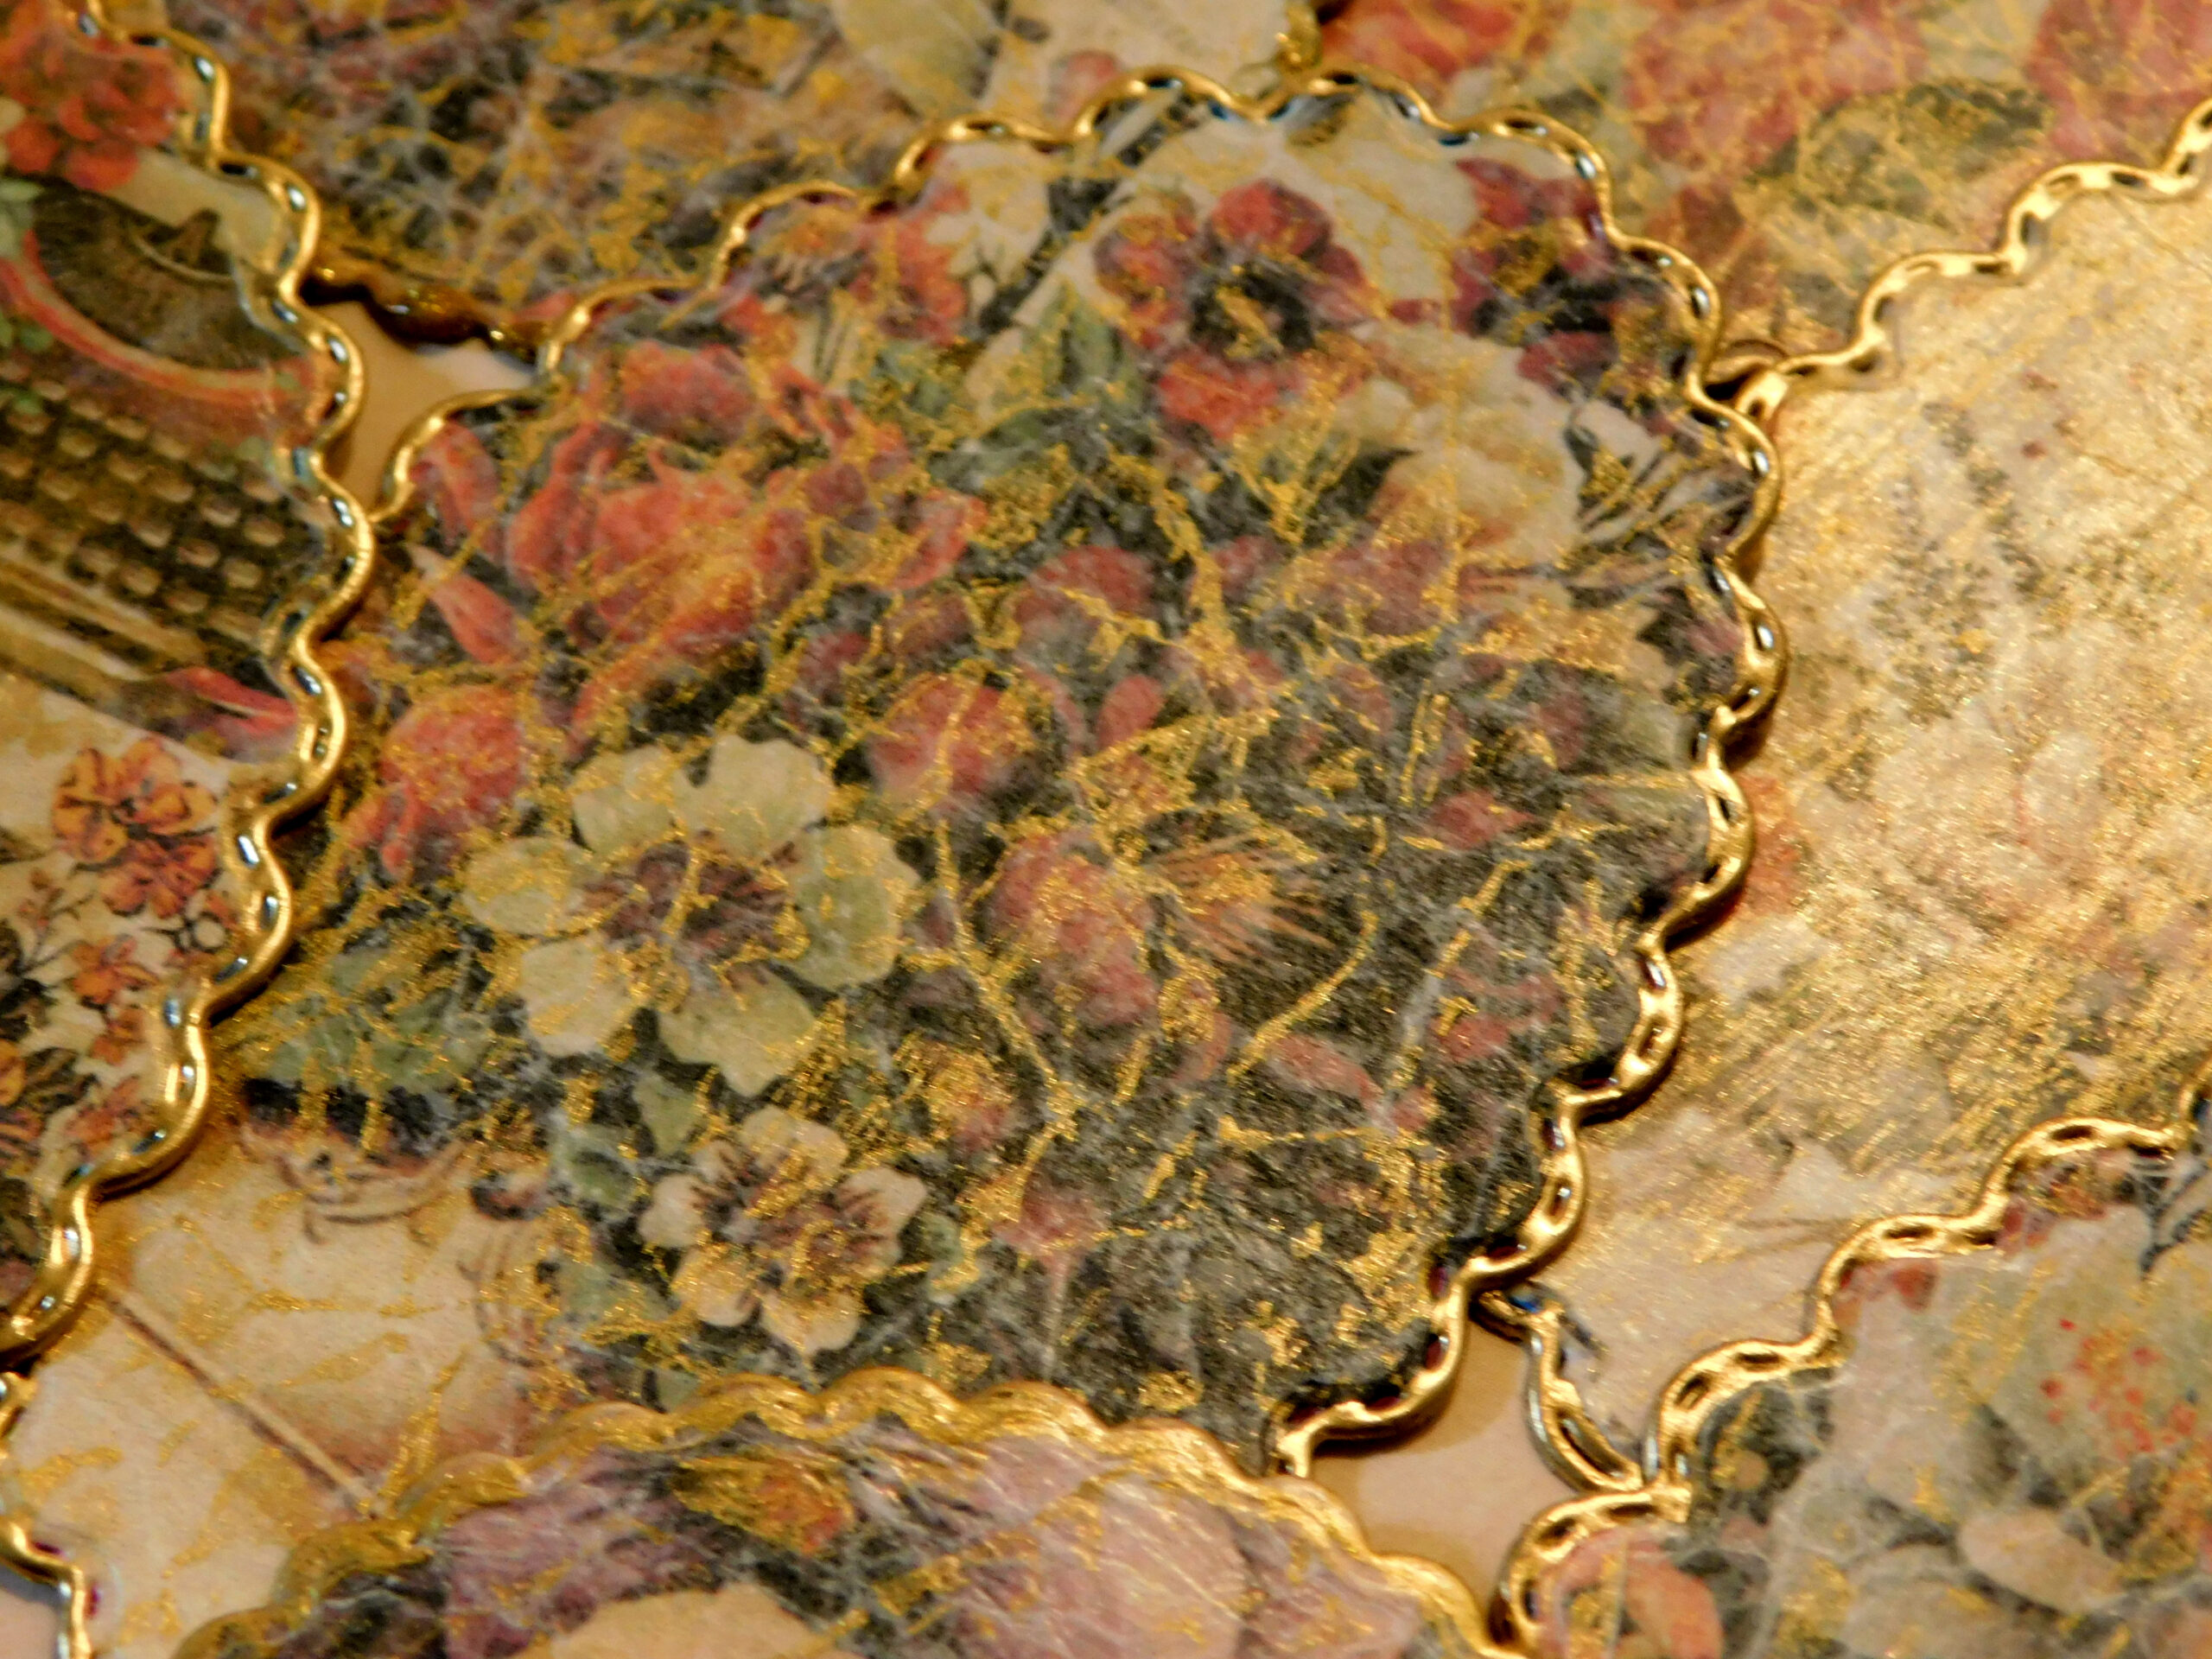

Note the book page image in the lower right corner. Images appear and disappear depending upon how the light hits the surface.
The book image looks clear or golden creating a hologram like effect. That particular image is the brushed metallic effect but the others will also appear hologram like depending upon the light direction.
Antiqued Waxed Holograms
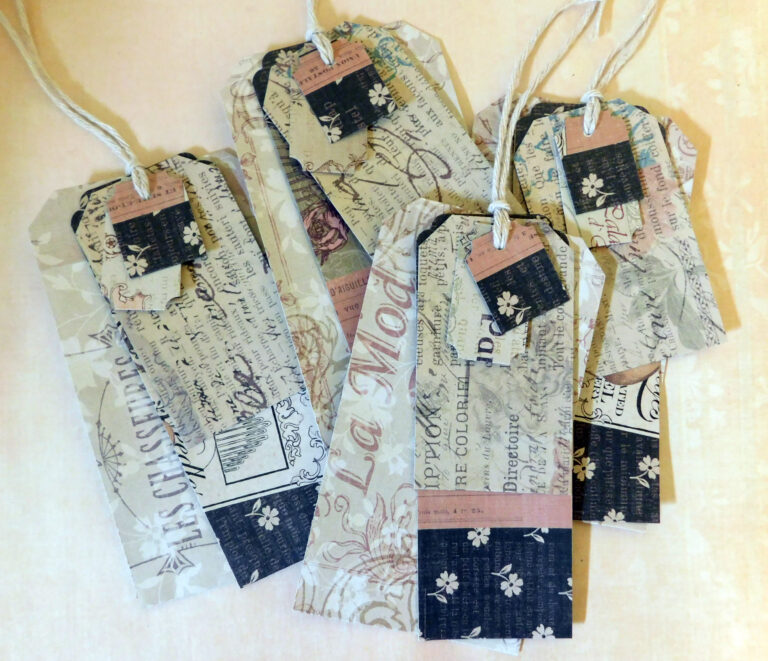
This beautiful but simple craft project will transform almost any image into one that is magical, luxurious and aged. Use digitals, scrapbook paper, book pages, Christmas cards or wrapping paper and get started on your holiday craft projects. Make tags, ornaments, or apply to a box to create this beautiful antiqued holograph like effect using easy to find items.
materials
What you’ll need:
Images your choice but images with contrast and clear detail work best
Packaging
Wax paper
Gluestick or clear glue
Metallic or extreme glitter acrylic paints your choice (can also try dragonfly or color shift acrylic paints)
Stamp ink your choice (for aged effect only)
Sizzix die cutting/embossing machine if desired
Roller or brayer
Oil based metallic pen (optional)
Palette/brushes (optional)
Scissors

Begin by applying your image to your packaging using gluestick or clear glue, allow to dry completely. Cut a piece of wax paper that will fit atop the image. Crinkle your wax paper as little or as much as you like and then smooth it out. Choose your metallic acrylic or extreme glitter paint (gold works well) and lightly skim over the textured areas of your wax paper ensuring not to flatten or cover the entire piece with paint or you will obscure your image too much. Just catch the textured areas as shown in the video tutorial keeping your brush perpendicular to the paper and making sure your paint layer is translucent. Apply glue to your image and place your waxed paper paint side up on the image. Brayer to smooth. Die cut only after the image is almost completely dry for best results. Border your image by smudging or scraping your remaining paint around the edges or use an oil based metallic marker.
Another method is to lightly brush paint over a non crinkled piece of wax paper to achieve a brushed metallic type effect being sure to keep your paint layer very thin and translucent. Use a brush if necessary. You’ll want your paint layer to be almost like watercolor so it is see through. Apply to your image with glue and brayer.
You can combine ink and metallic paints if you desire for an aged metallic effect. Gently swipe your ink pad across your crinkled wax paper and let it dry before applying your metallic paint as in the first method. The ink will instantly age your image with a crazing like effect and the metallic paint will make it shimmer.
More tips:
Images with contrast work best. Don’t worry if your image appears milky at first, allow to dry for a few hours or overnight and check again, if it still isn’t to your liking choose an image with more contrast. You can buff out the white crinkles of your wax paper slightly with a flat smooth tool (nothing sharp) but they may still appear on darker areas of your image.
Use this effect to create beautiful tags or Christmas ornaments, a great way to save your favorite Christmas cards or wrapping paper and enjoy them for years to come on your tree. You can also use this technique for any ethereal subject to create a gossamer like effect, fairies, dragonflies, angels you decide or just use it to antique your special paper project.
Happy paper crafting!
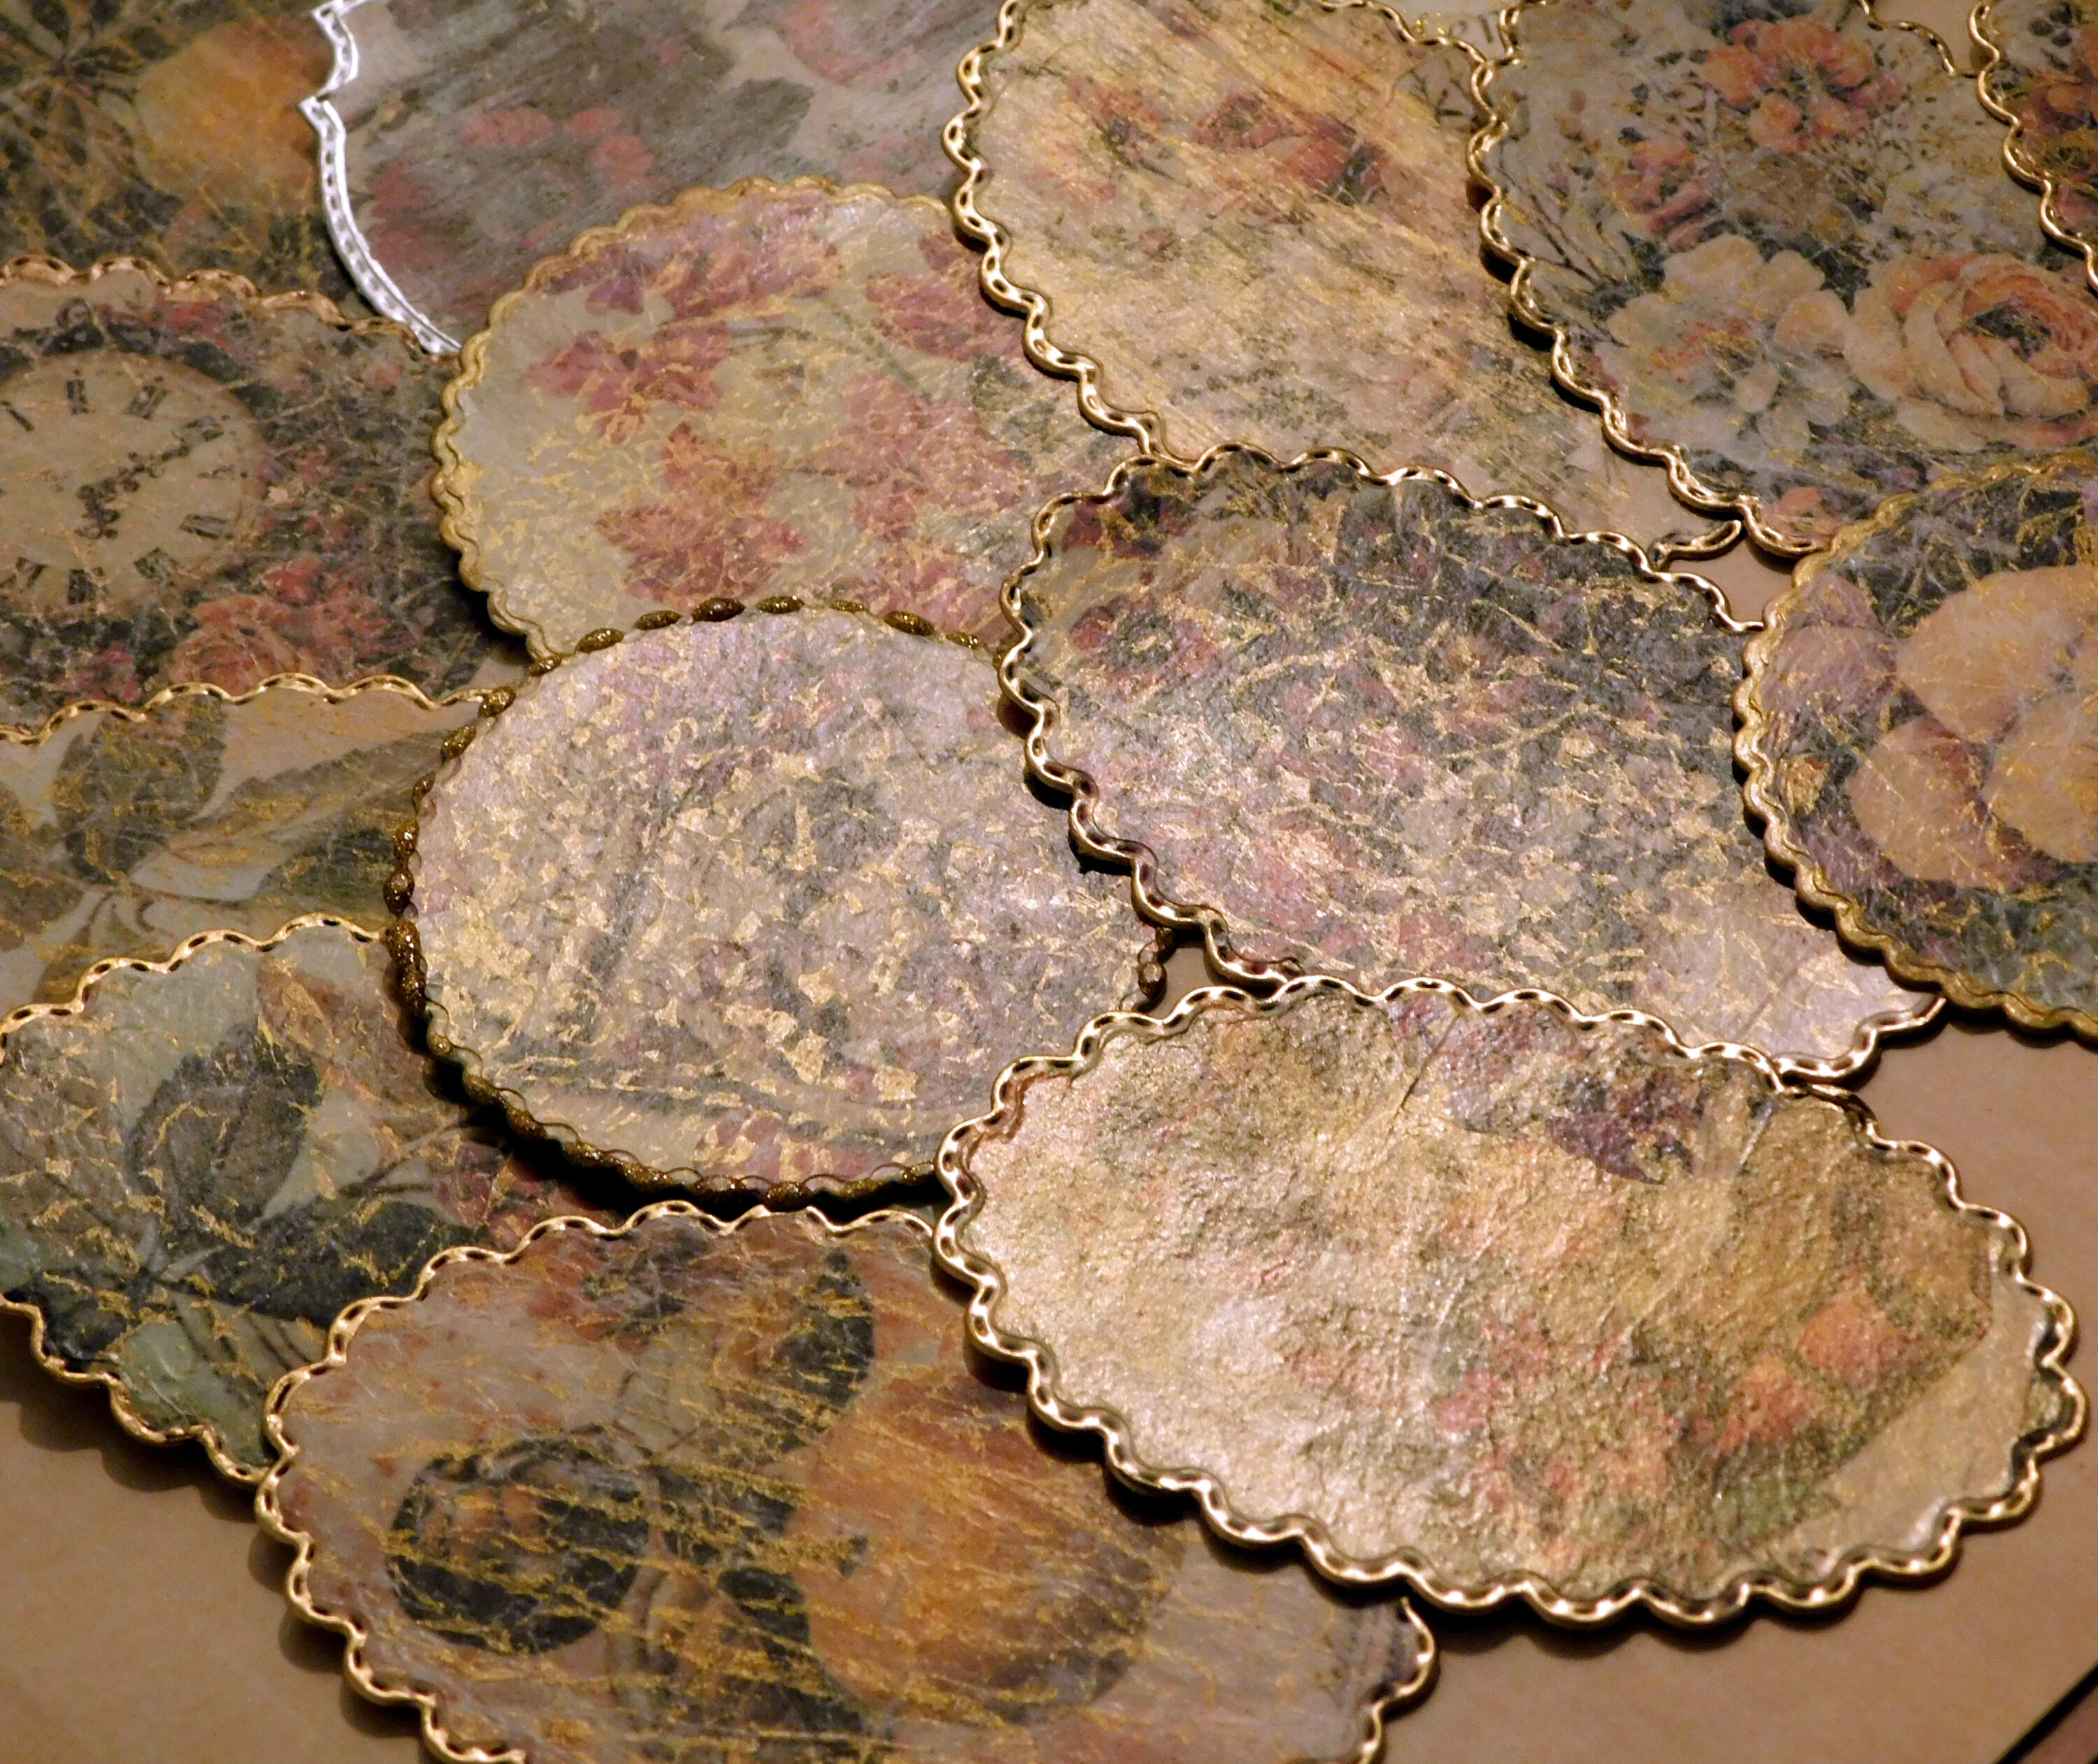
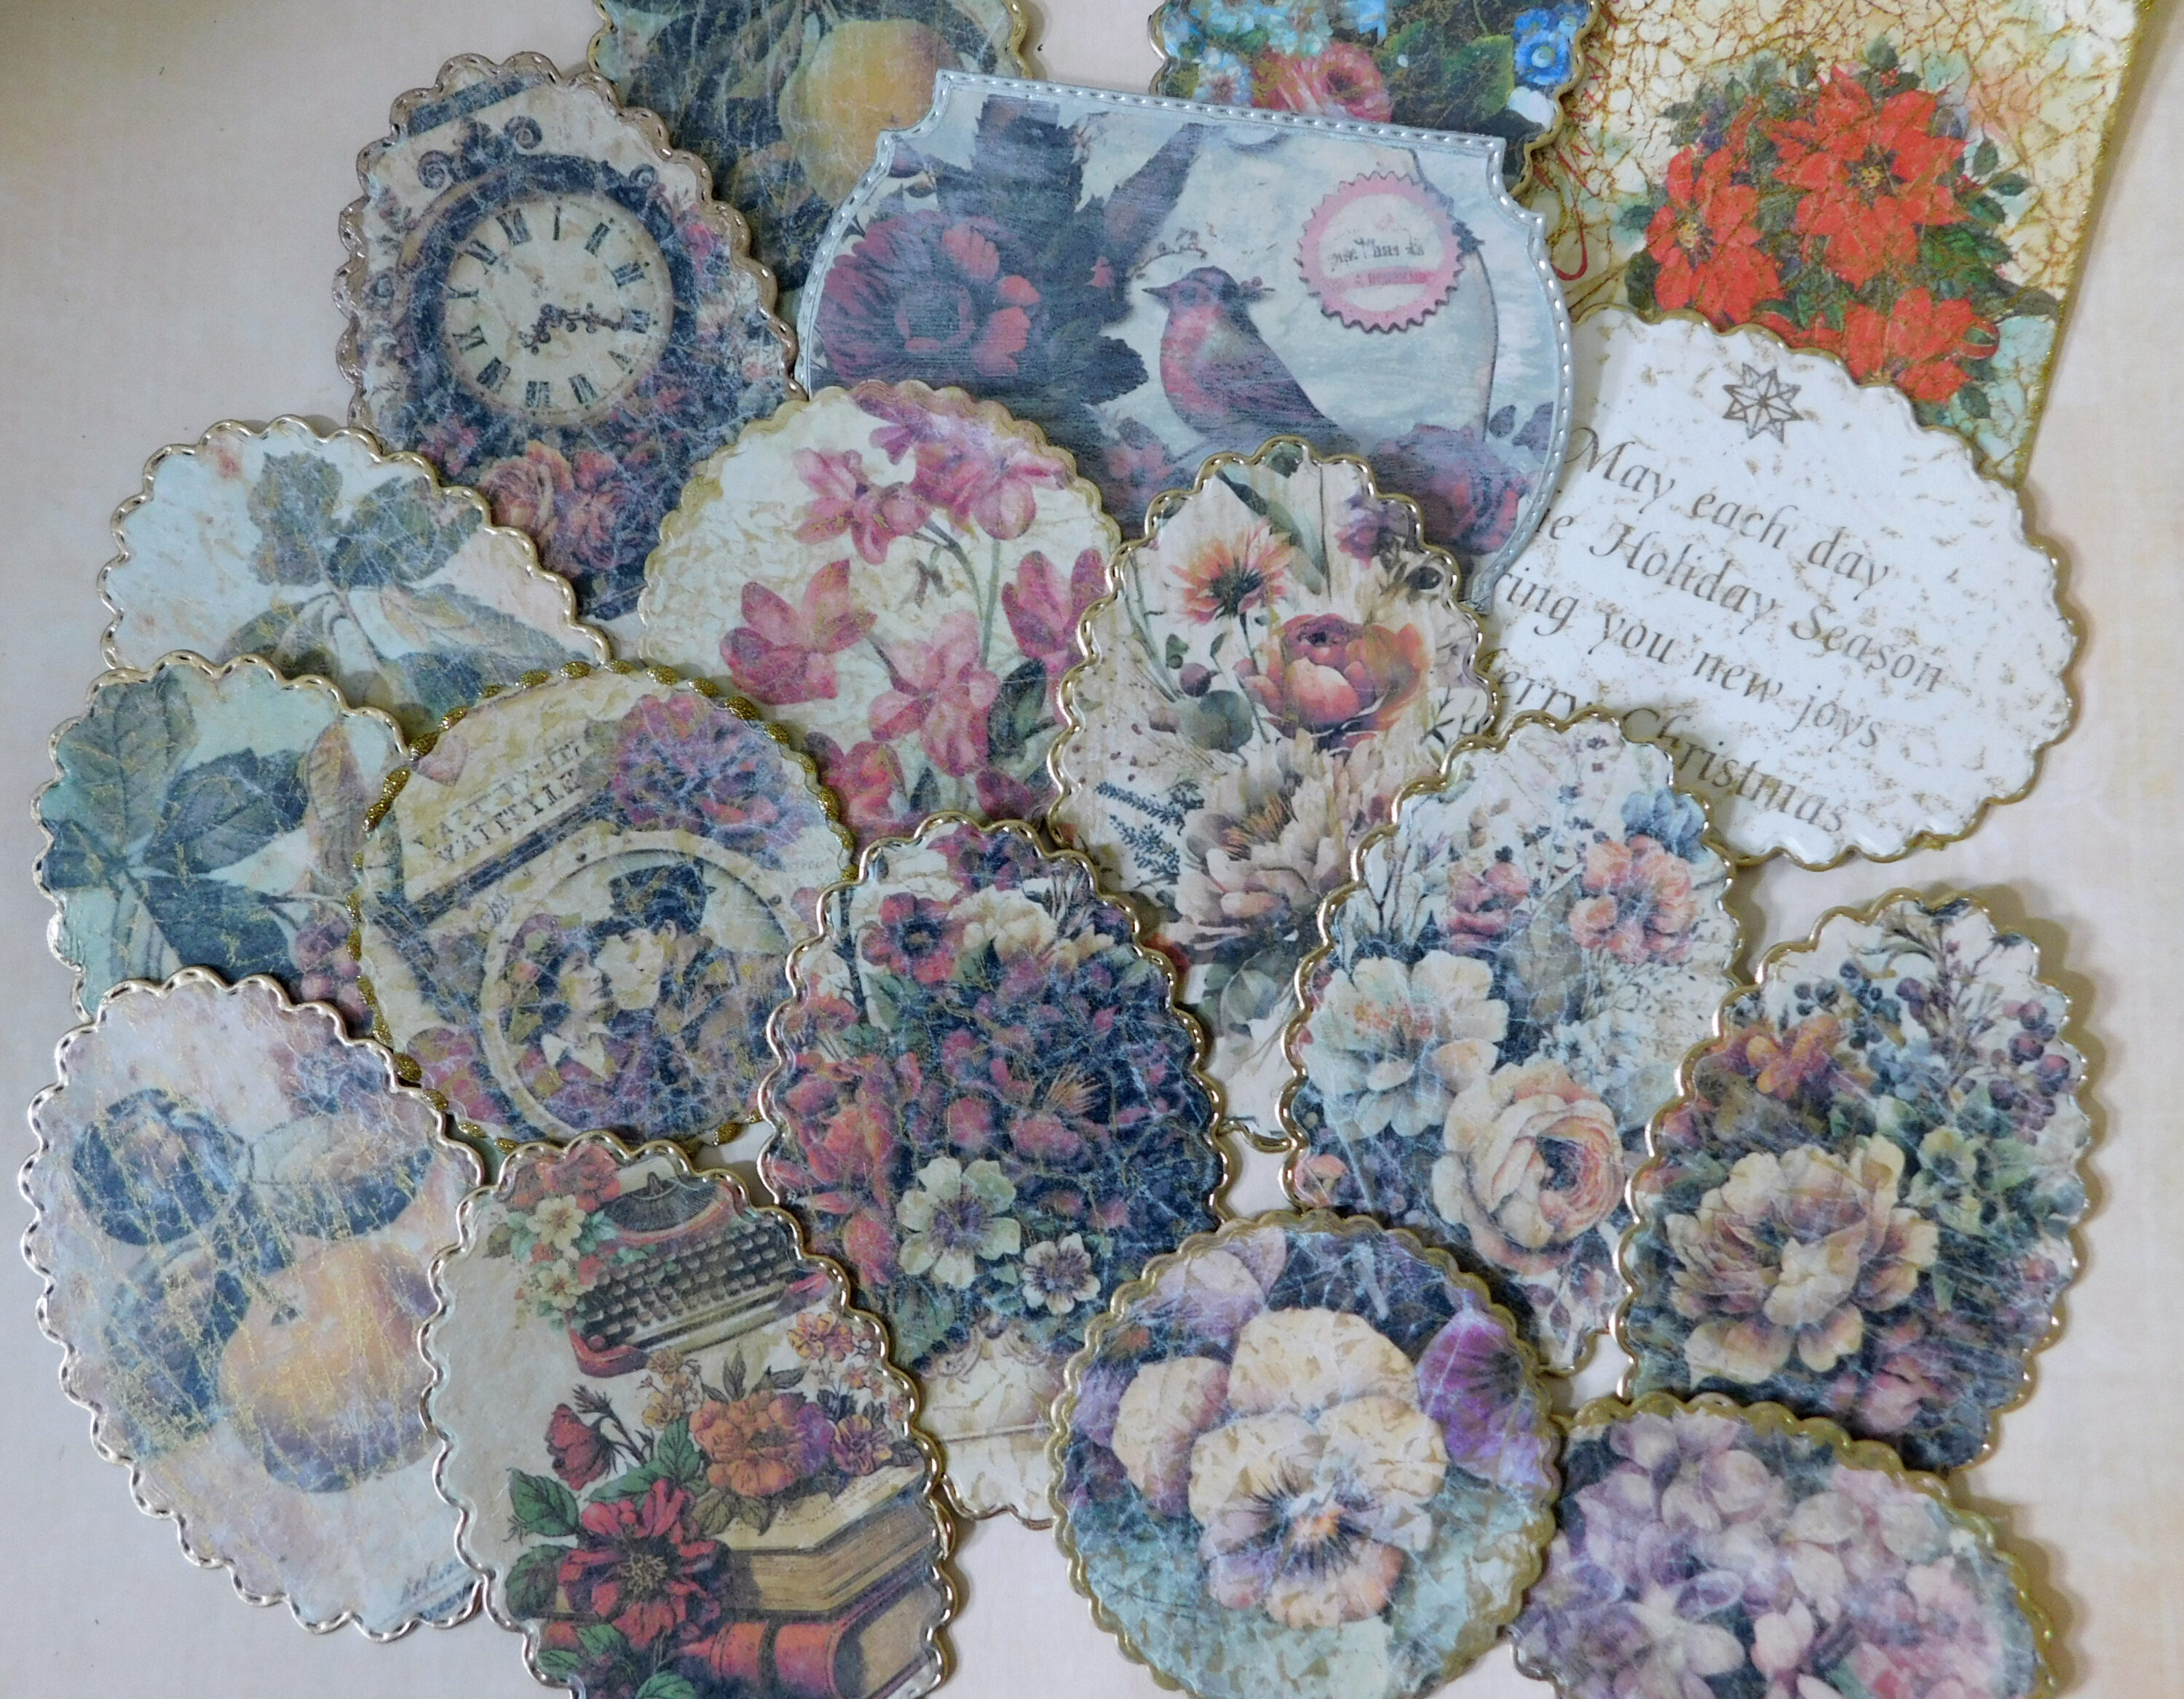
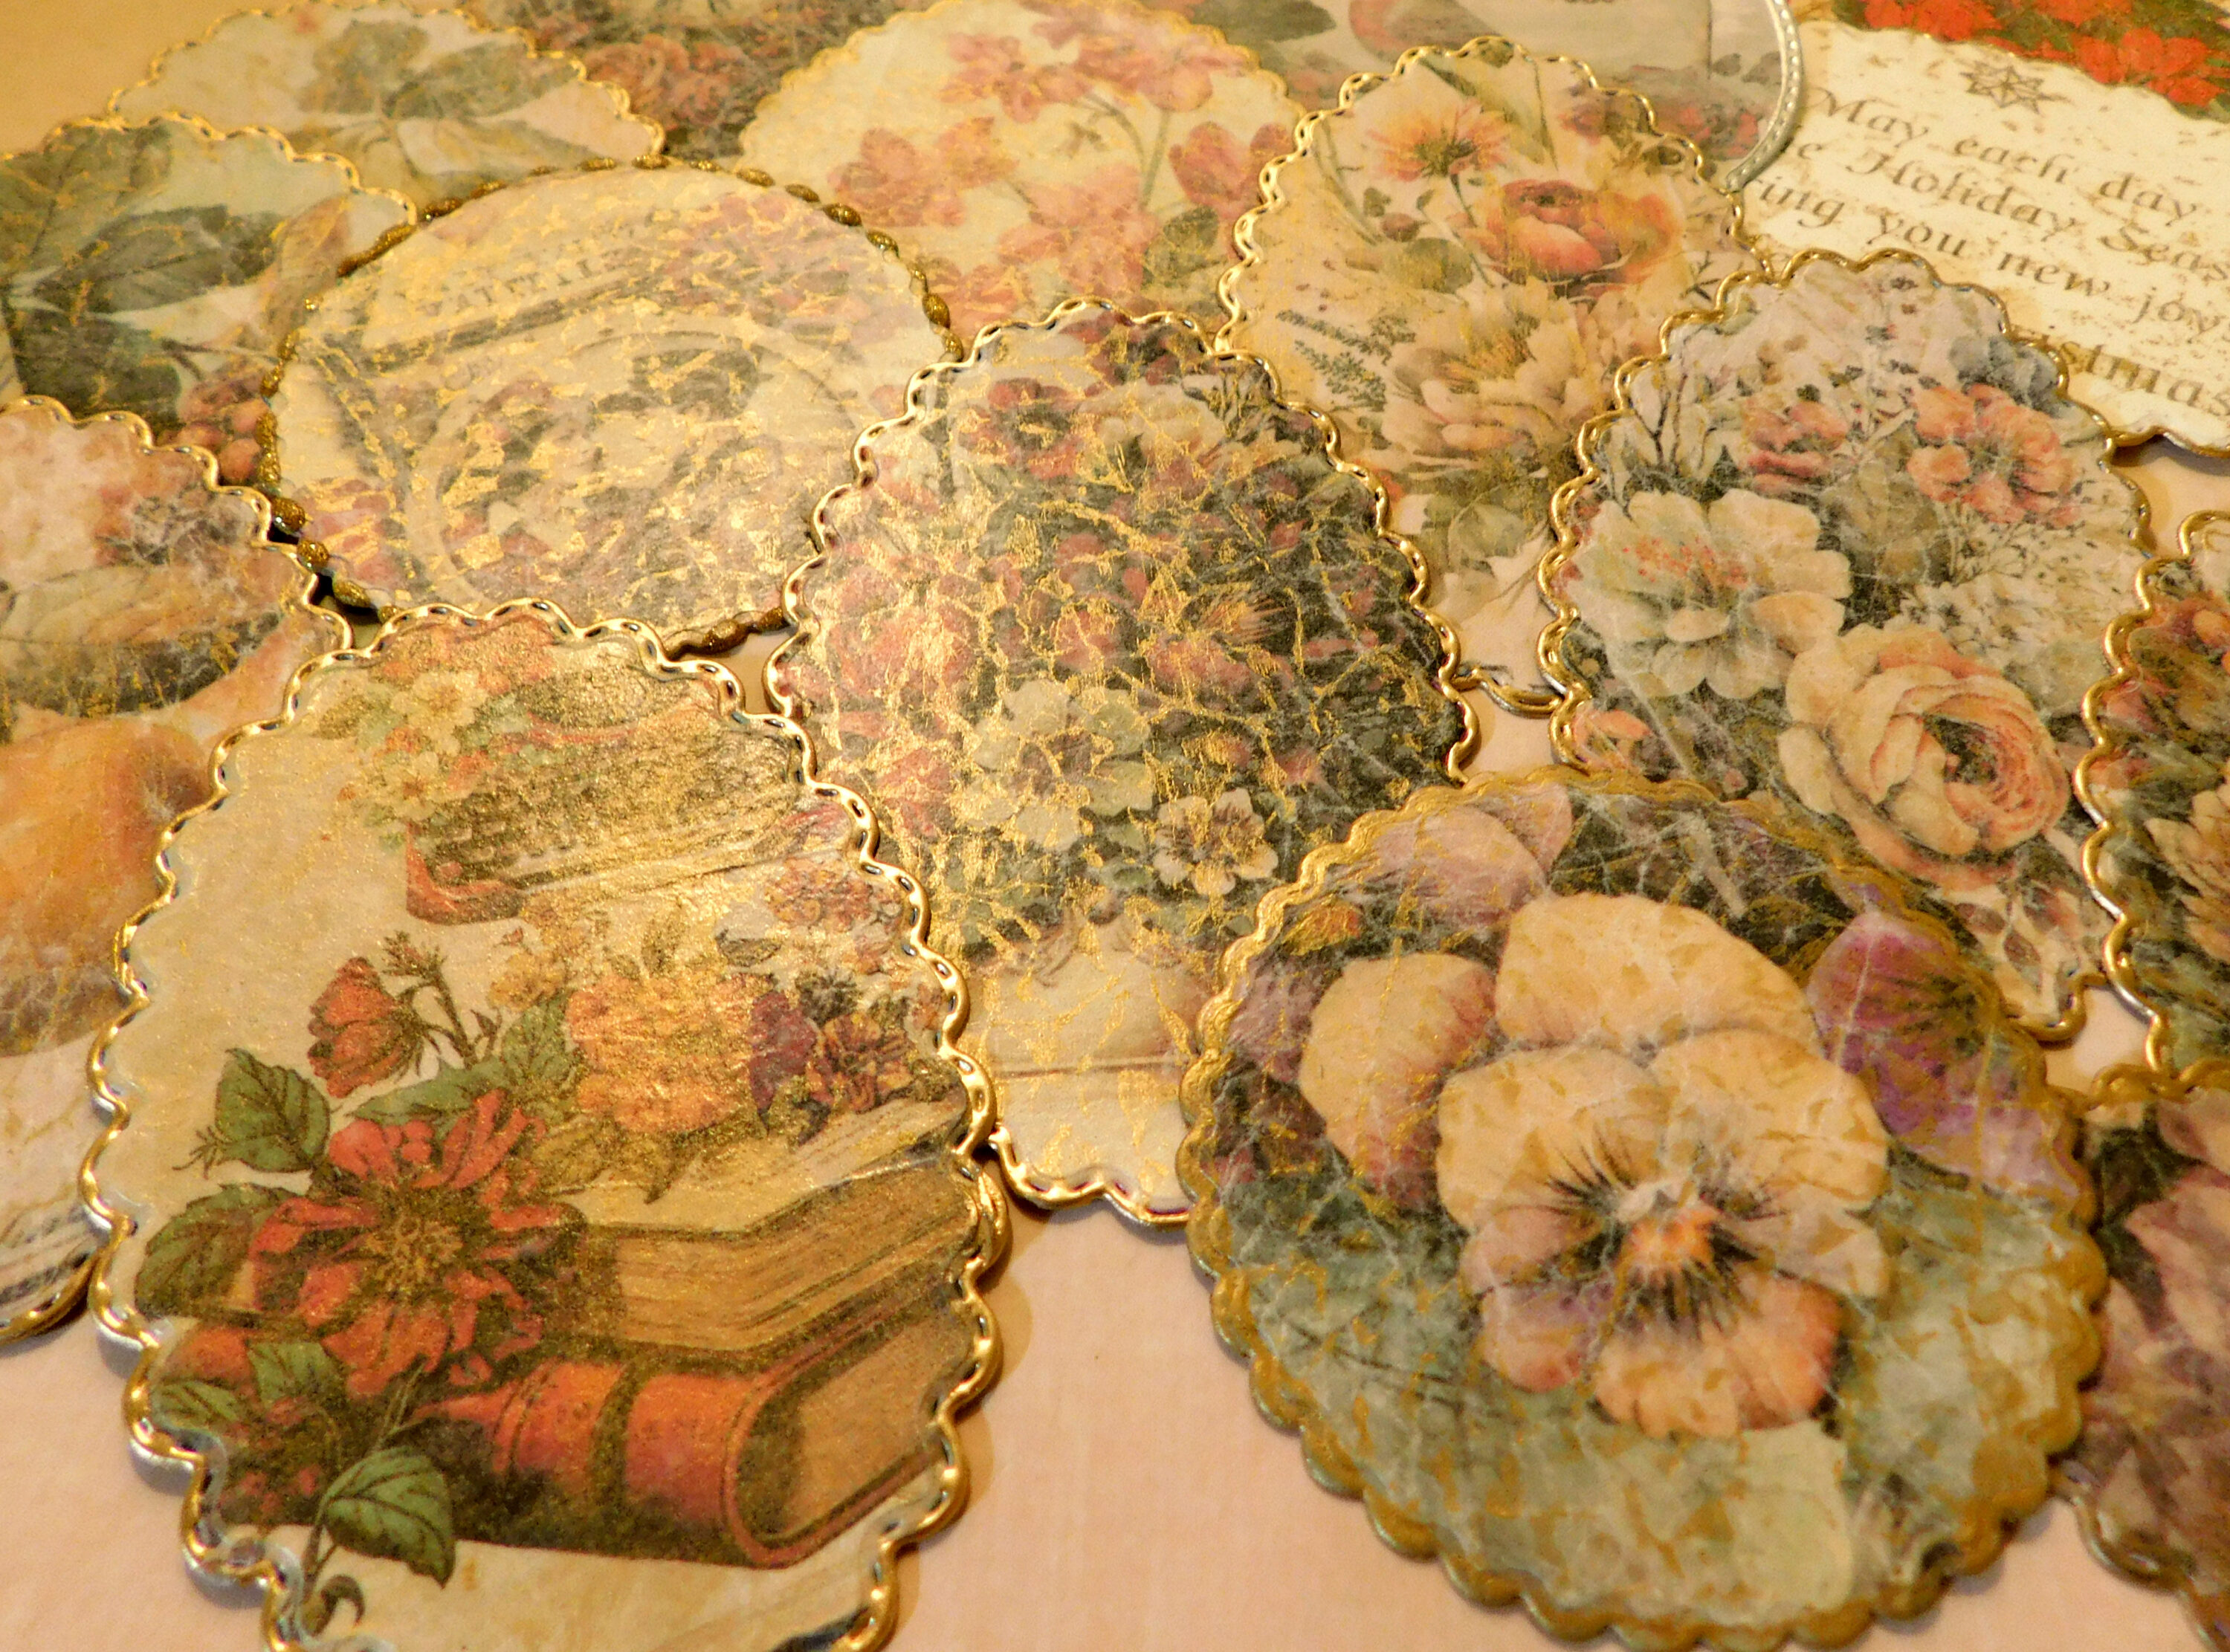
Another example of how the images change depending upon the light source.