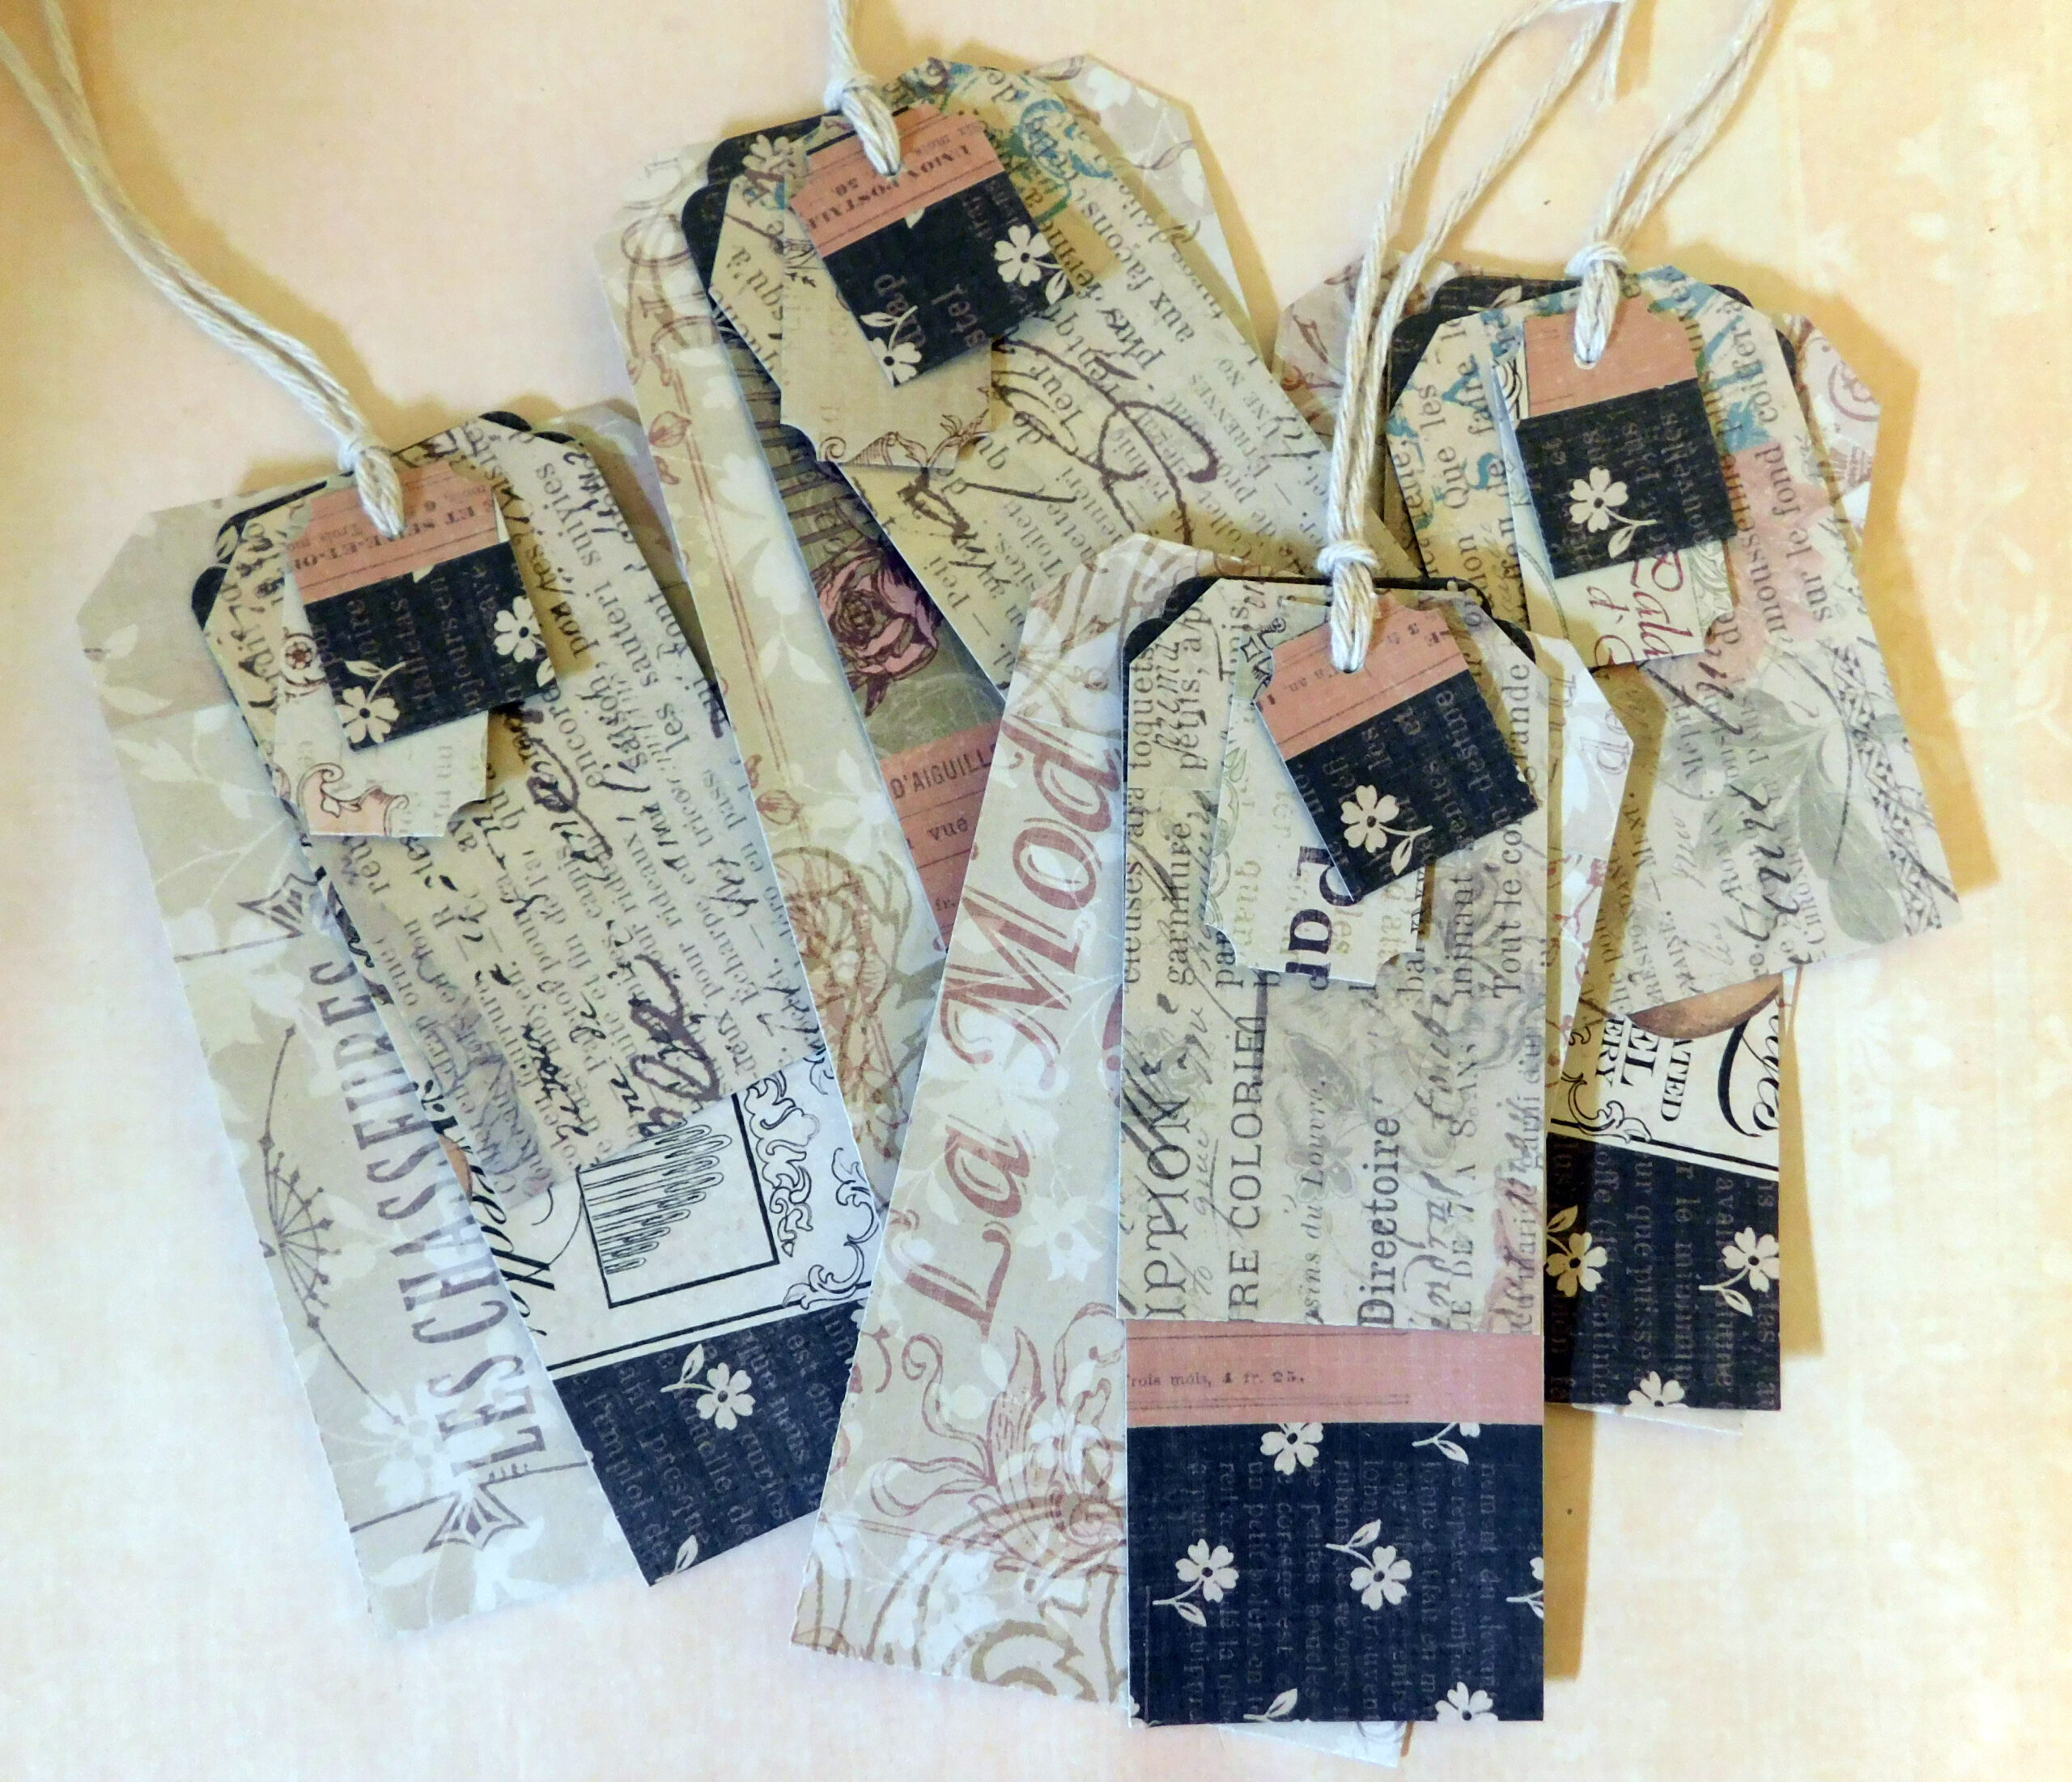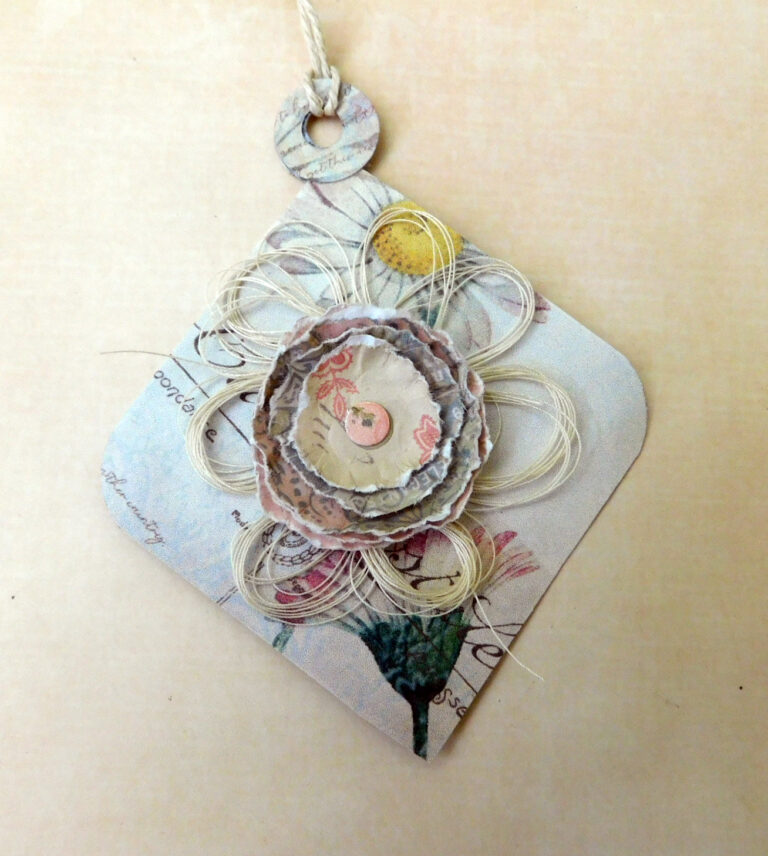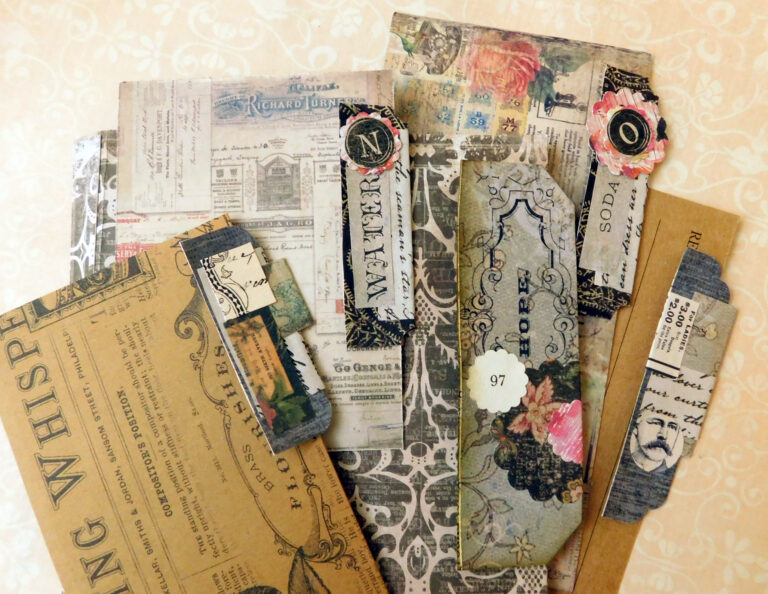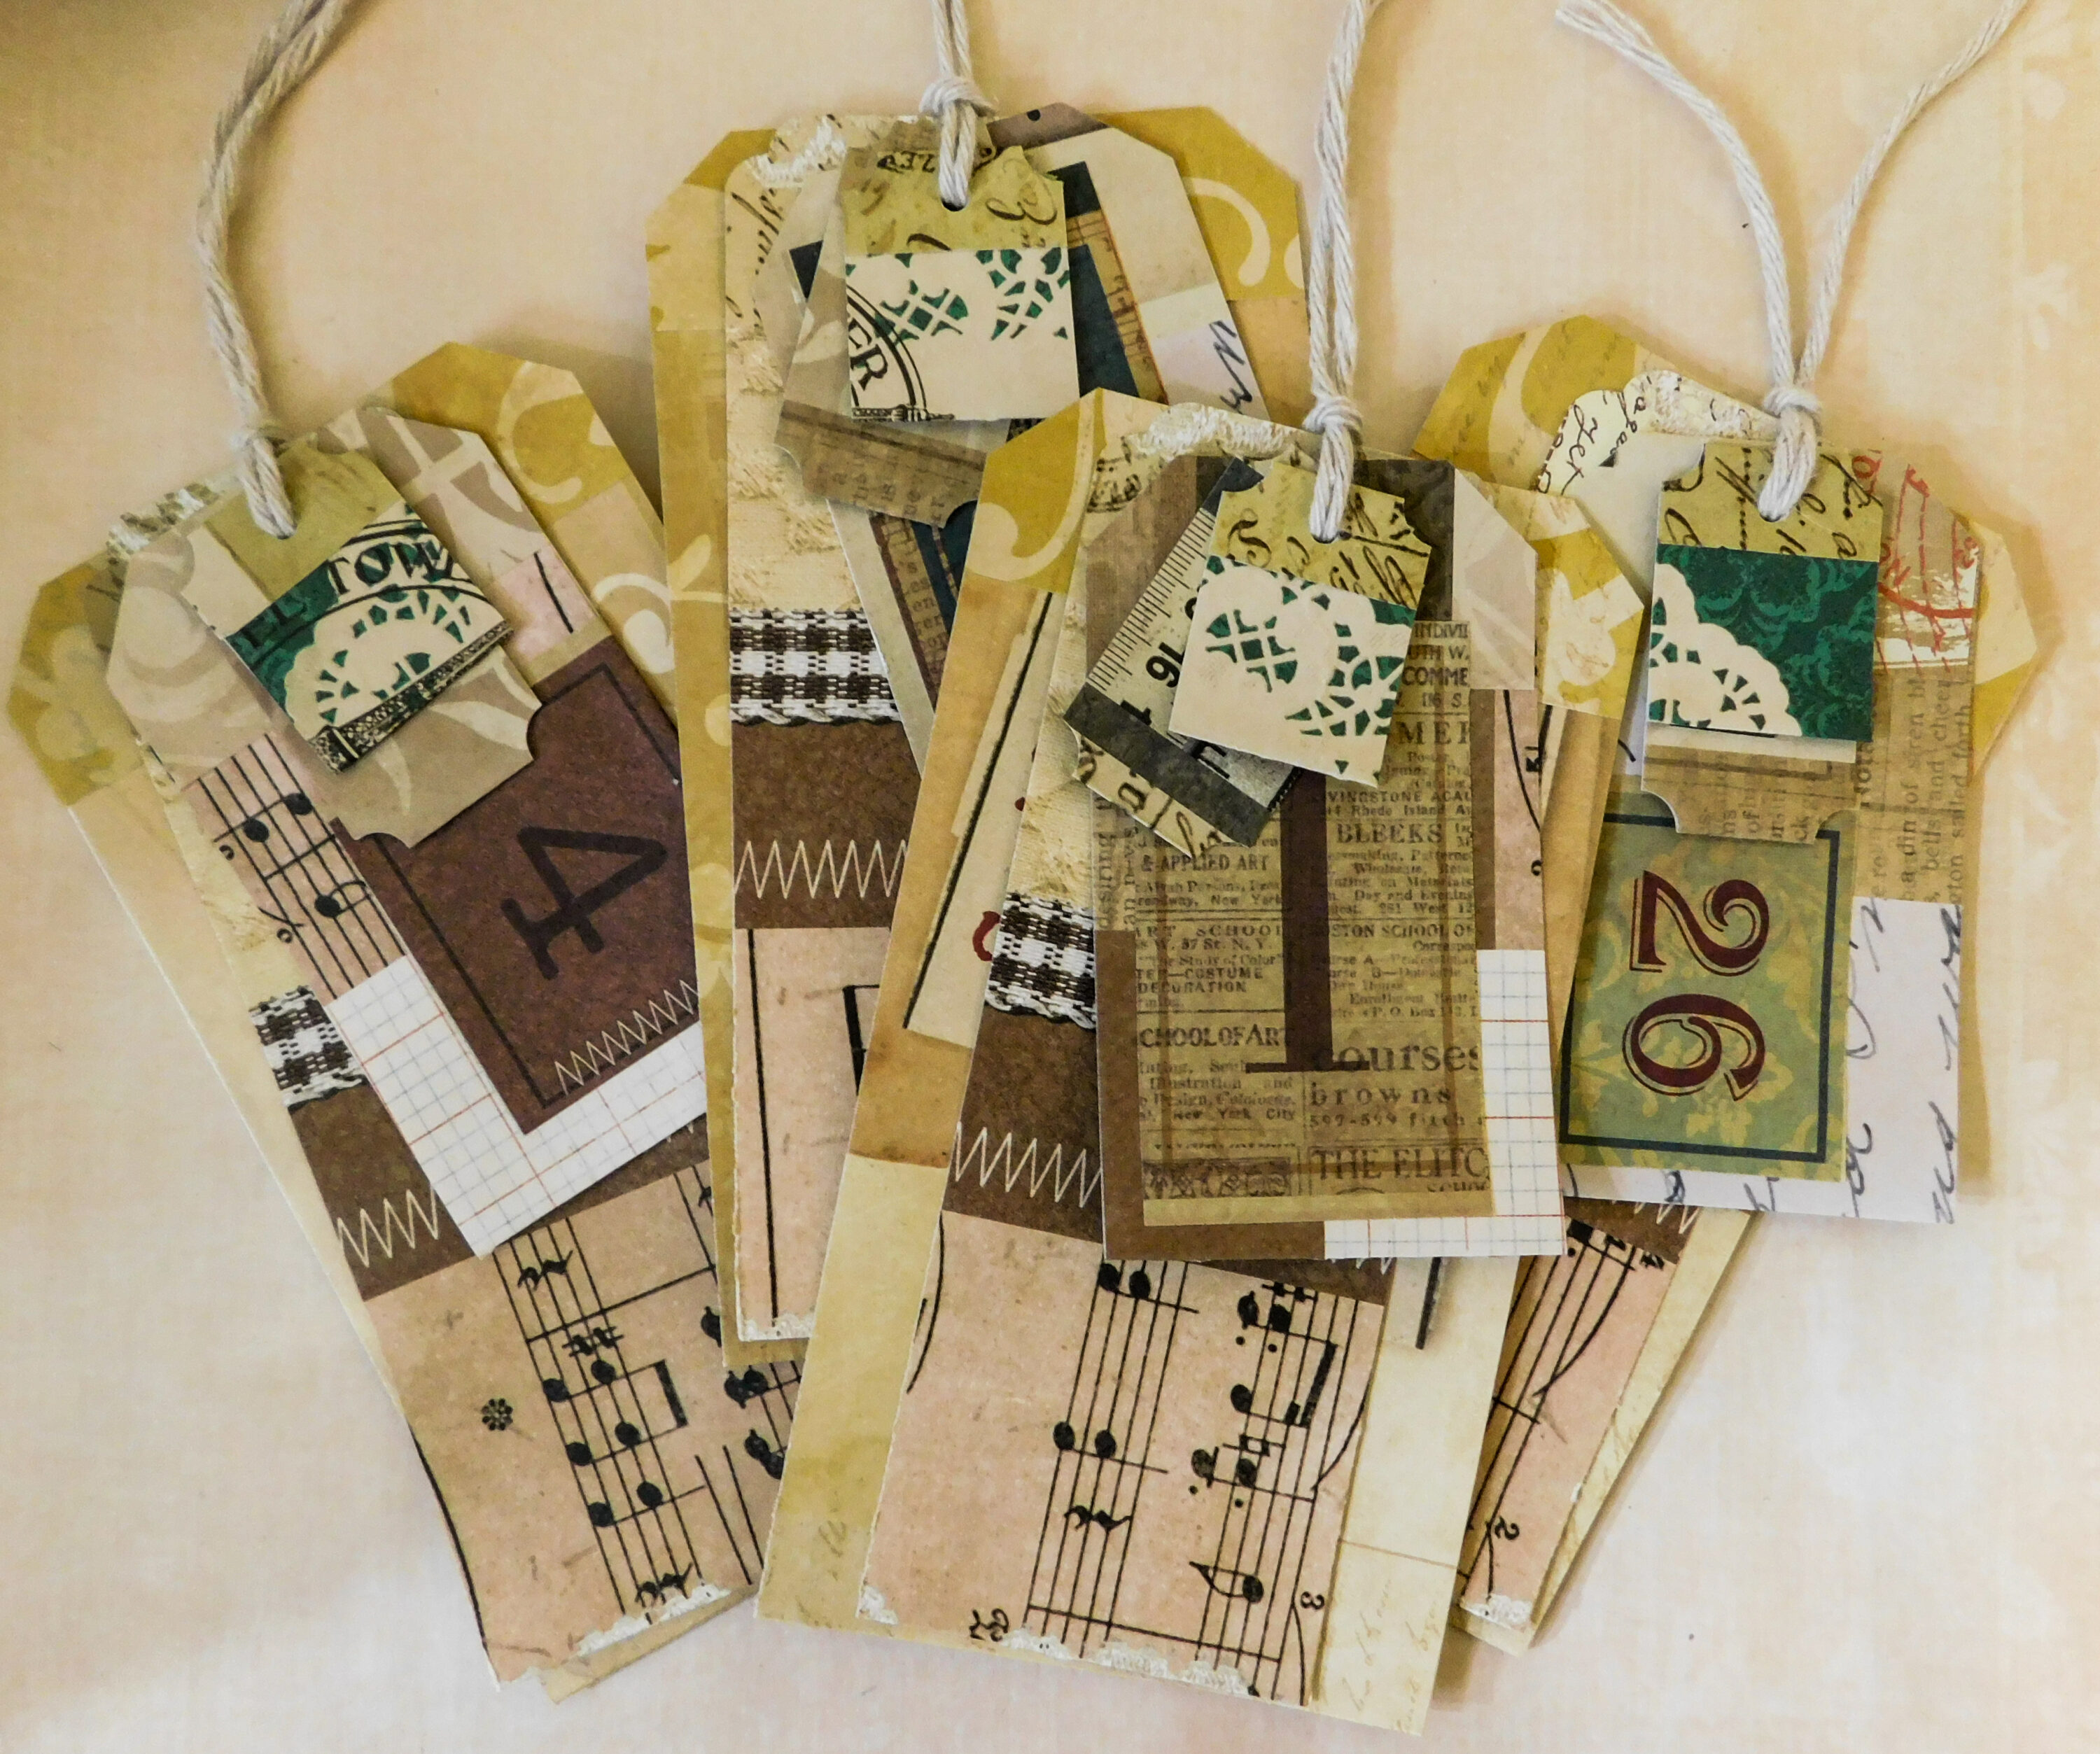
The finished created set as shown in the video tutorial.
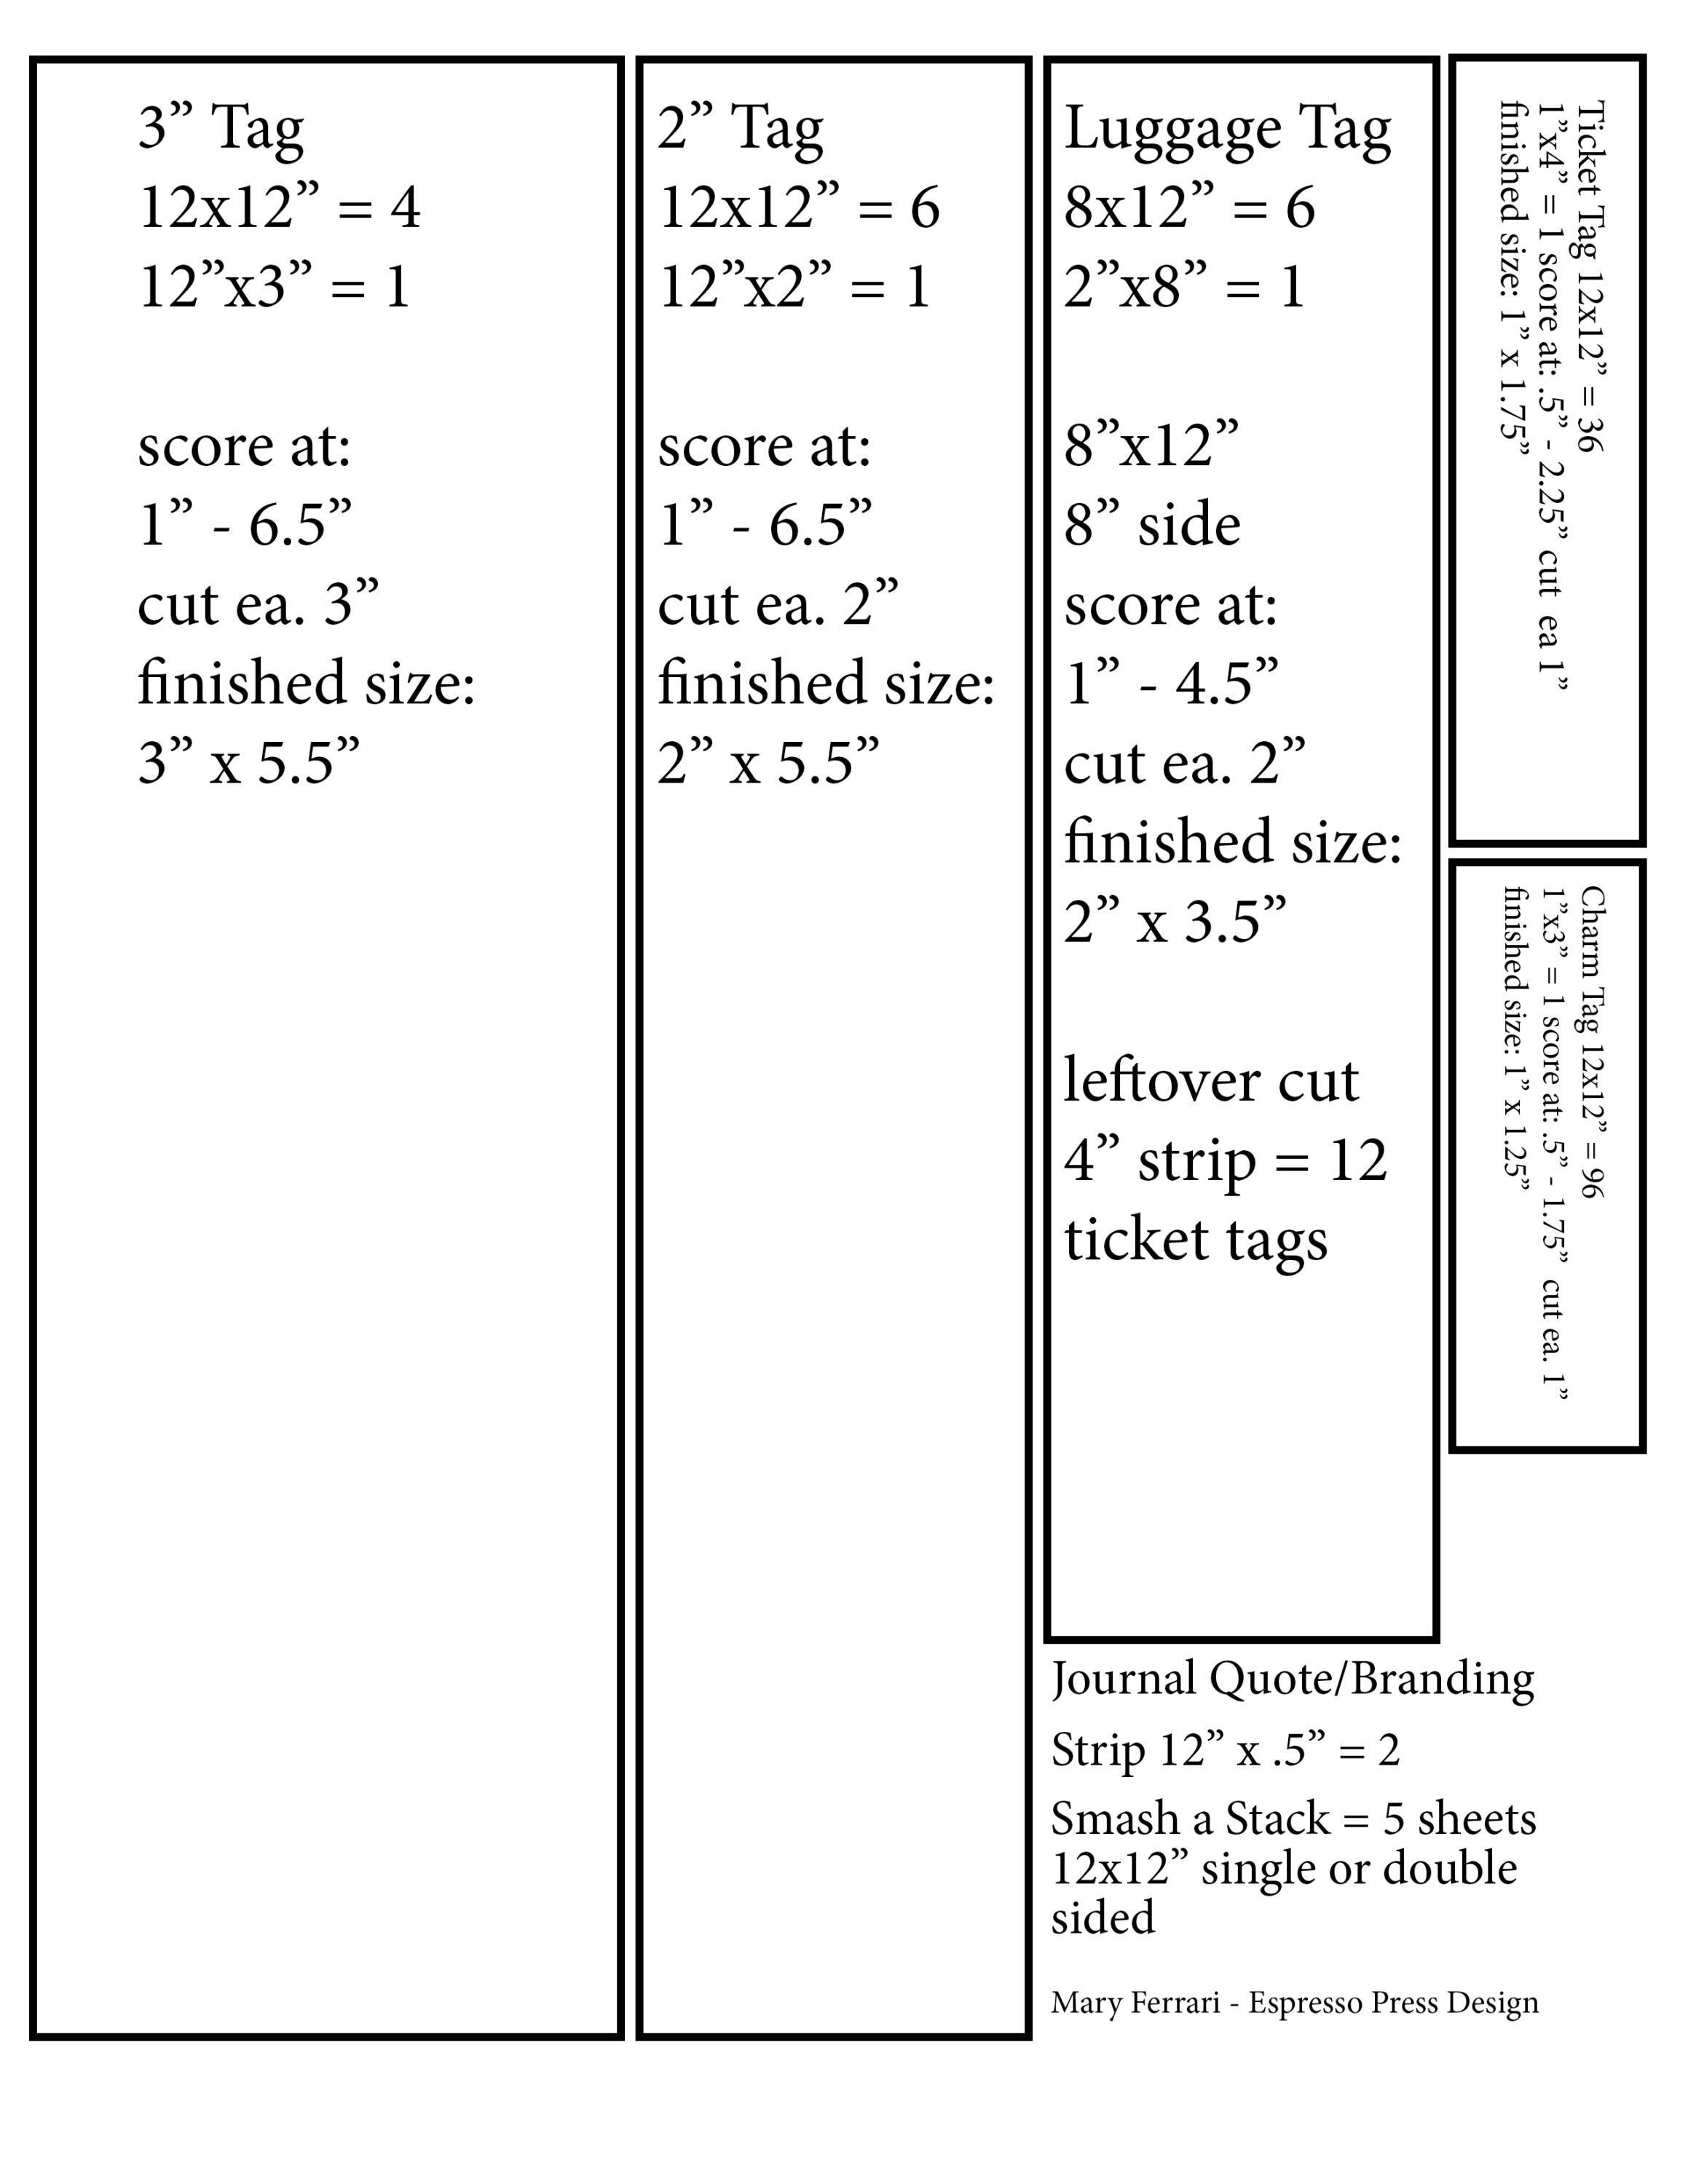
Download sheet so you can make this entire project.
Five Tag Set
This five tag set paper project will help you smash any 12×12″ paper pad as ideally you can use five sheets of paper in total for over 150 pieces of ephemera. You’ll get fewer large tags but you can use all leftover tags to create smaller sets or just save the smallest for extra ephemera. You’ll love how fast you can use your paper stacks to create this tag variety and even use the half inch branding strip if one is included using the same basic folding technique. Keep these handy measurements and use scraps too.
materials
What you’ll need:
5 sheets 12×12″ scrapbook paper your choice, any weight, double or single sided
Scoreboard or scoring tool
Trimmer
Glue
Paper punches
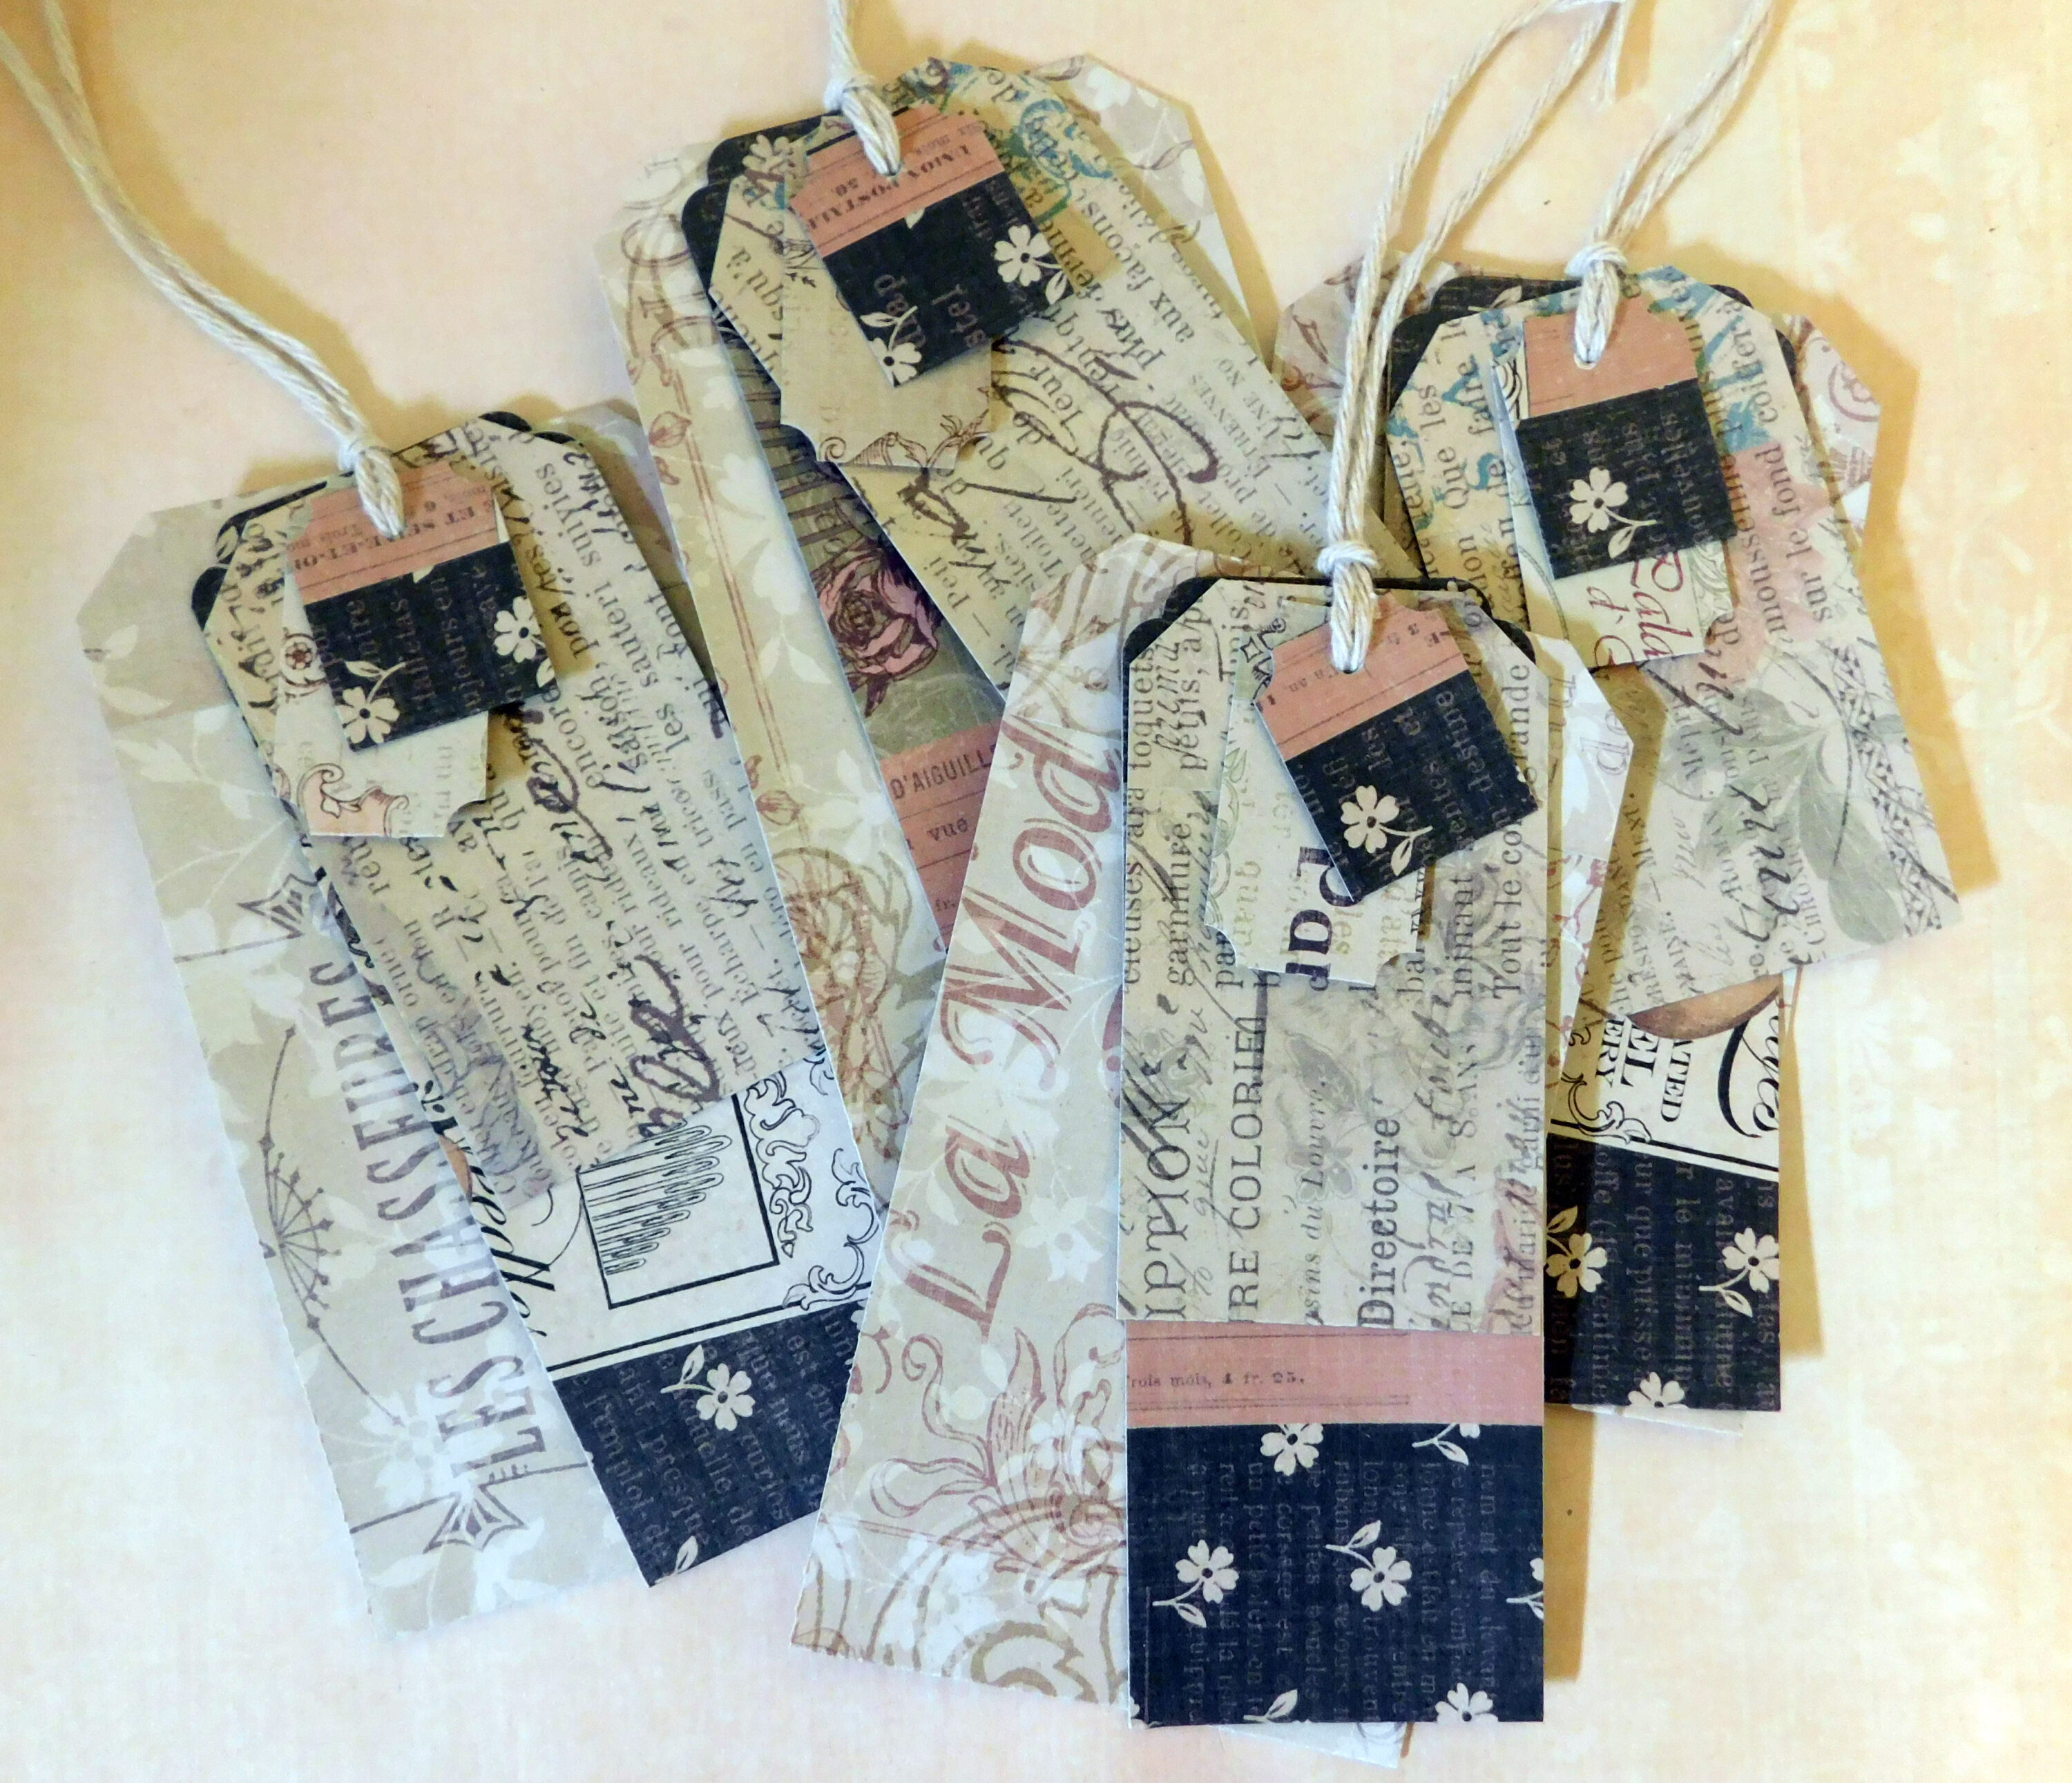
This tag set includes a 3″ wide tag, a 2″ wide tag, a 2″ luggage tag, a ticket tag and tiny charm tag each 1″ width.
Tips are included in each video tutorial for choosing the ideal papers and the tutorial at left shows how to make the two larger tags and the ticket tag. The paper stack shown is ideal for junk journals but you might want a heavier weight paper for other projects.
This tag set is a fun, fast and easy way to use up your large paper stacks as well as scraps and other ephemera that you can use.
Happy paper crafting!
.
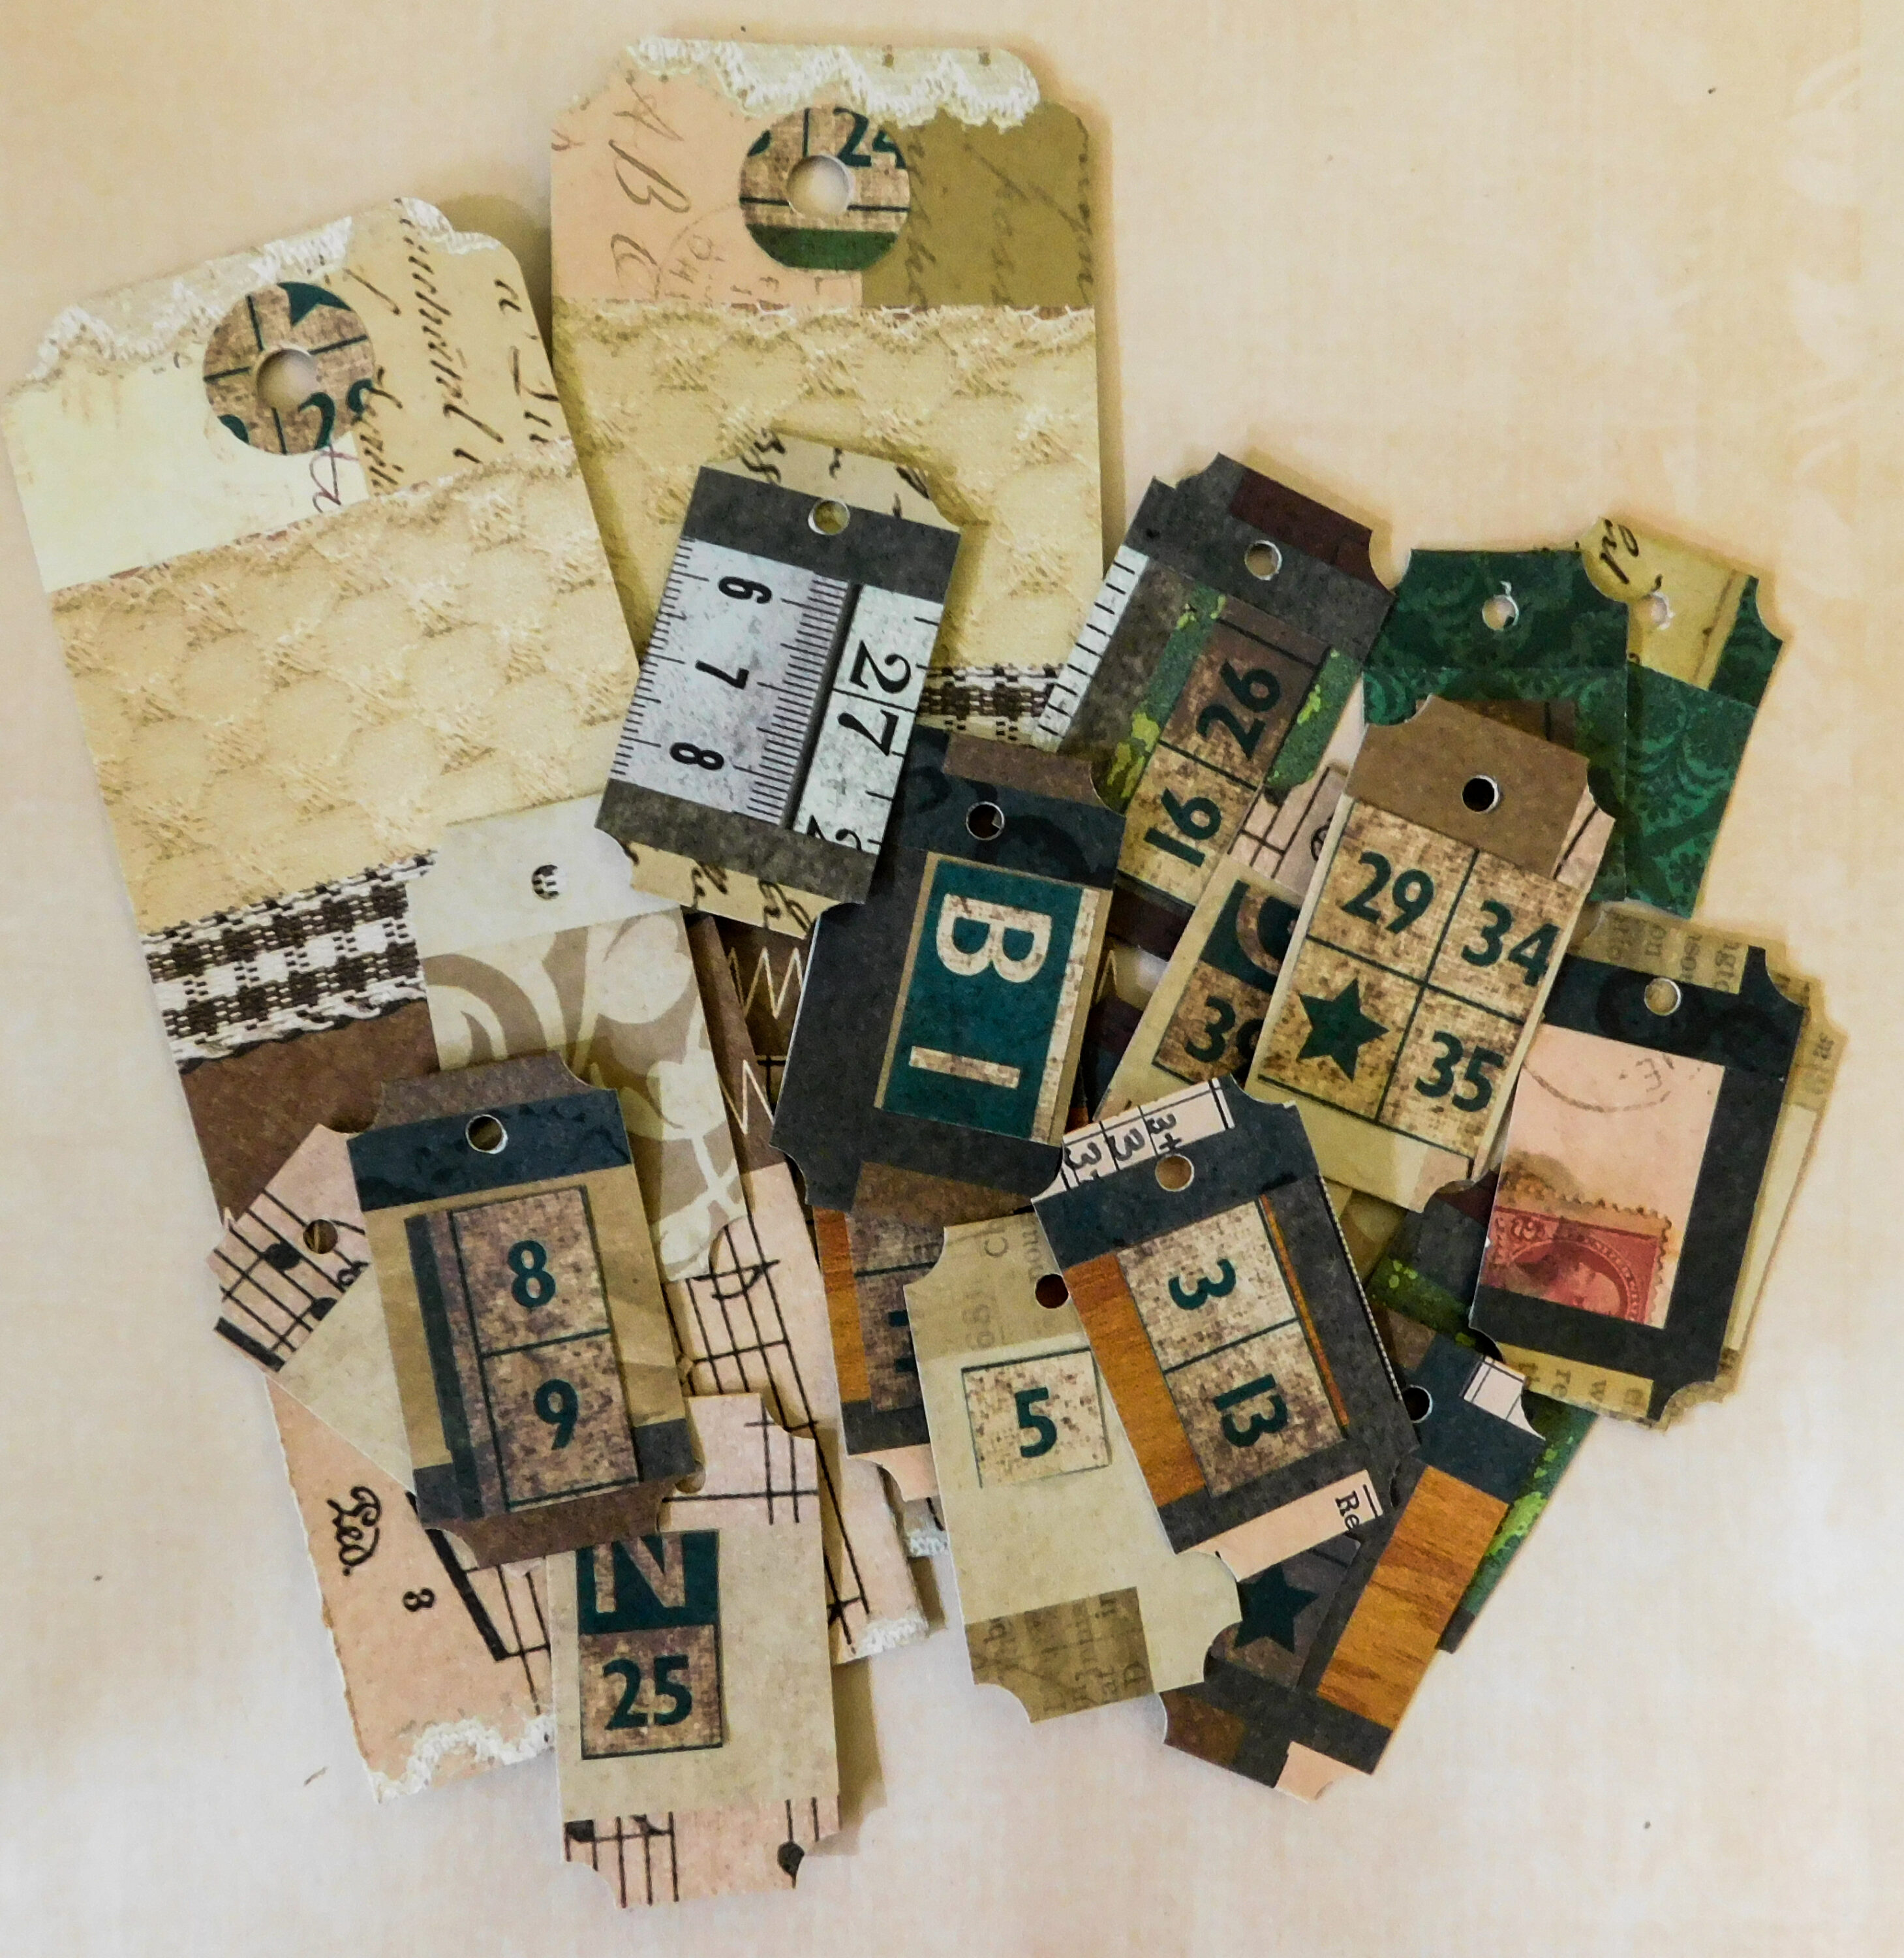
Extras and loads of fun ticket tags to use in future projects.
Tag Sizes And Quantities 5 sheets 12″x12″
4 – 3″ x 5 1/2″
6 – 2″ x 5 1/2″
6 luggage tags – 2″ x 3 1/2″
36 ticket tags – 1″ x 1 3/4″ (12 more if using the leftover 4″ strip from luggage tag cut)
96 charm tags – 1″ x 1 1/4″
2 creative journal tags from branding strip approx. 1/2″ by approx. 5 1/2″
Two, Three Inch And Ticket Tags
These tags are made with the same two fold technique.
materials
What you’ll need:
2 – 12×12″ scrapbook paper your choice, any weight, double or single sided
1 – 12×12″ paper cut into 4″ strips
Scoreboard or scoring tool
Trimmer
Glue
Paper punches
Align your paper as desired on the scoreboard. Score at 1″ and 6 1/2″ for each tag. Fold and glue as shown. After gluing each sheet cut one set at 3″ intervals and the other at 2″ intervals.
For the ticket tag align your paper on the 4″ side and score at 1/2″ and 2 1/4″. Fold and glue as shown. Cut each corner with a ticket corner punch.
See video tutorials below to learn how to make the luggage tag, tiny charm tag and creative journal tags.
Happy paper crafting!
.
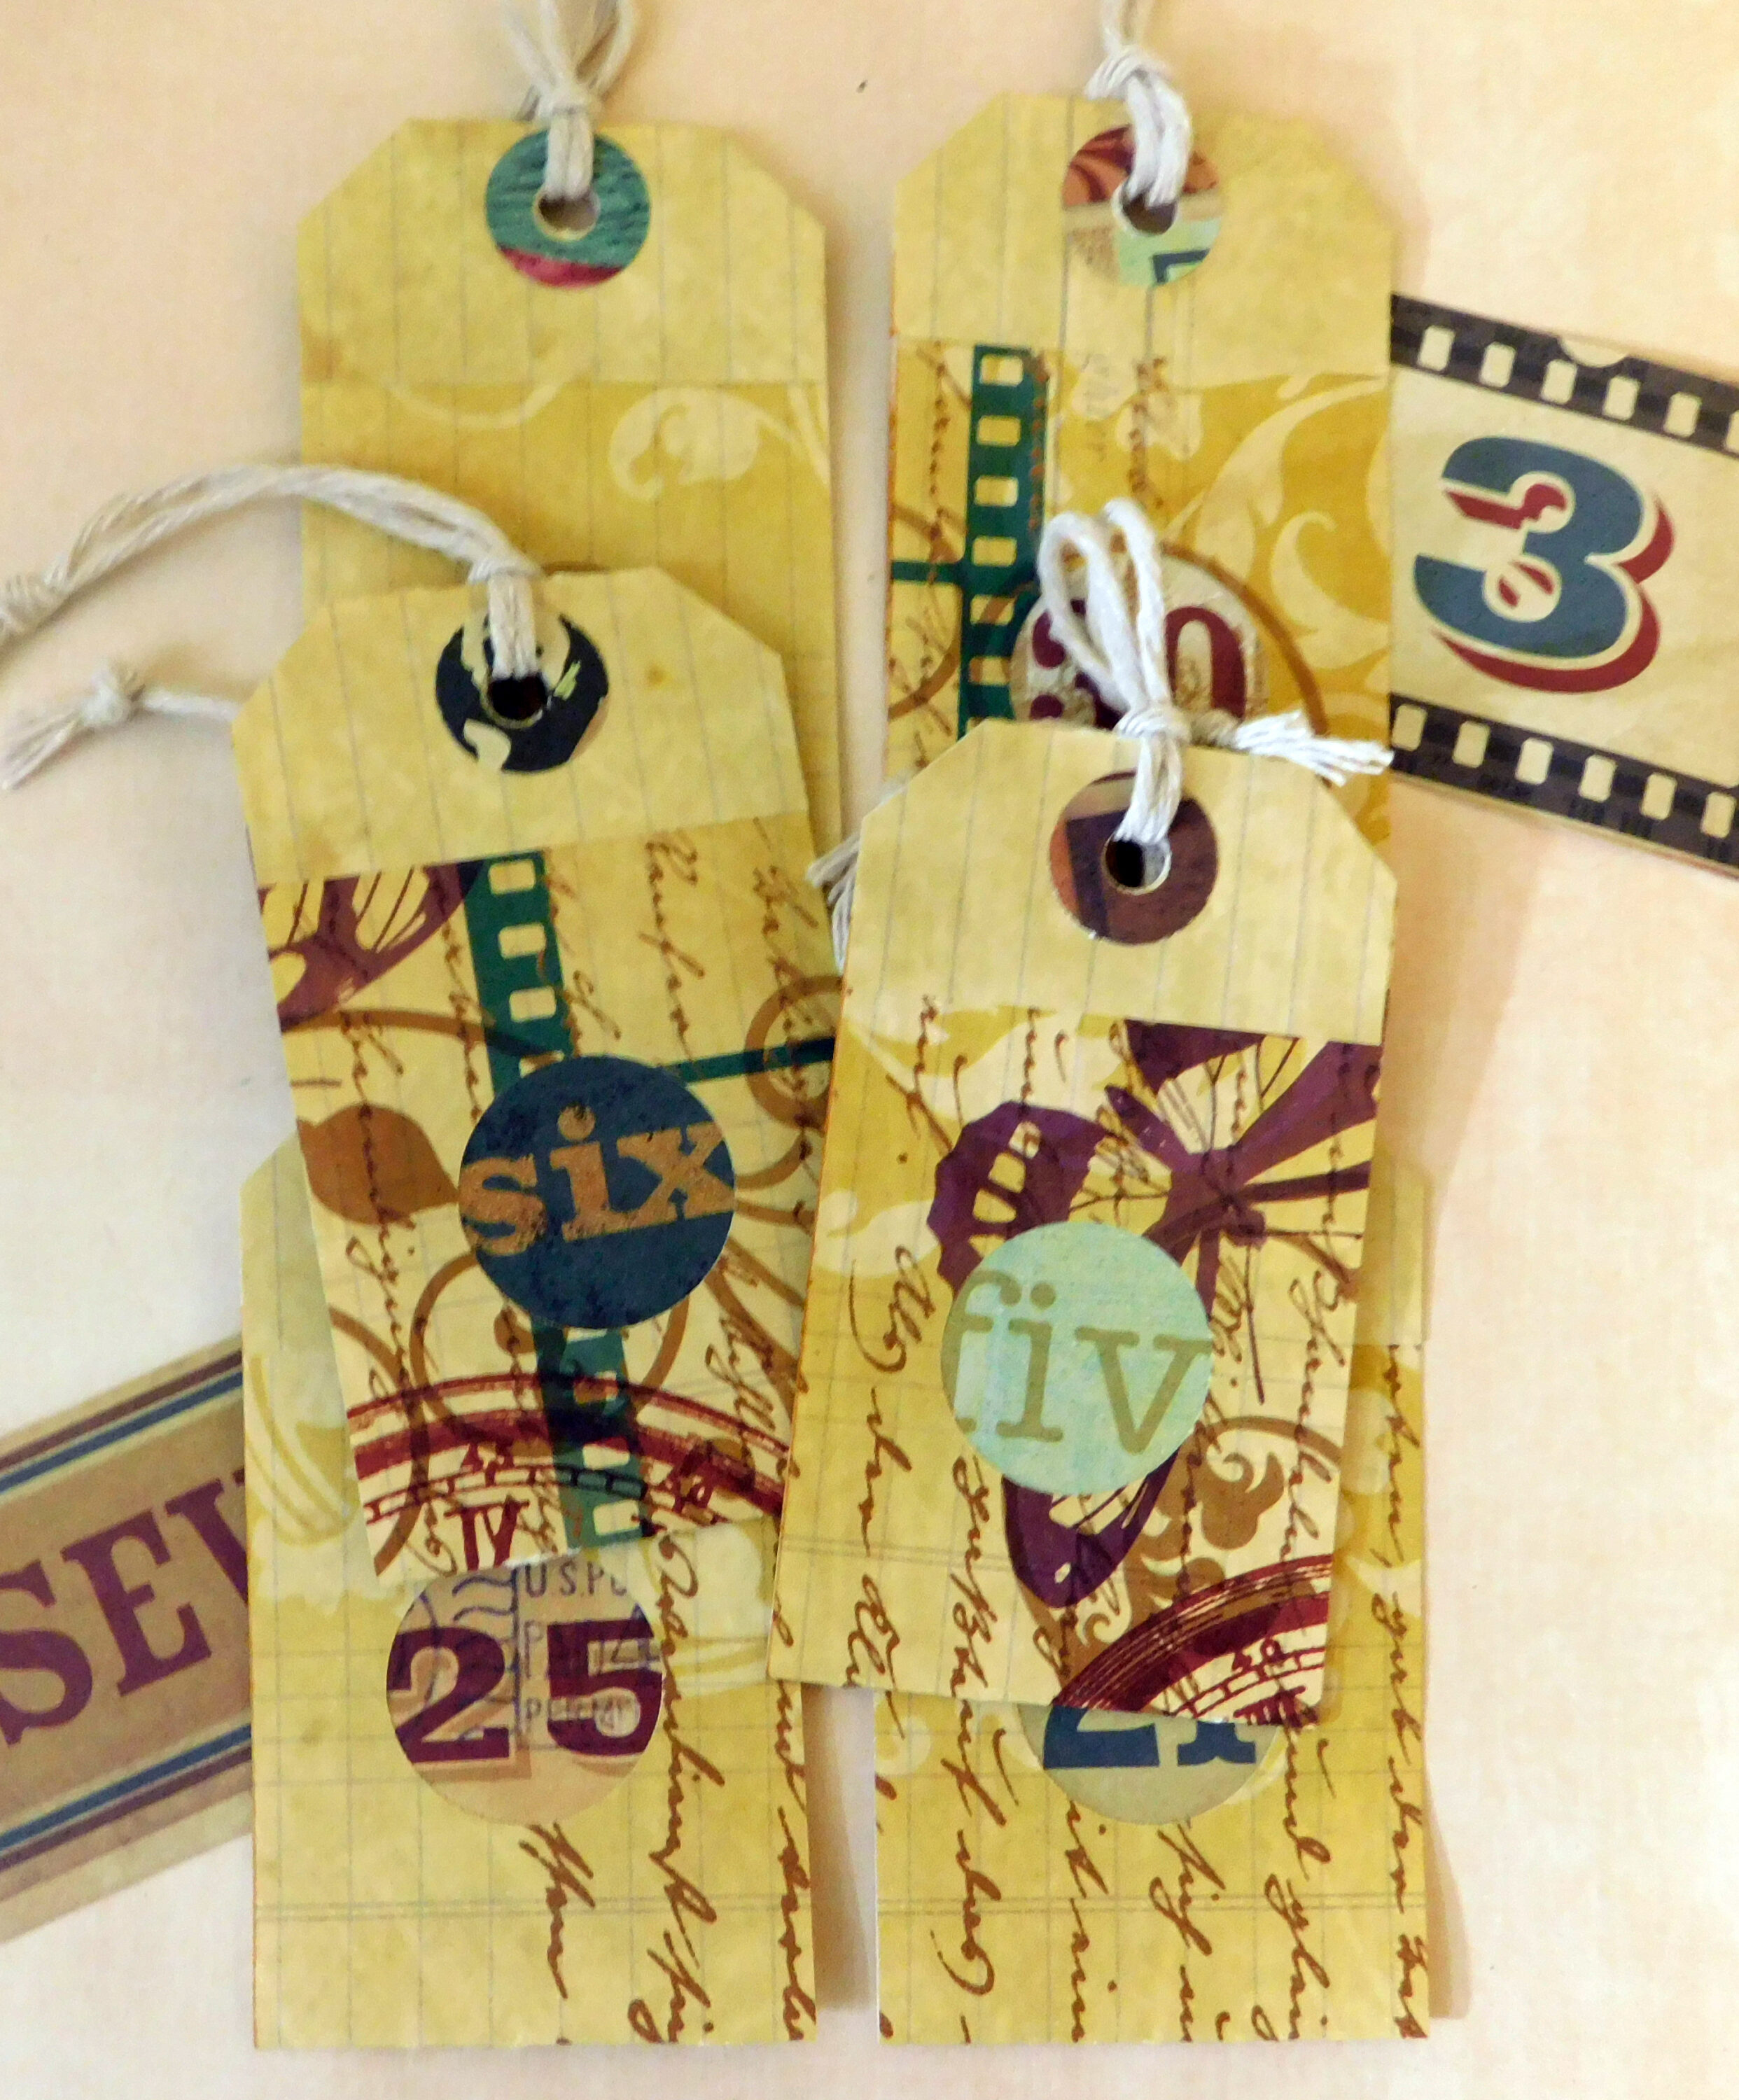
DIY Luggage or Coin Collector Tags
Mass make a set of six of these cute luggage or coin collector tags for ephemera, craft shows or Christmas. Choose your paper, measure, score, fold, cut and glue and this retro design comes together in a hurry. Choose a travel or collector theme and embellish as little or as much as you like. Keep the measurements handy for scraps too and make a quick tag for any occasion.
materials
What you’ll need:
Scrapbook paper 8″x12″ (single sided) or any paper that measures 8″
Scoreboard
Glue
Scissors or paper trimmer
Embellishments
String
Standard size hole punch and/or a 1″ size hole punch for coin collector style tag
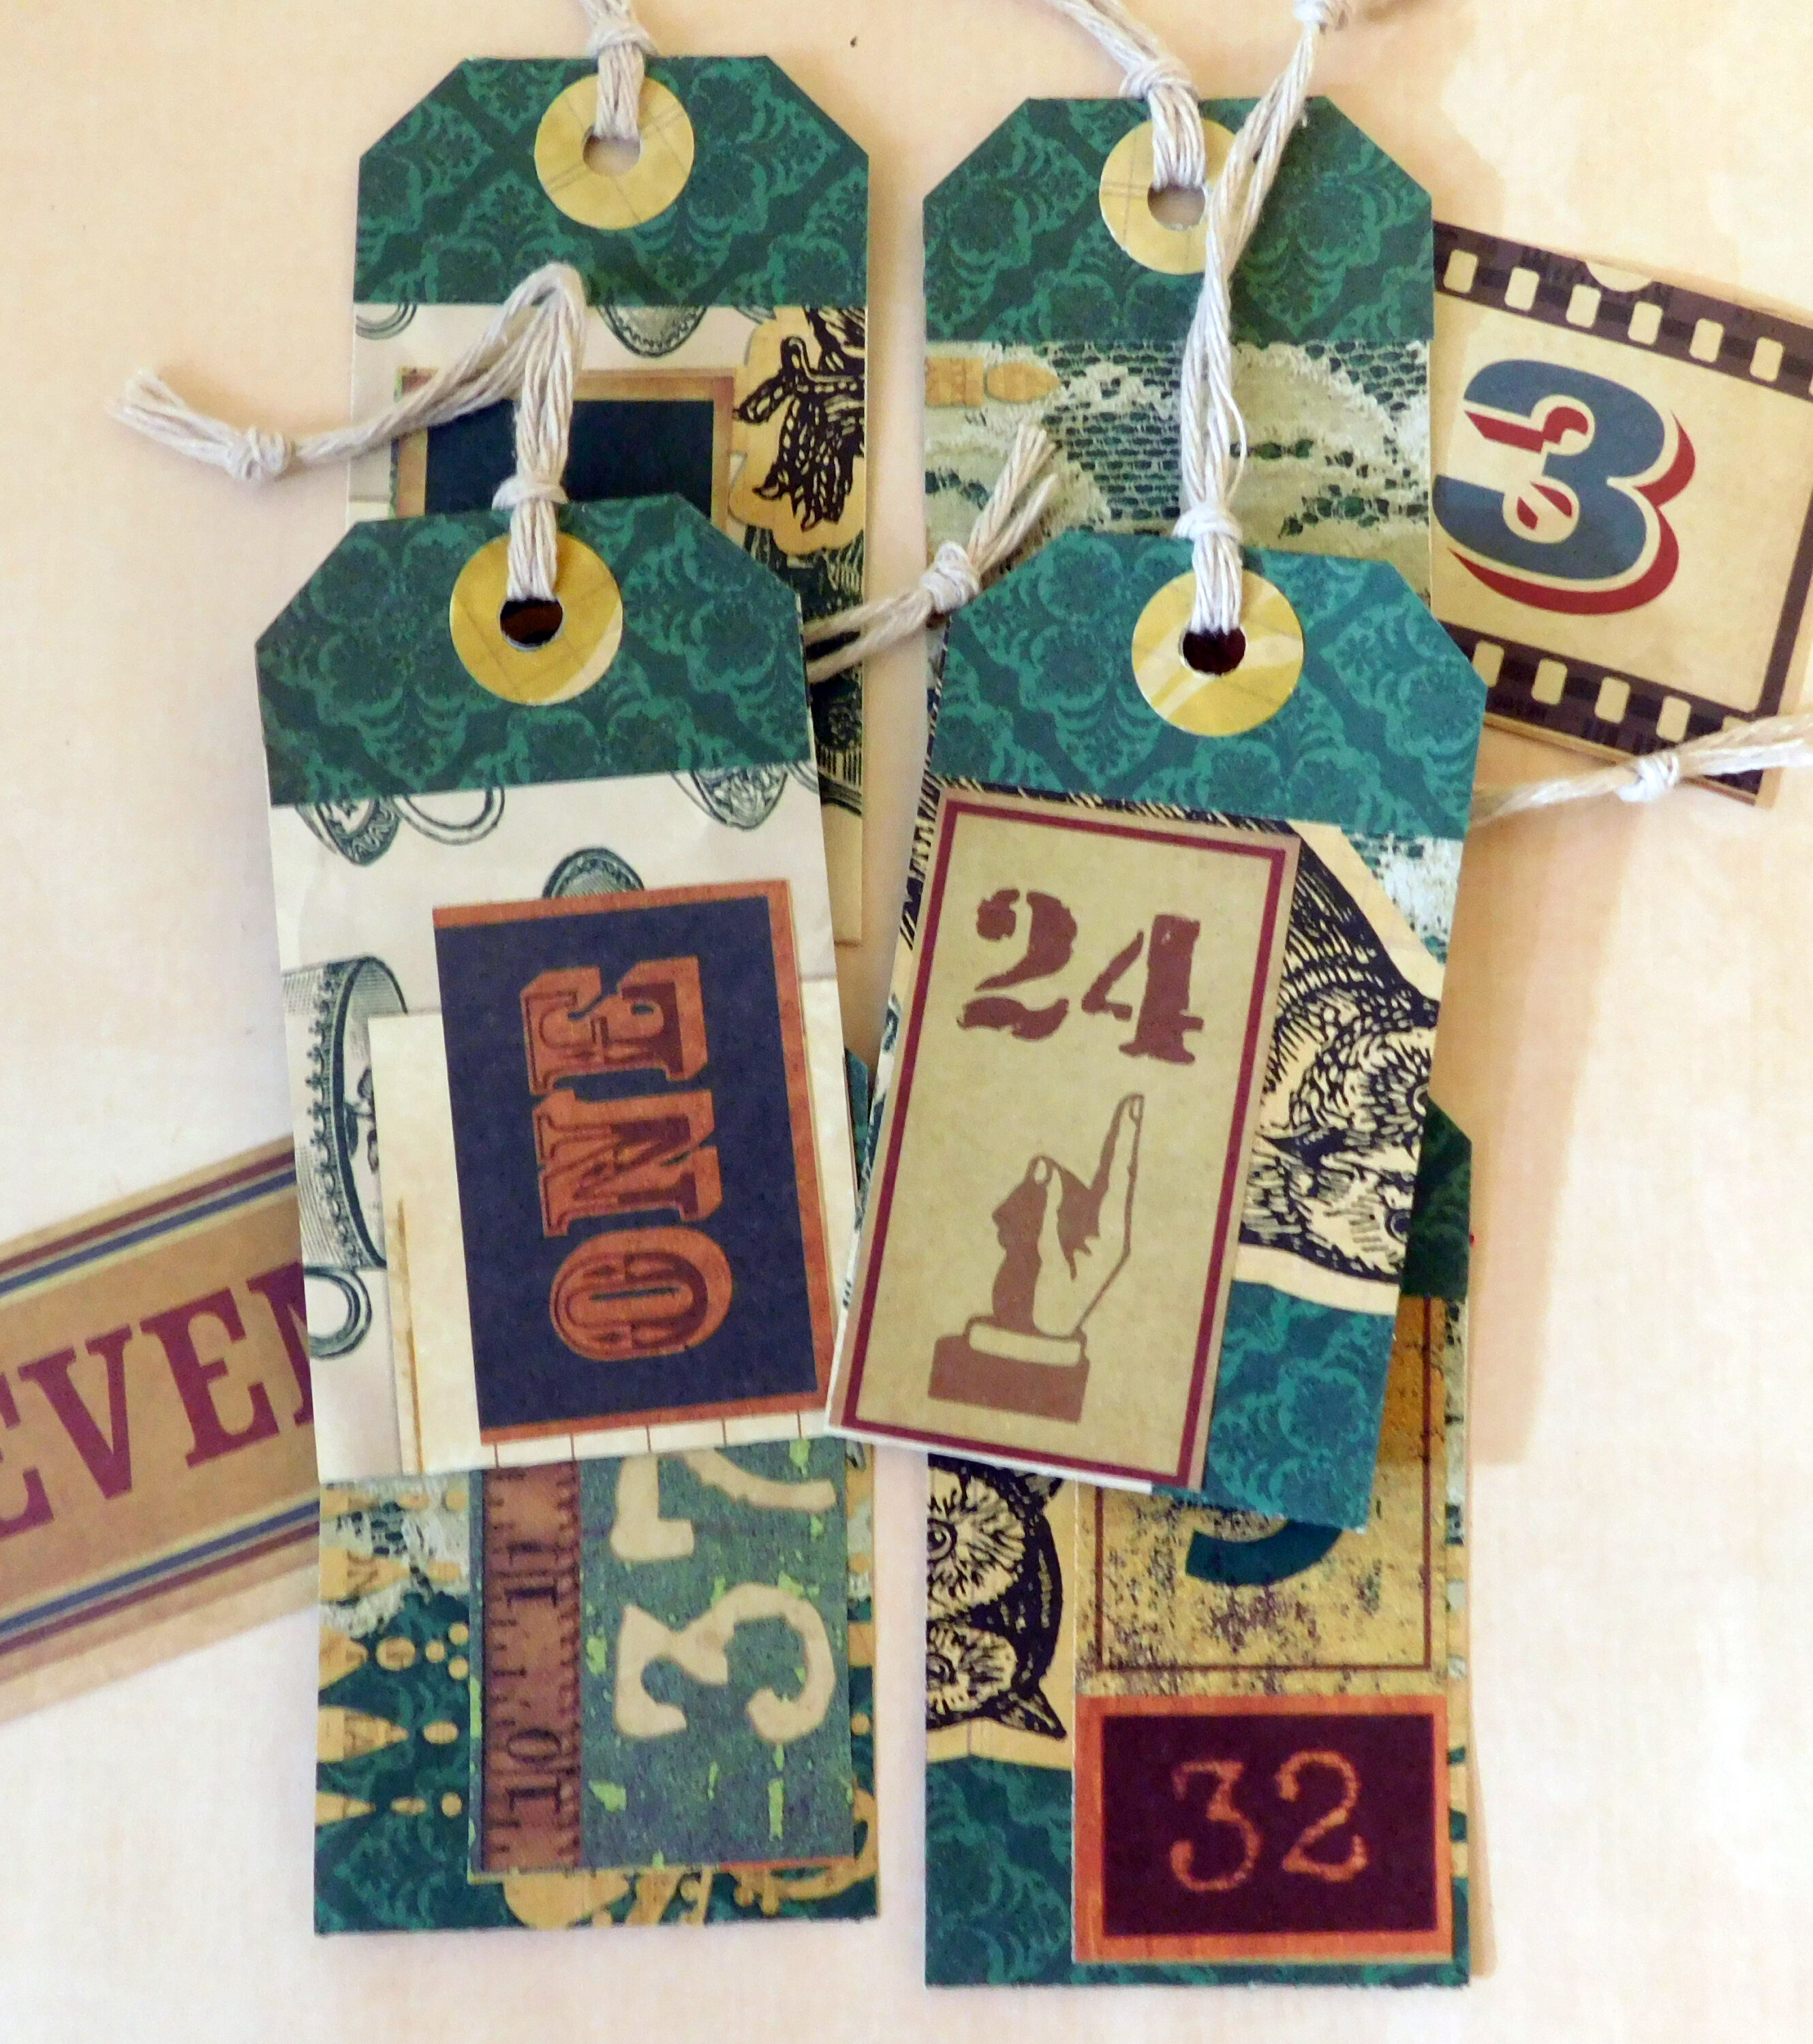
Begin by choosing an 8″x12″ piece of scrapbook paper keeping in mind that you’ll want the fold over top tab to remain prominent as a design feature. Some tips for choosing paper in the video tutorial. Place your paper with the 8″ side at the top of your scoreboard and score at 1″ and 4 1/2″. Fold and burnish. Cut every 2″ along the 12″ side for a total of six tags. Apply glue on the inside folds and secure making sure the top flap is over the bottom flap. This is the front of your tag. Use a tag corner punch or cut your corners by hand at an angle. Be sure a reinforcer will fit at the top of your tag in the center and punch a hole with a standard size hole punch. A reinforcer adds to the tag style. Embellish as desired.
The finished tag size is 2″x 3.5″. To make this style of tag using scraps use any 2″ x 8″ piece of scrap, score at 1″ and 4 1/2″ and complete assembly as demonstrated. An 8″x8″ piece of paper will make 4 tags if you want to begin with standard size 8.5 x 11″ paper.
More tips and ideas:
- Keep your text vertical
- Choose a travel theme for kids at Christmas
- Glue dot a chocolate coin or peppermint candy to the center circle
- Save a real coin or penny by making a specimen type window for the coin collector style
- Try using a master board for a fun style
This tag style is versatile, quick, fun and a great mass make and scrap buster. Save a template and keep the measurements handy for future tag making and enjoy this luggage or coin collector tag for future projects.
Happy paper crafting!
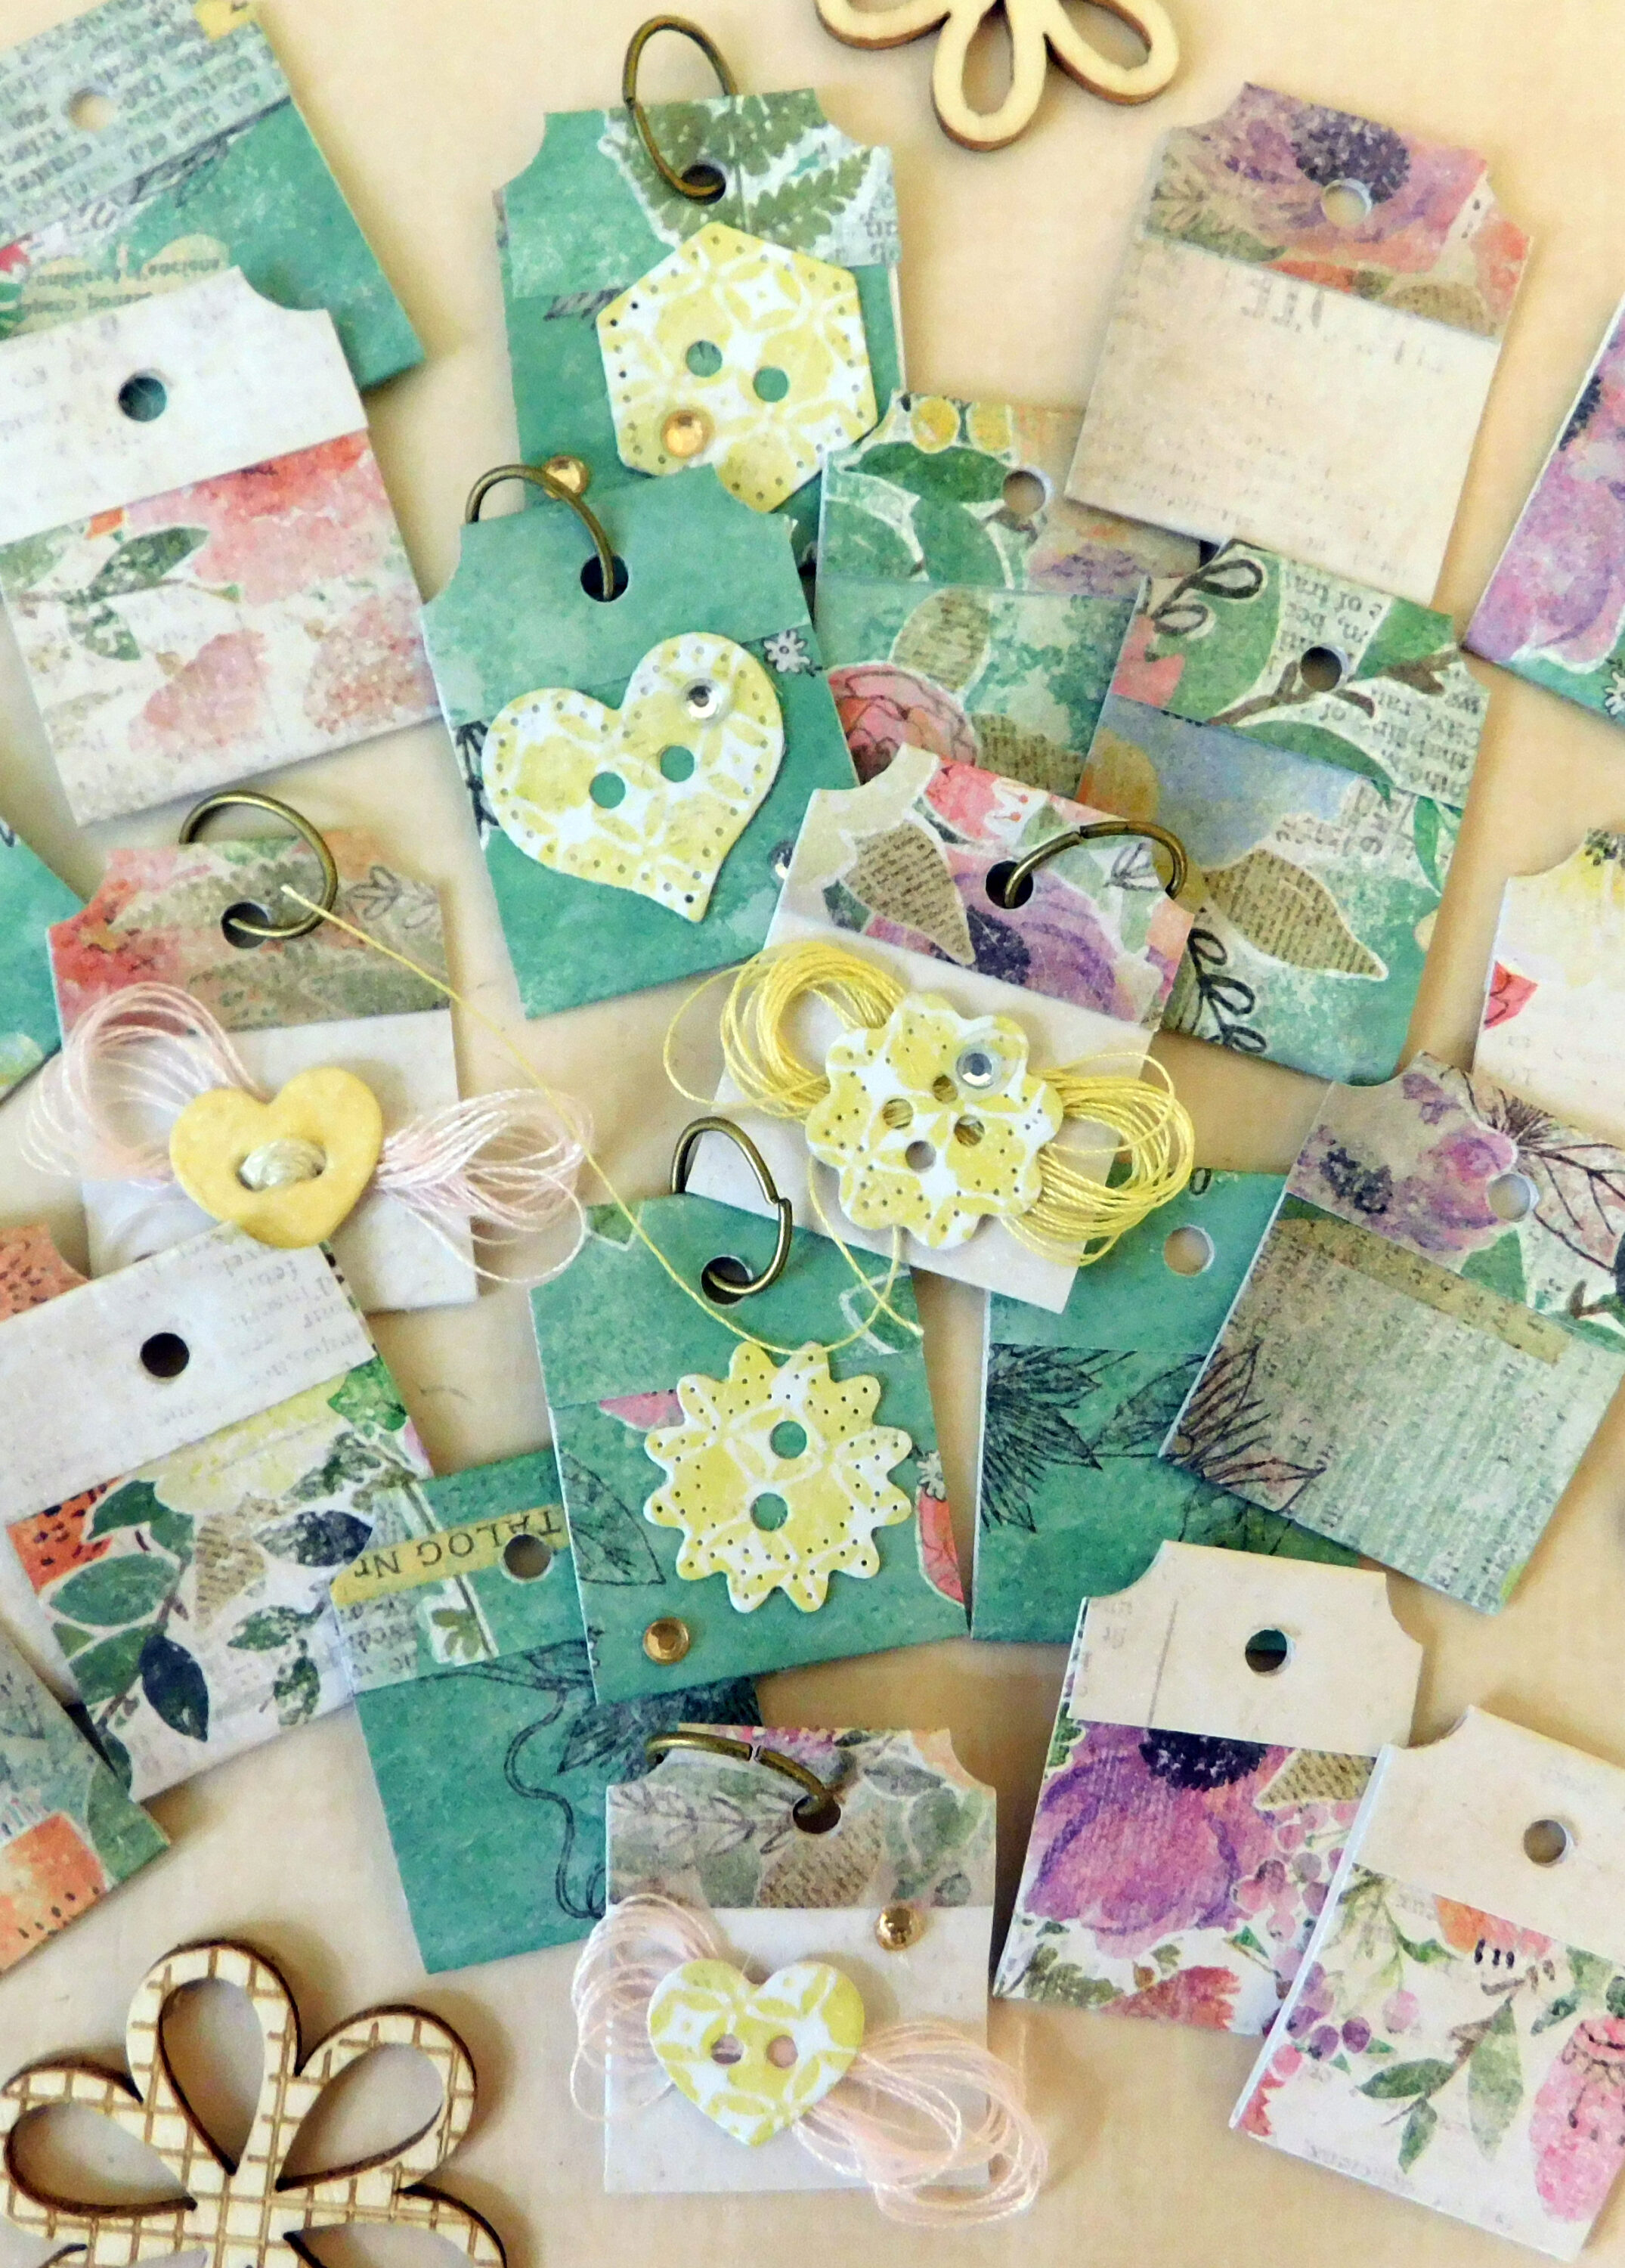
Tiny Tag Charms
These adorable tiny tag charms are a quick and easy paper craft idea that you can use to adorn any project. Make 12 in fifteen minutes using a 6″x6″ piece of scrapbook paper. A scrap buster mass make that is also a super seller idea for shops or craft shows. Embellish or let the paper design shine through, you decide. Great trash to treasure and fast holiday make too!
materials
What you’ll need:
1 6″x6″ scrapbook paper
Scoreboard or scoring tool
1/8″ paper punch
Scissors or trimmer
Glue
Paperclips (optional)
Embellishments (optional)
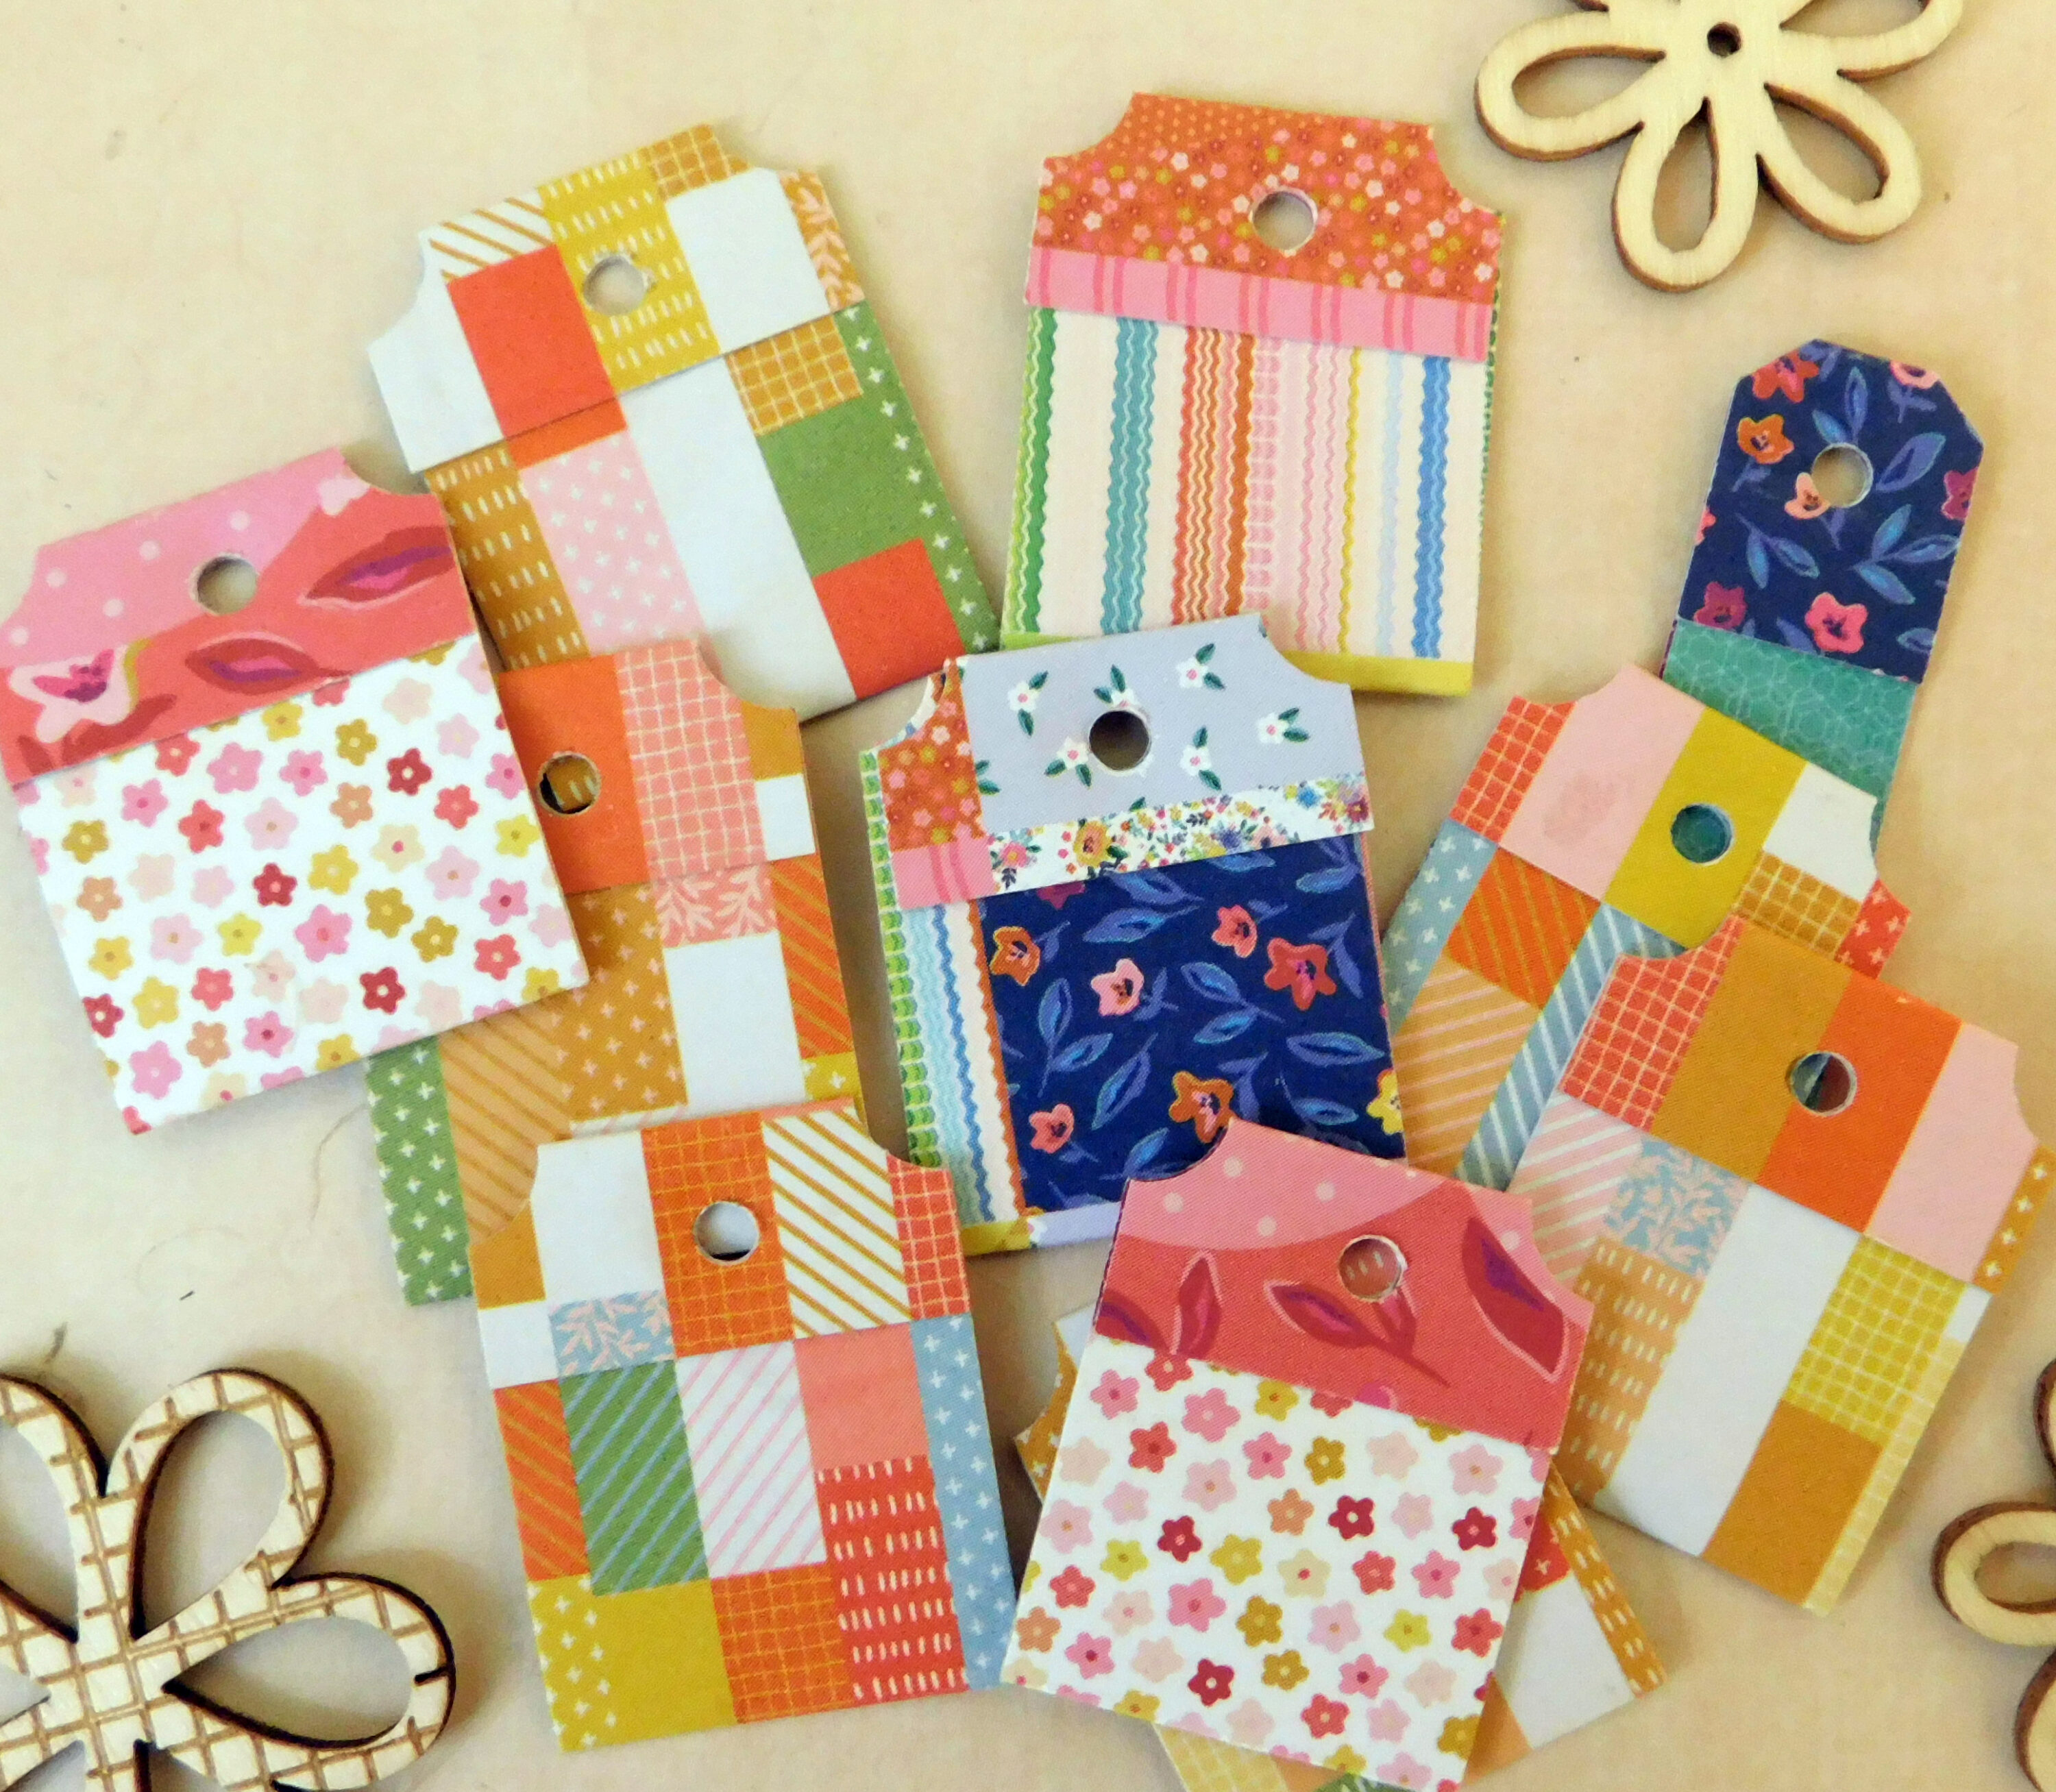
Begin by cutting your 6×6″ paper in half, creating two 3″x6″ pieces. Choose your design direction carefully, make sure text or images will be vertical or readable on each side when folded. Place one piece on your scoreboard with the 3″ side at the top. Score at 1/2″ and 1 3/4″. Fold, burnish, cut, glue and assemble as shown in video tutorial. Repeat with the other piece.
You can use any scrap paper as long as it is 3″ wide, 1″x3″, 2″x3″ or 3″x3″. As long as you have a leftover cut piece that is at least 1/2″ x 3″ wide you can make additional smaller tags for greater variety.
Use any paper desired, some ideas include books, cards, scrapbook paper covers. To make tags from magazines use the cover as you’ll want a slightly heavier paper. See the video for more tips and ideas.
Embellish or let the paper design shine through. Add a jewelry jump ring or bulb pin in the hole if desired. These adorable tiny tags are a fast and easy mass make that will add plenty of charm to your collection or could be a super seller in your shop or at your next craft fair.
Happy paper crafting!
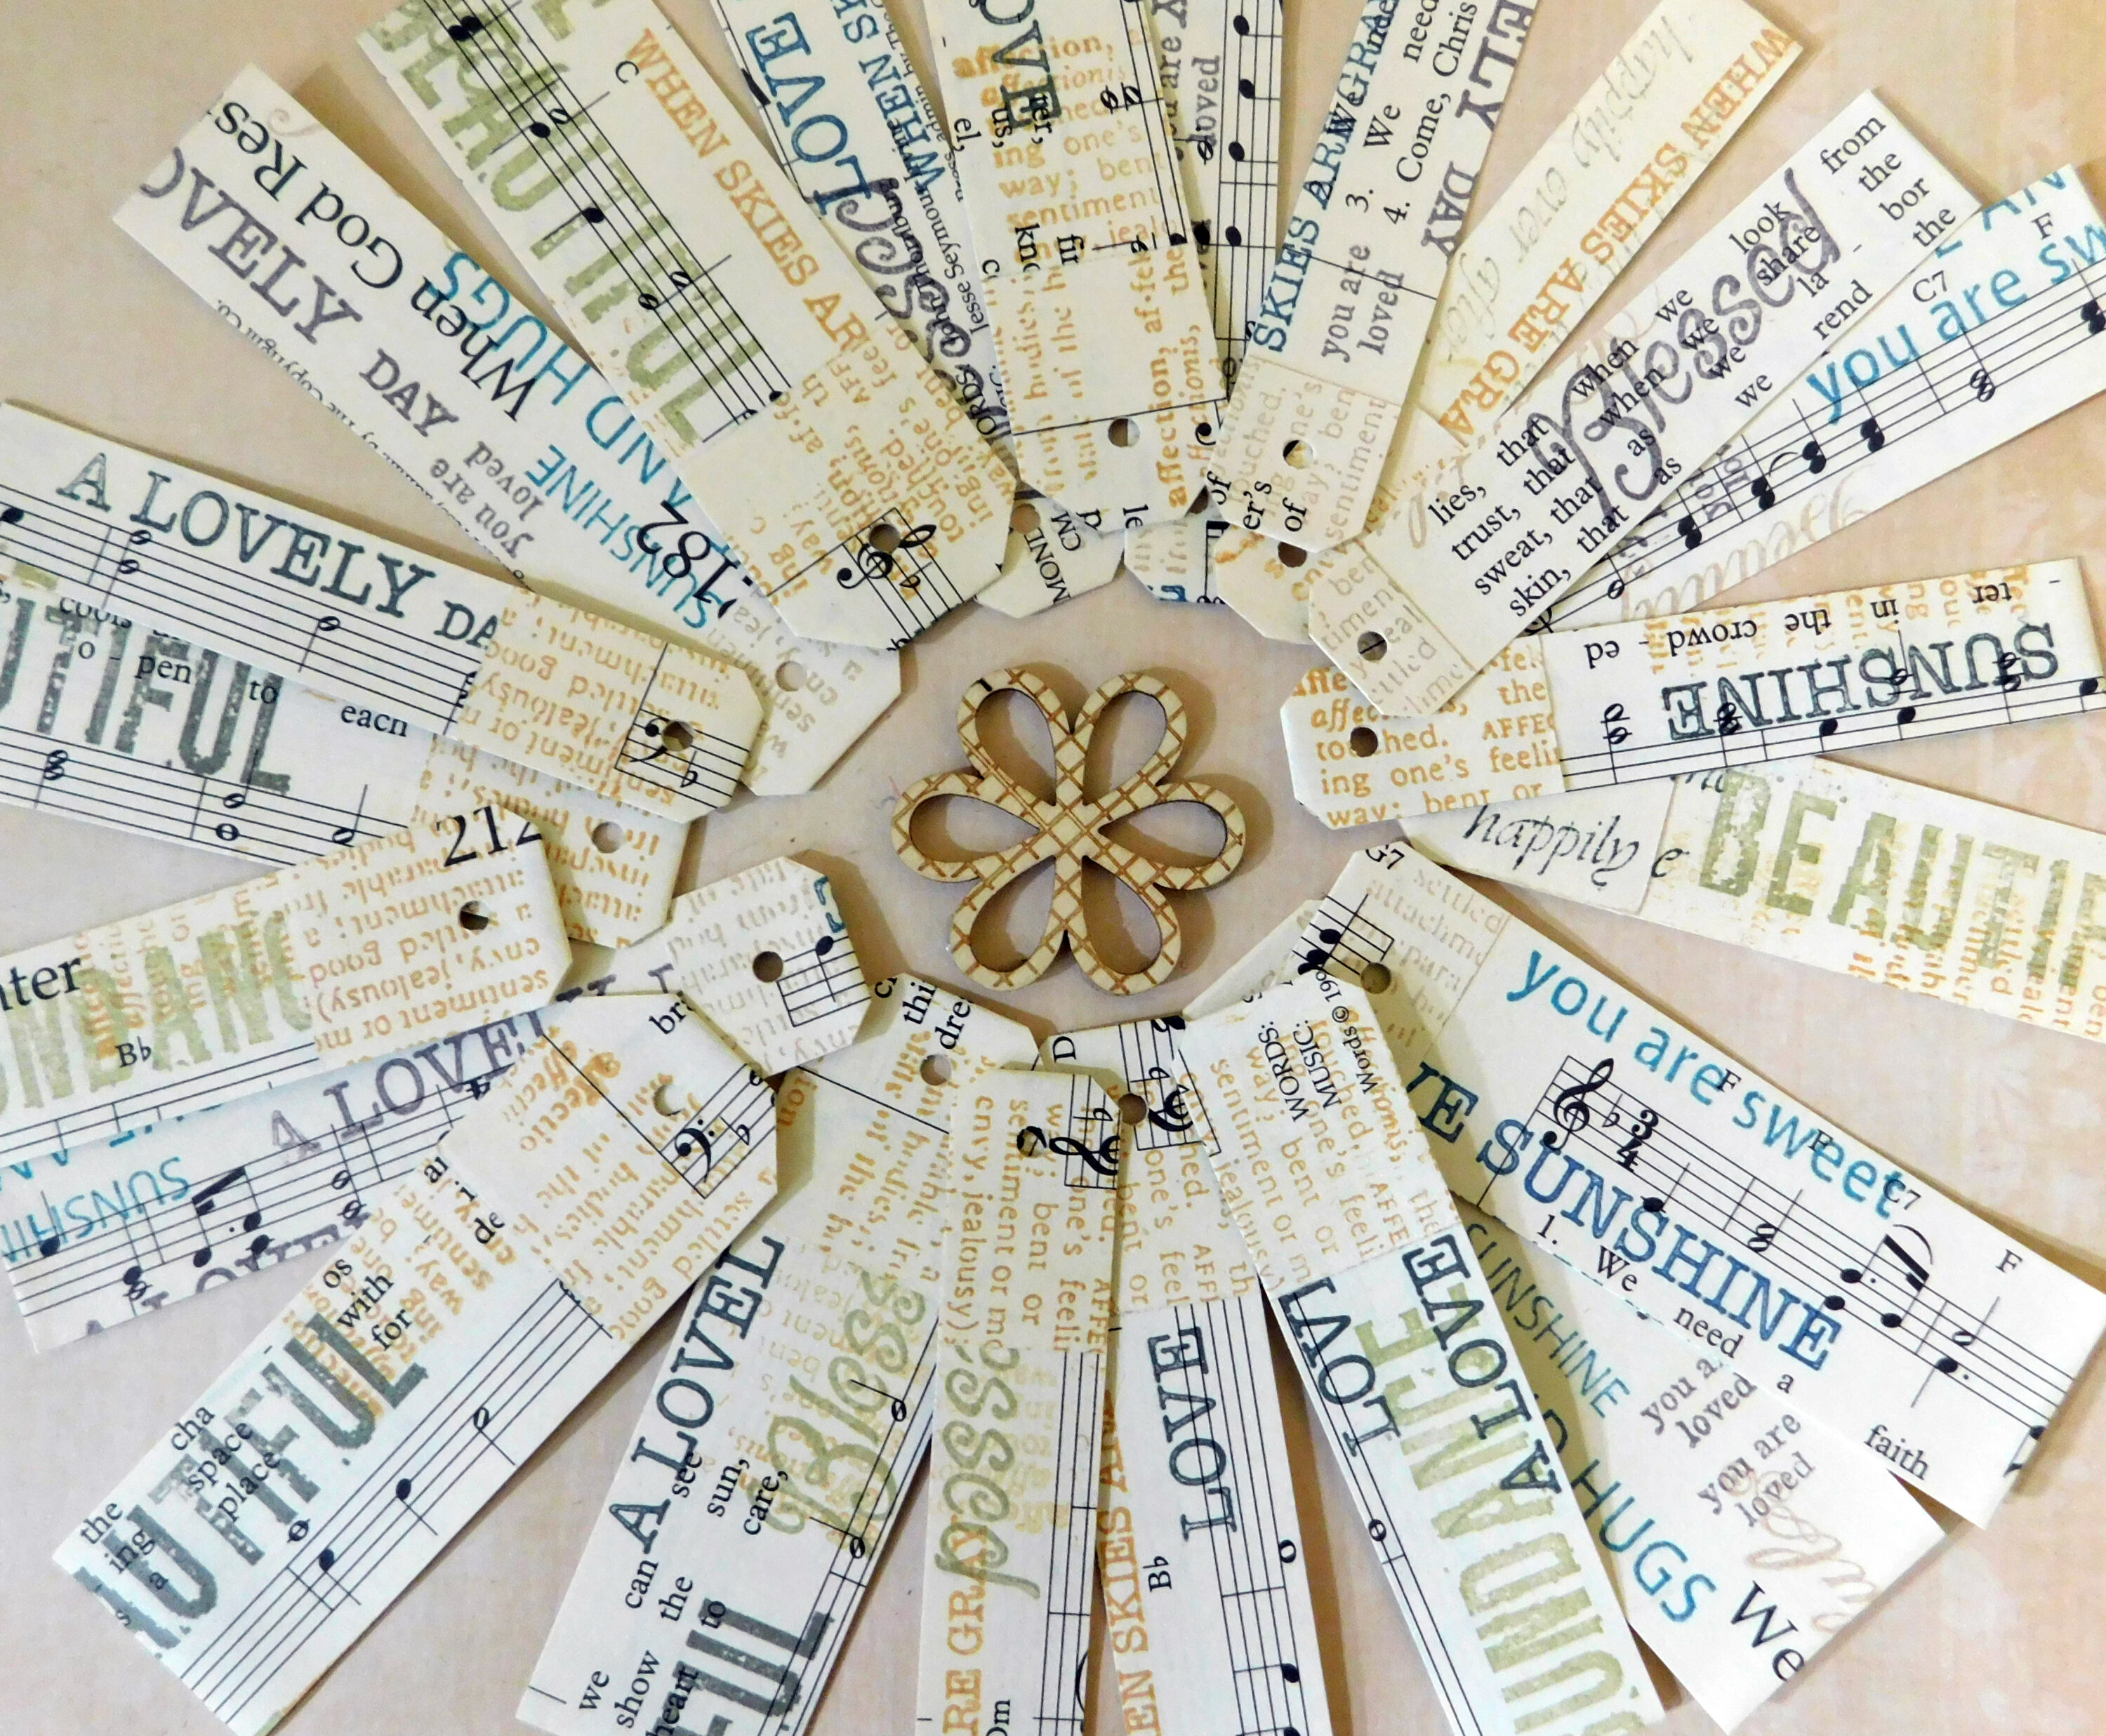
Choose any paper base from a book or music sheet. Choose any words or phrases from your stamp collection that inspire you and choose an ink assortment for stamping. Cut and stamp randomly for interest.
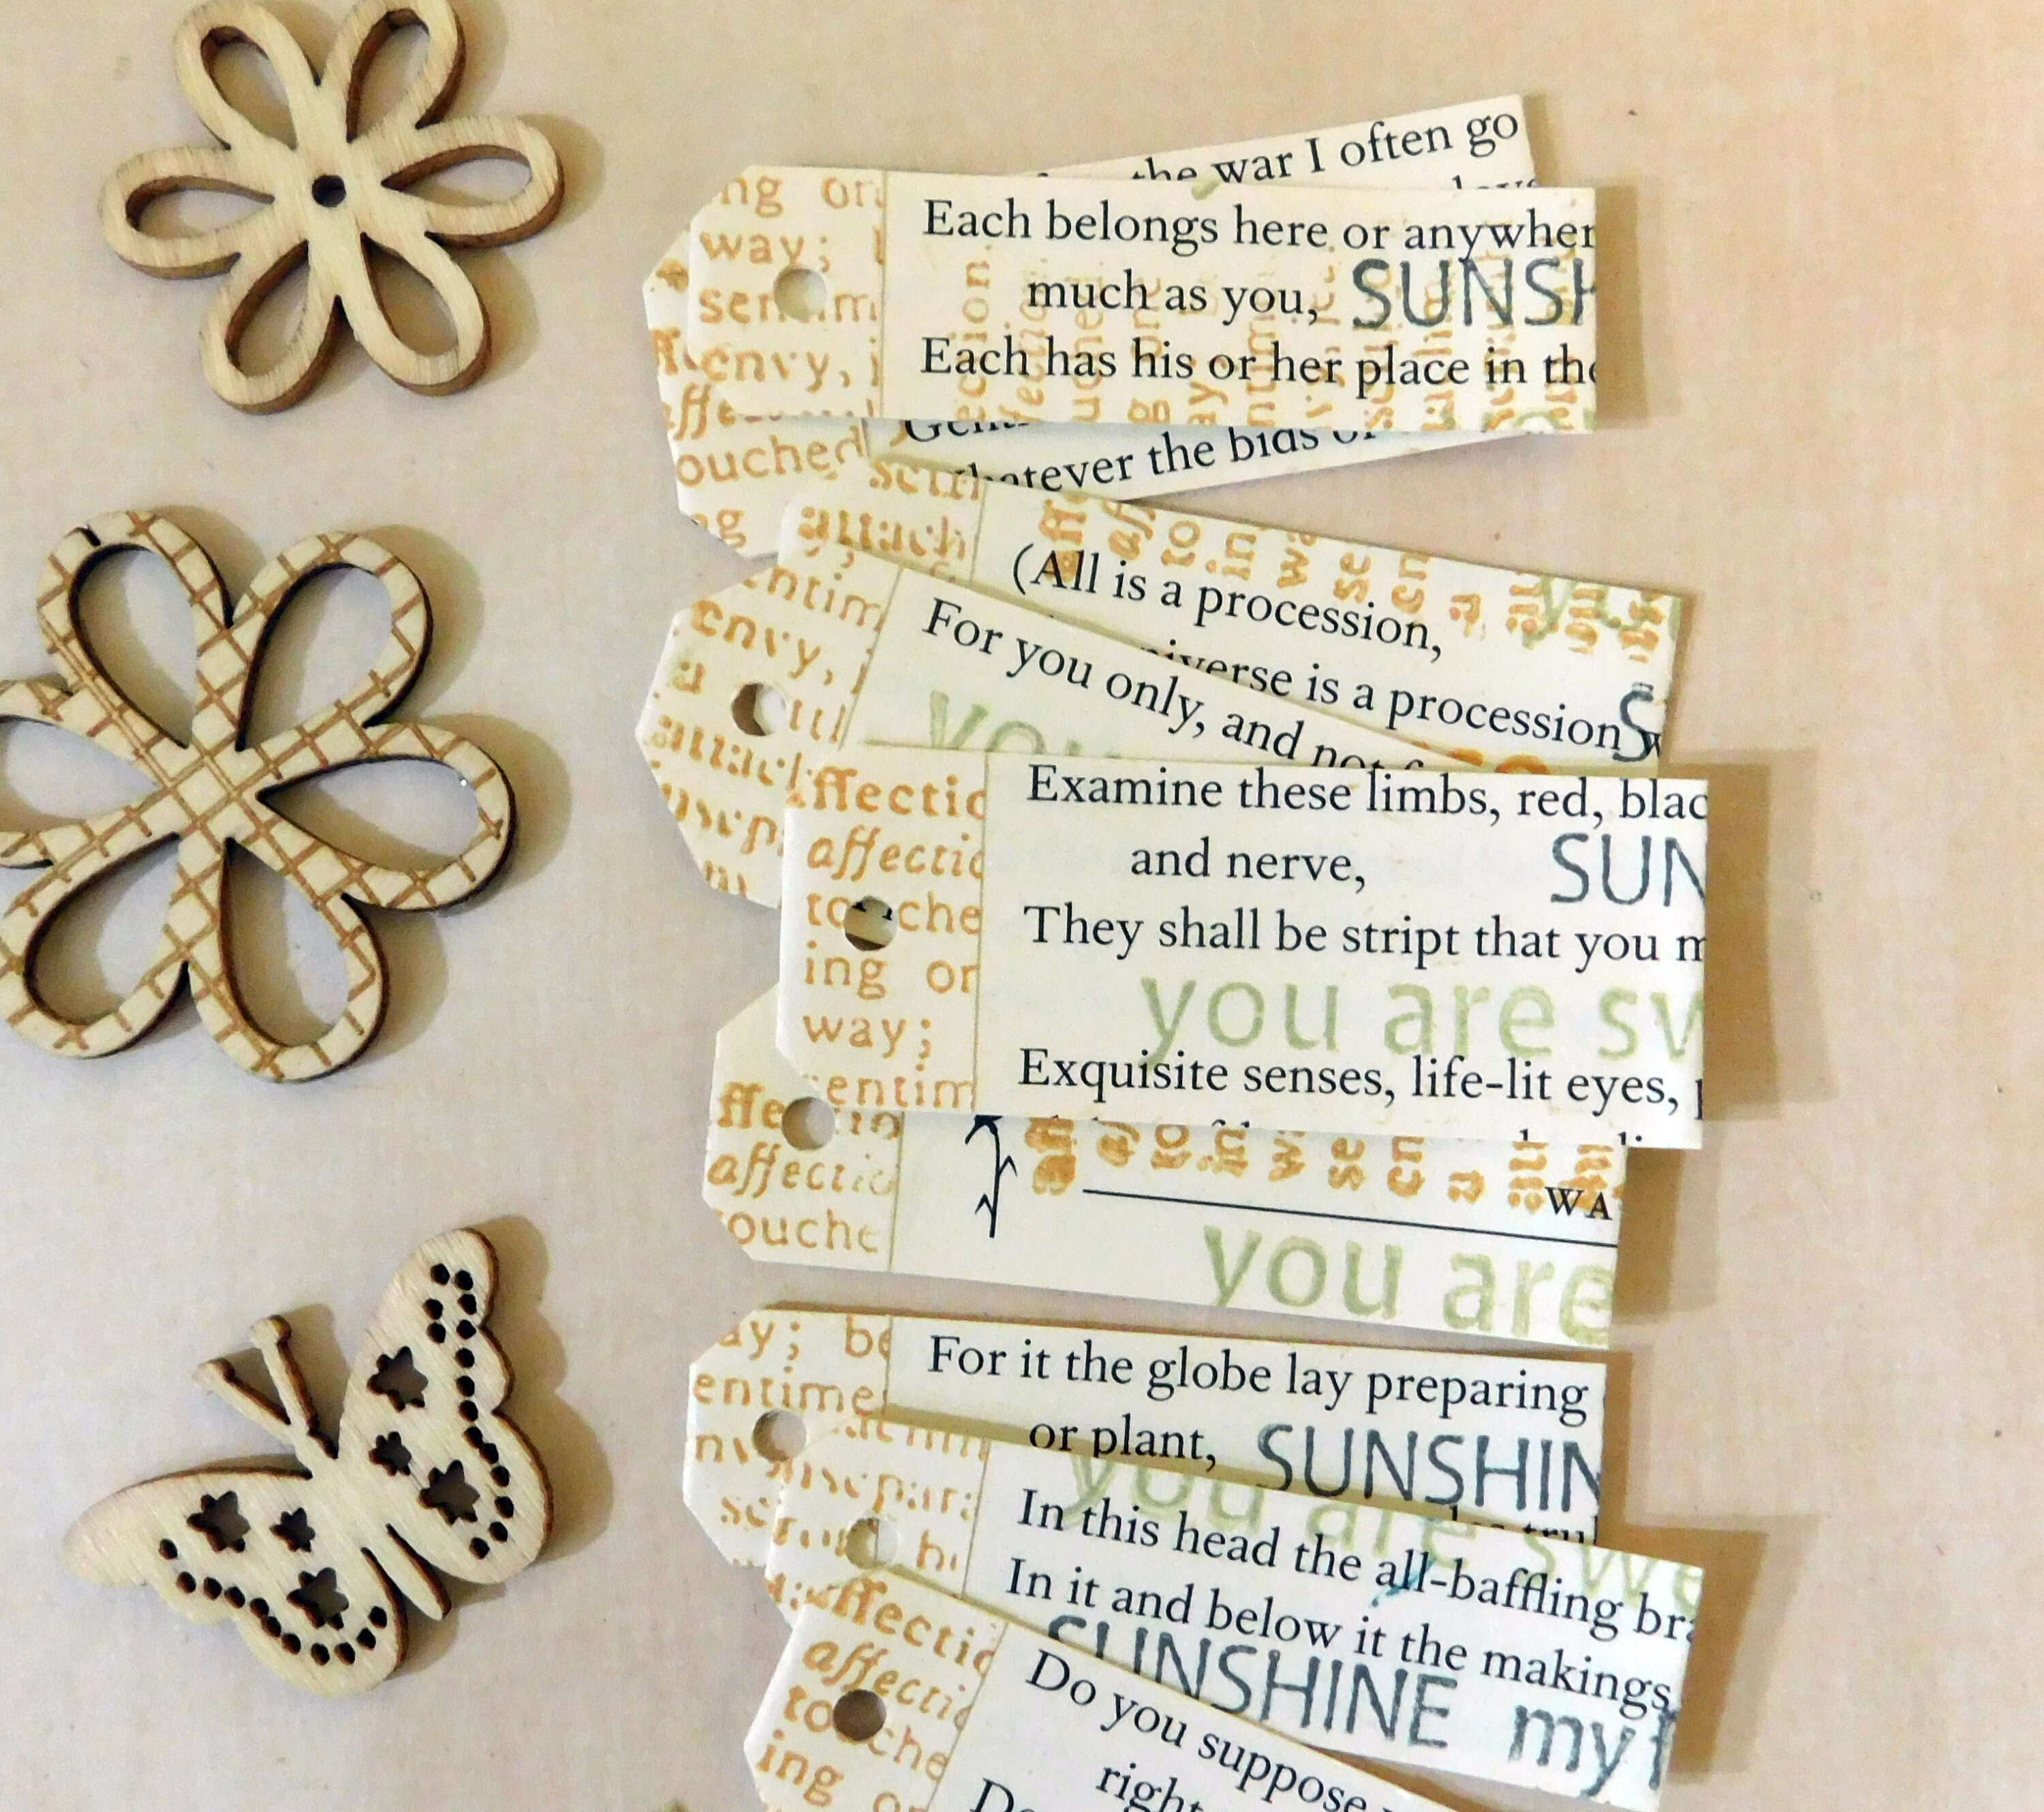
These tiny tags were created with snippets from poems and then stamped at sentence and paragraph ends. The fold over top was folded and stamped first to create the tab effect.
Creative Journal Quotes
A journal can be a beautiful outlet for reflection, creativity or discovery but blank pages can be daunting. These creative journal quote ideas are just the spark that can get you started on how to fill your journal pages or how to complement them with positive affirmations, quotes or reflections. Themed or random you’ll be making bunches to have on hand as they are a quick and easy craft project.
materials
What you’ll need:
Scrapbook page ends or strips 1/2″x12″
Book pages, poems, music pages, any type of inspirational text to use as a base for stamping or writing
Stamps, word cut outs, book page lines of text etc. (Tim Holtz Ideology sticker books)
Markers, pens or any favorite writing tool
Glue
Trimmer or scissors
Tag corner punch (optional)
Paper punch
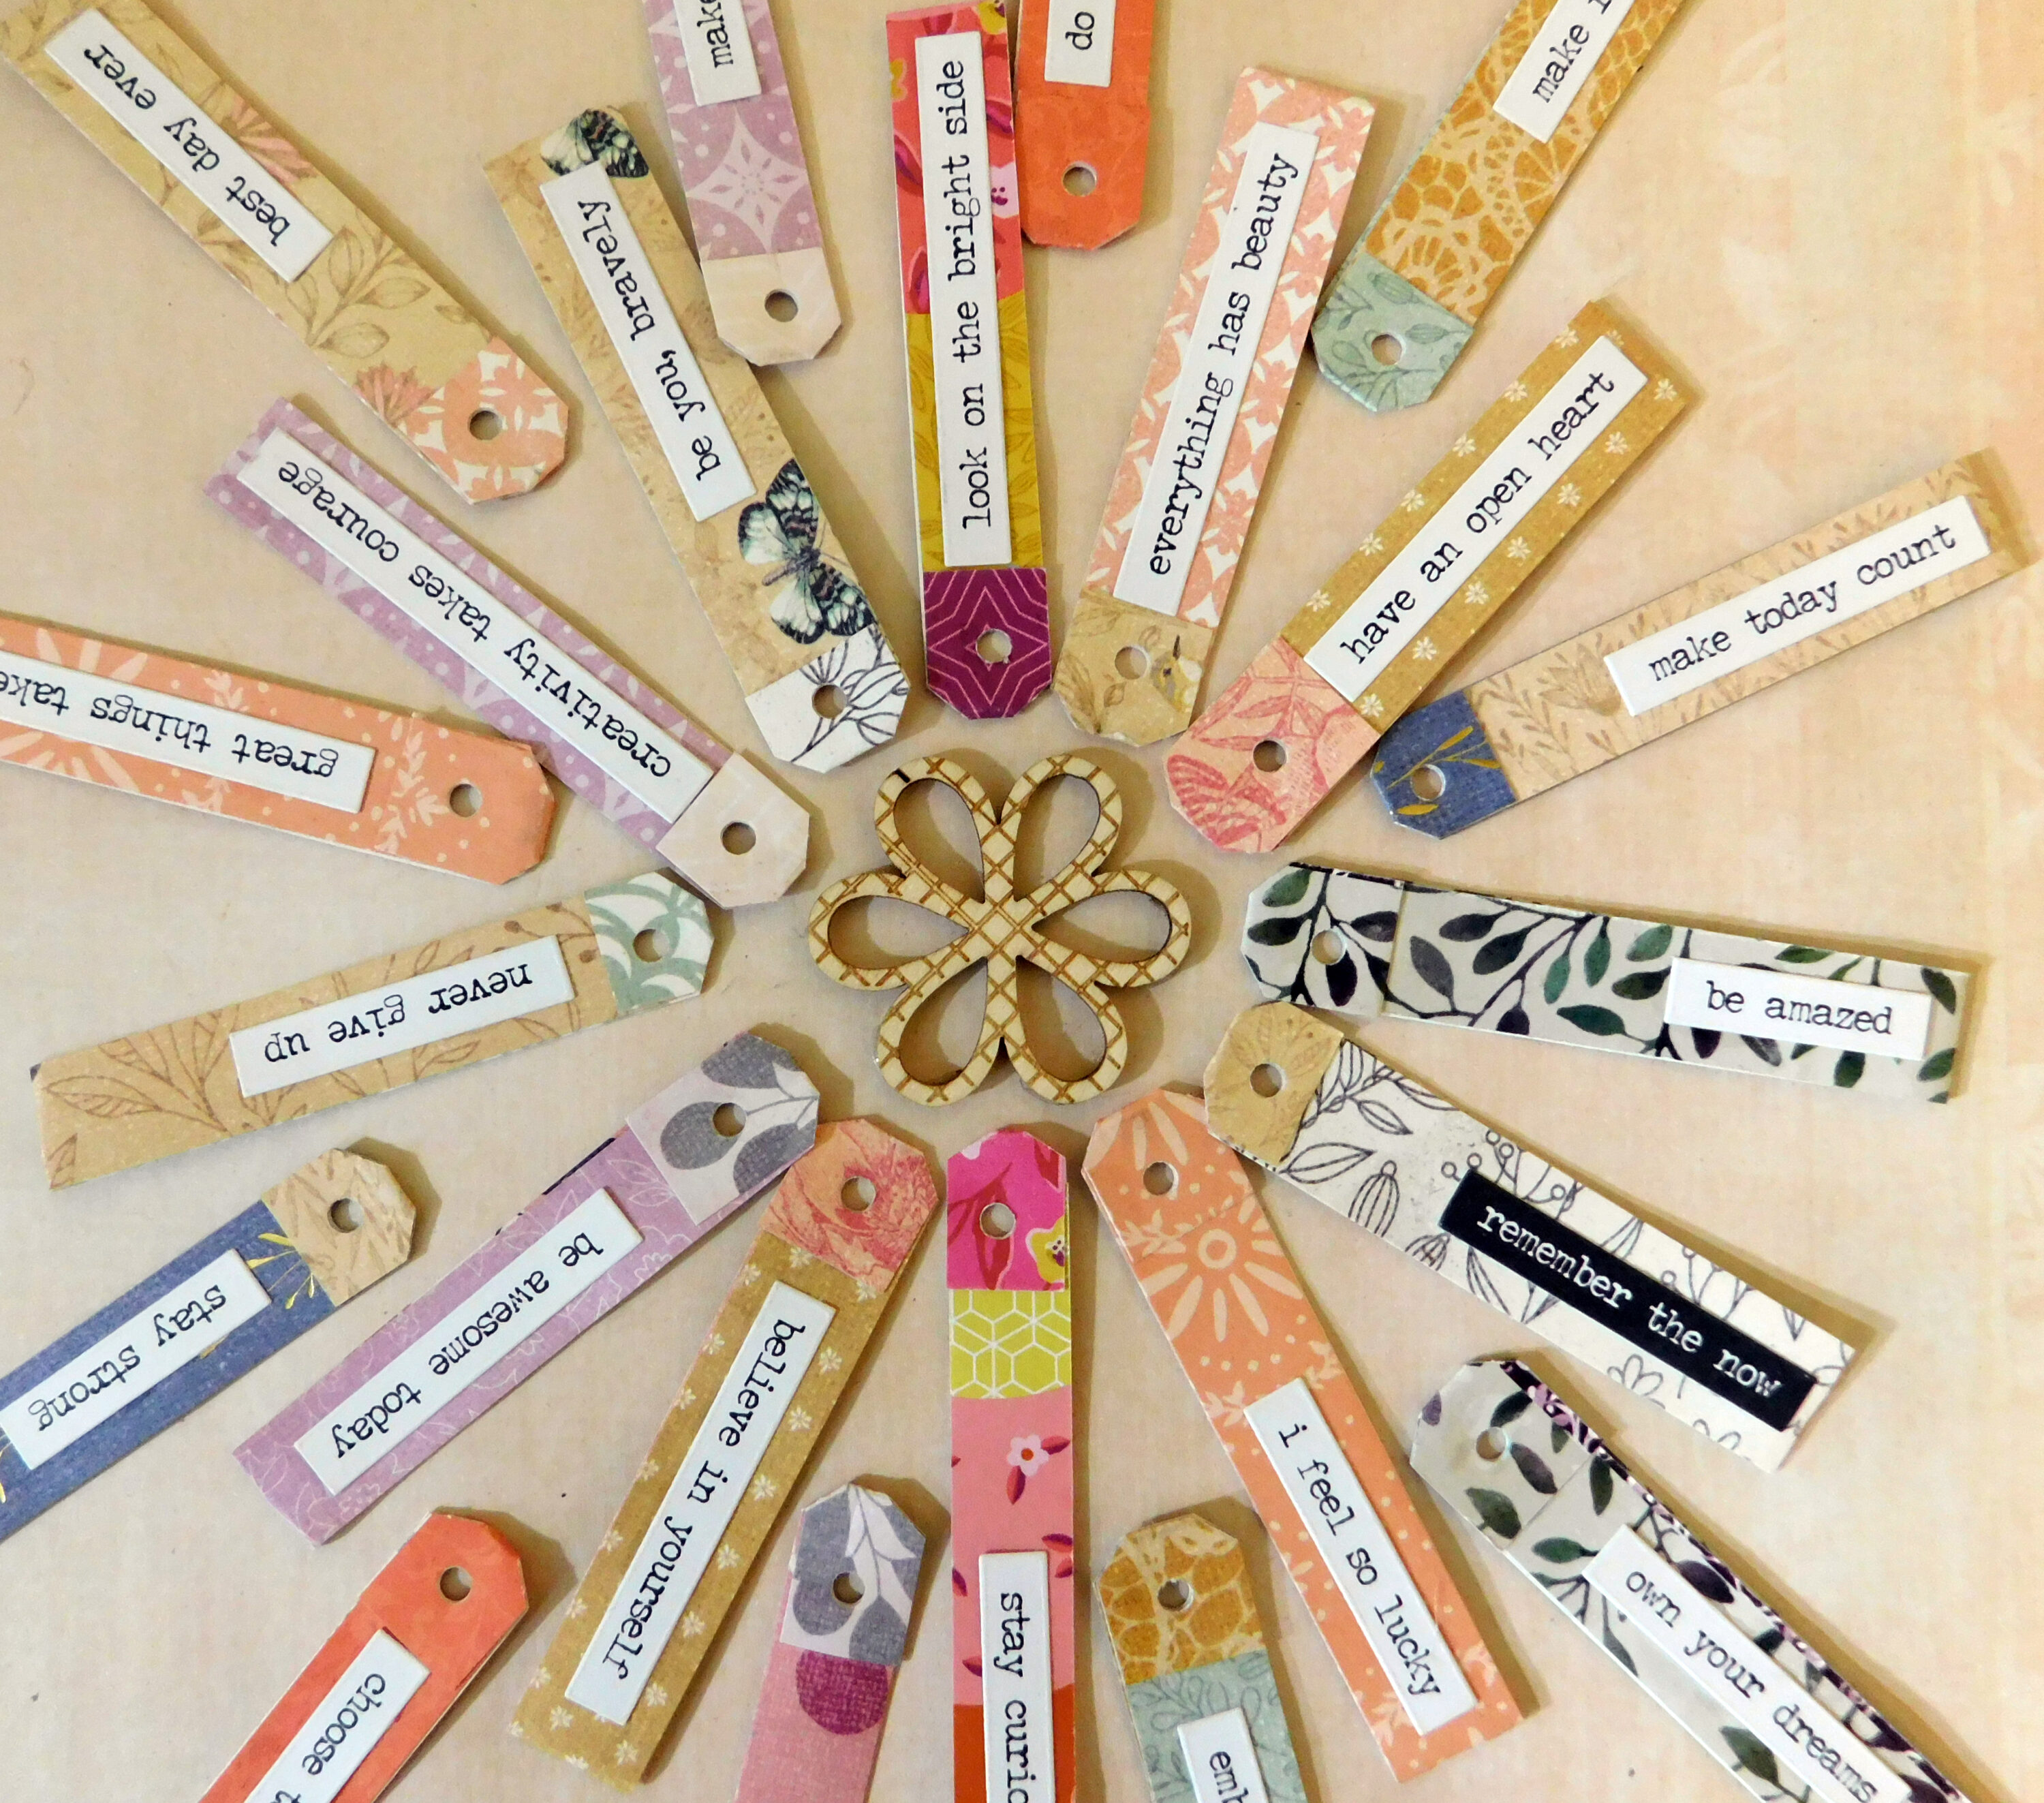
Follow the video tutorial for the simple assembly of basic word strips as shown above.
These are great to add to add to tags for gift giving to anyone who needs a lift or a word of encouragement. Fill a jar and keep handy on your desk to remind yourself to stay positive and help break negative thought habits. Great for kids or teens for positive reinforcement.
For DIY inspirational quotes find any book pages, poems, music sheets or print outs that you can use as a base for personalizing. Gather some inspirational stamps. These can be motivations, affirmations, the general types of phrases used for card making or single words that inspire you. Arrange your paper so your text is vertical and fold as shown in the video tutorial. Unfold and begin randomly stamping or writing your quotes/inspirations anywhere there is a blank space. A helpful tip is to choose at least three different colors and a variety to stamp sizes and fonts. You can use a general text stamp in the lightest color to fill in the background before choosing focal point words or stamps. Then stamp light to dark as you move around the page, don’t just stamp in a row or line but alternate your spacing. Fill in with the last stamp set in the darkest color. Finally fill in any black spaces with the lightest color or choose one more bold or contrasting color. Fold, cut and glue as shown.
Choose any theme or style. Even long quotes or phrases can be cut apart and still appeal as thought provoking so don’t worry if a phrase or stamped word gets folded over or cut. Use these ephemera bits as prompts for writing or design.
There are so many ways to create these basic word strips whether by doodling your own font styles for a single word or quote or adding your own handwriting to jot a thought you want to remember. Cut apart sentences or words from any book or magazine and make a word master board to scan and keep for future use.
Whatever inspires you can become a creative quote so let your imagination roam and create your own inspiring word ephemera.
Happy paper crafting!
