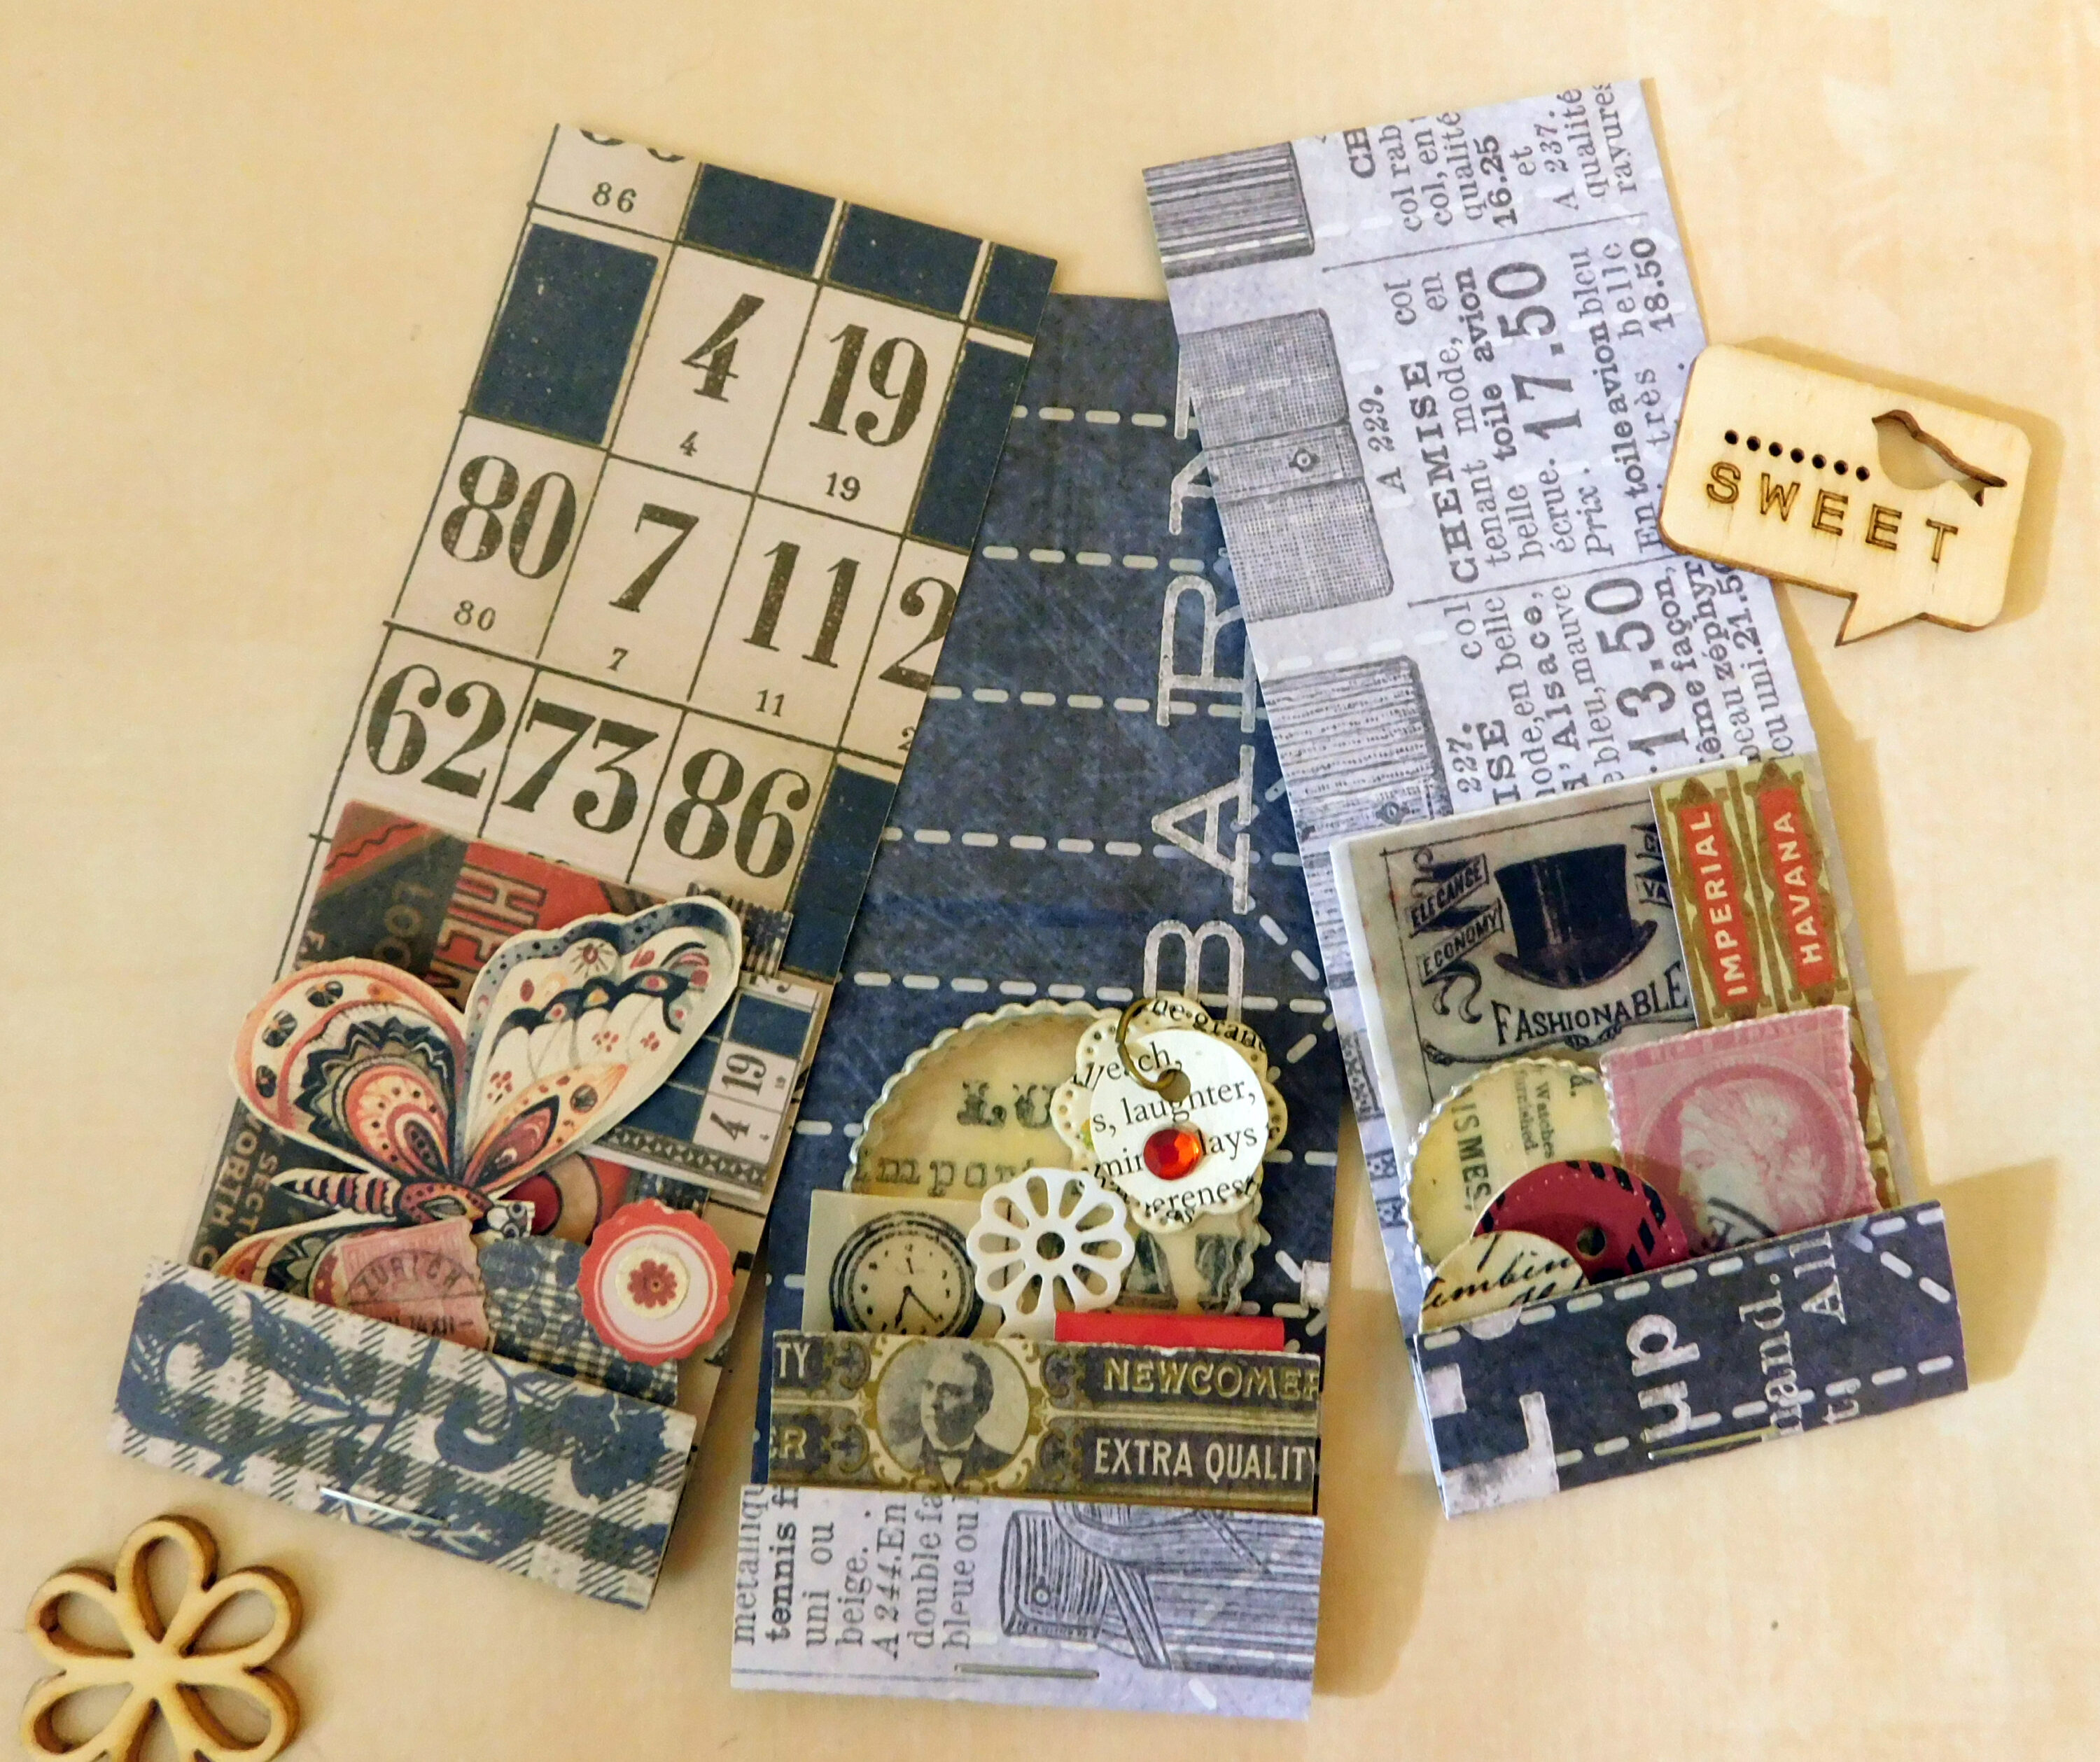
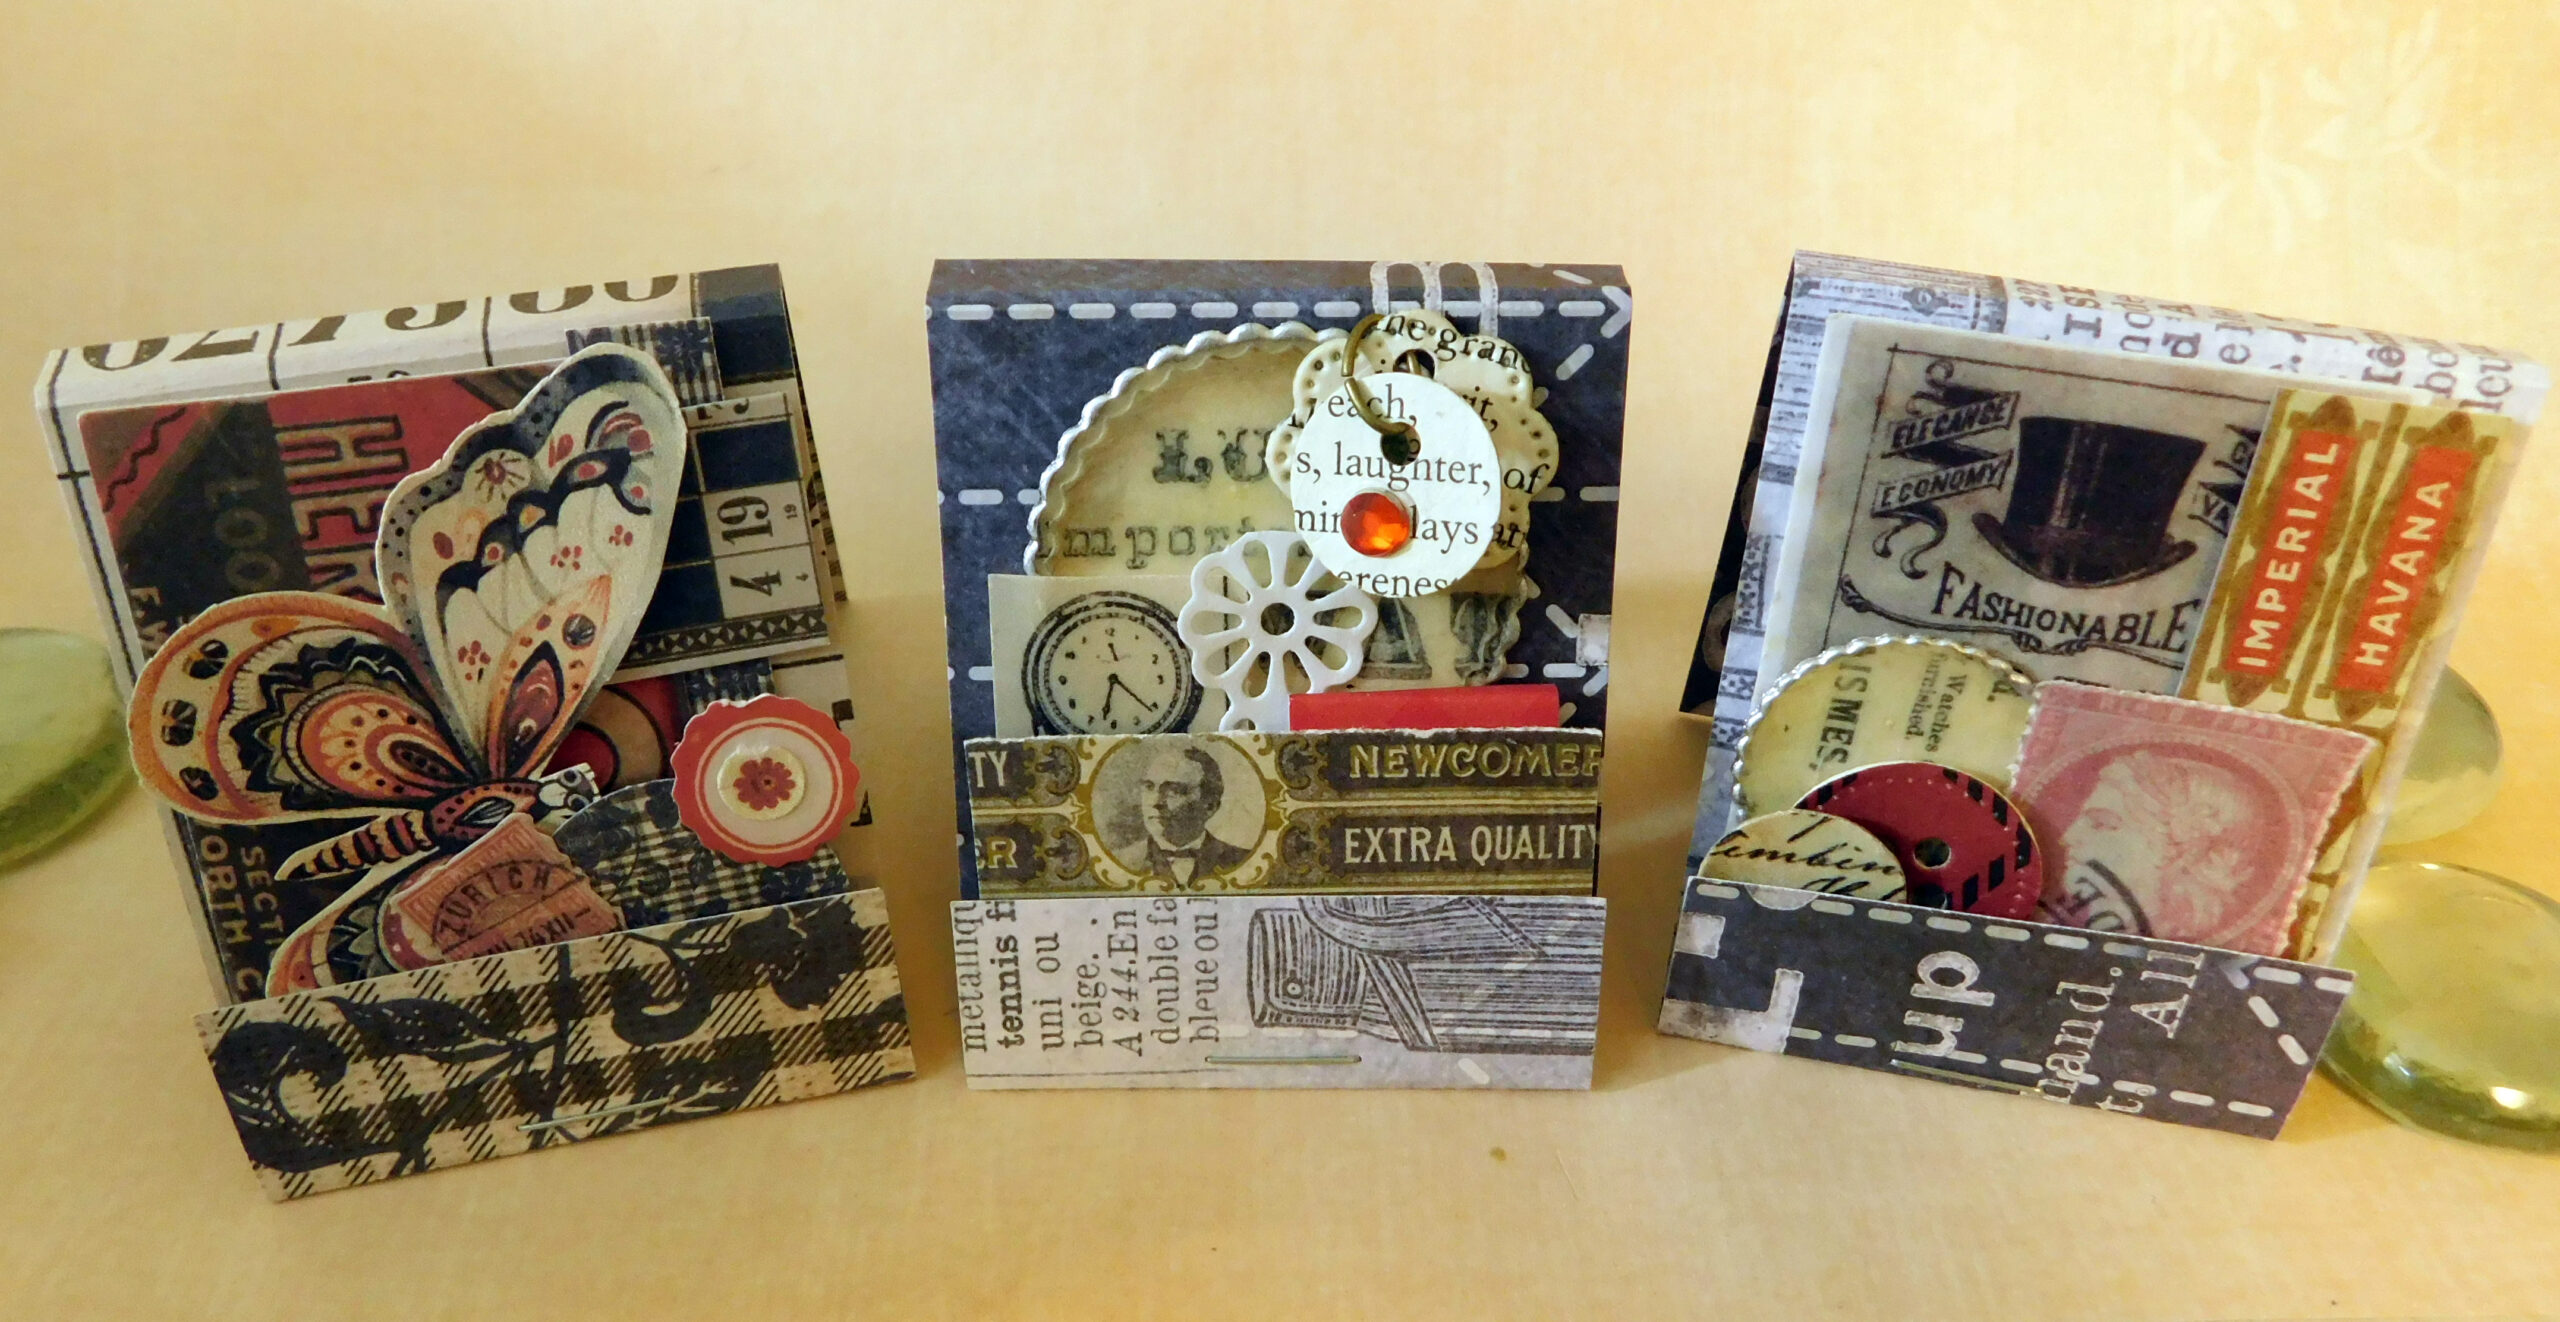
I switched up the order and layered front to back for the middle matchbook. Layering back to front is easier. The large scalloped circle is also glued on the back.
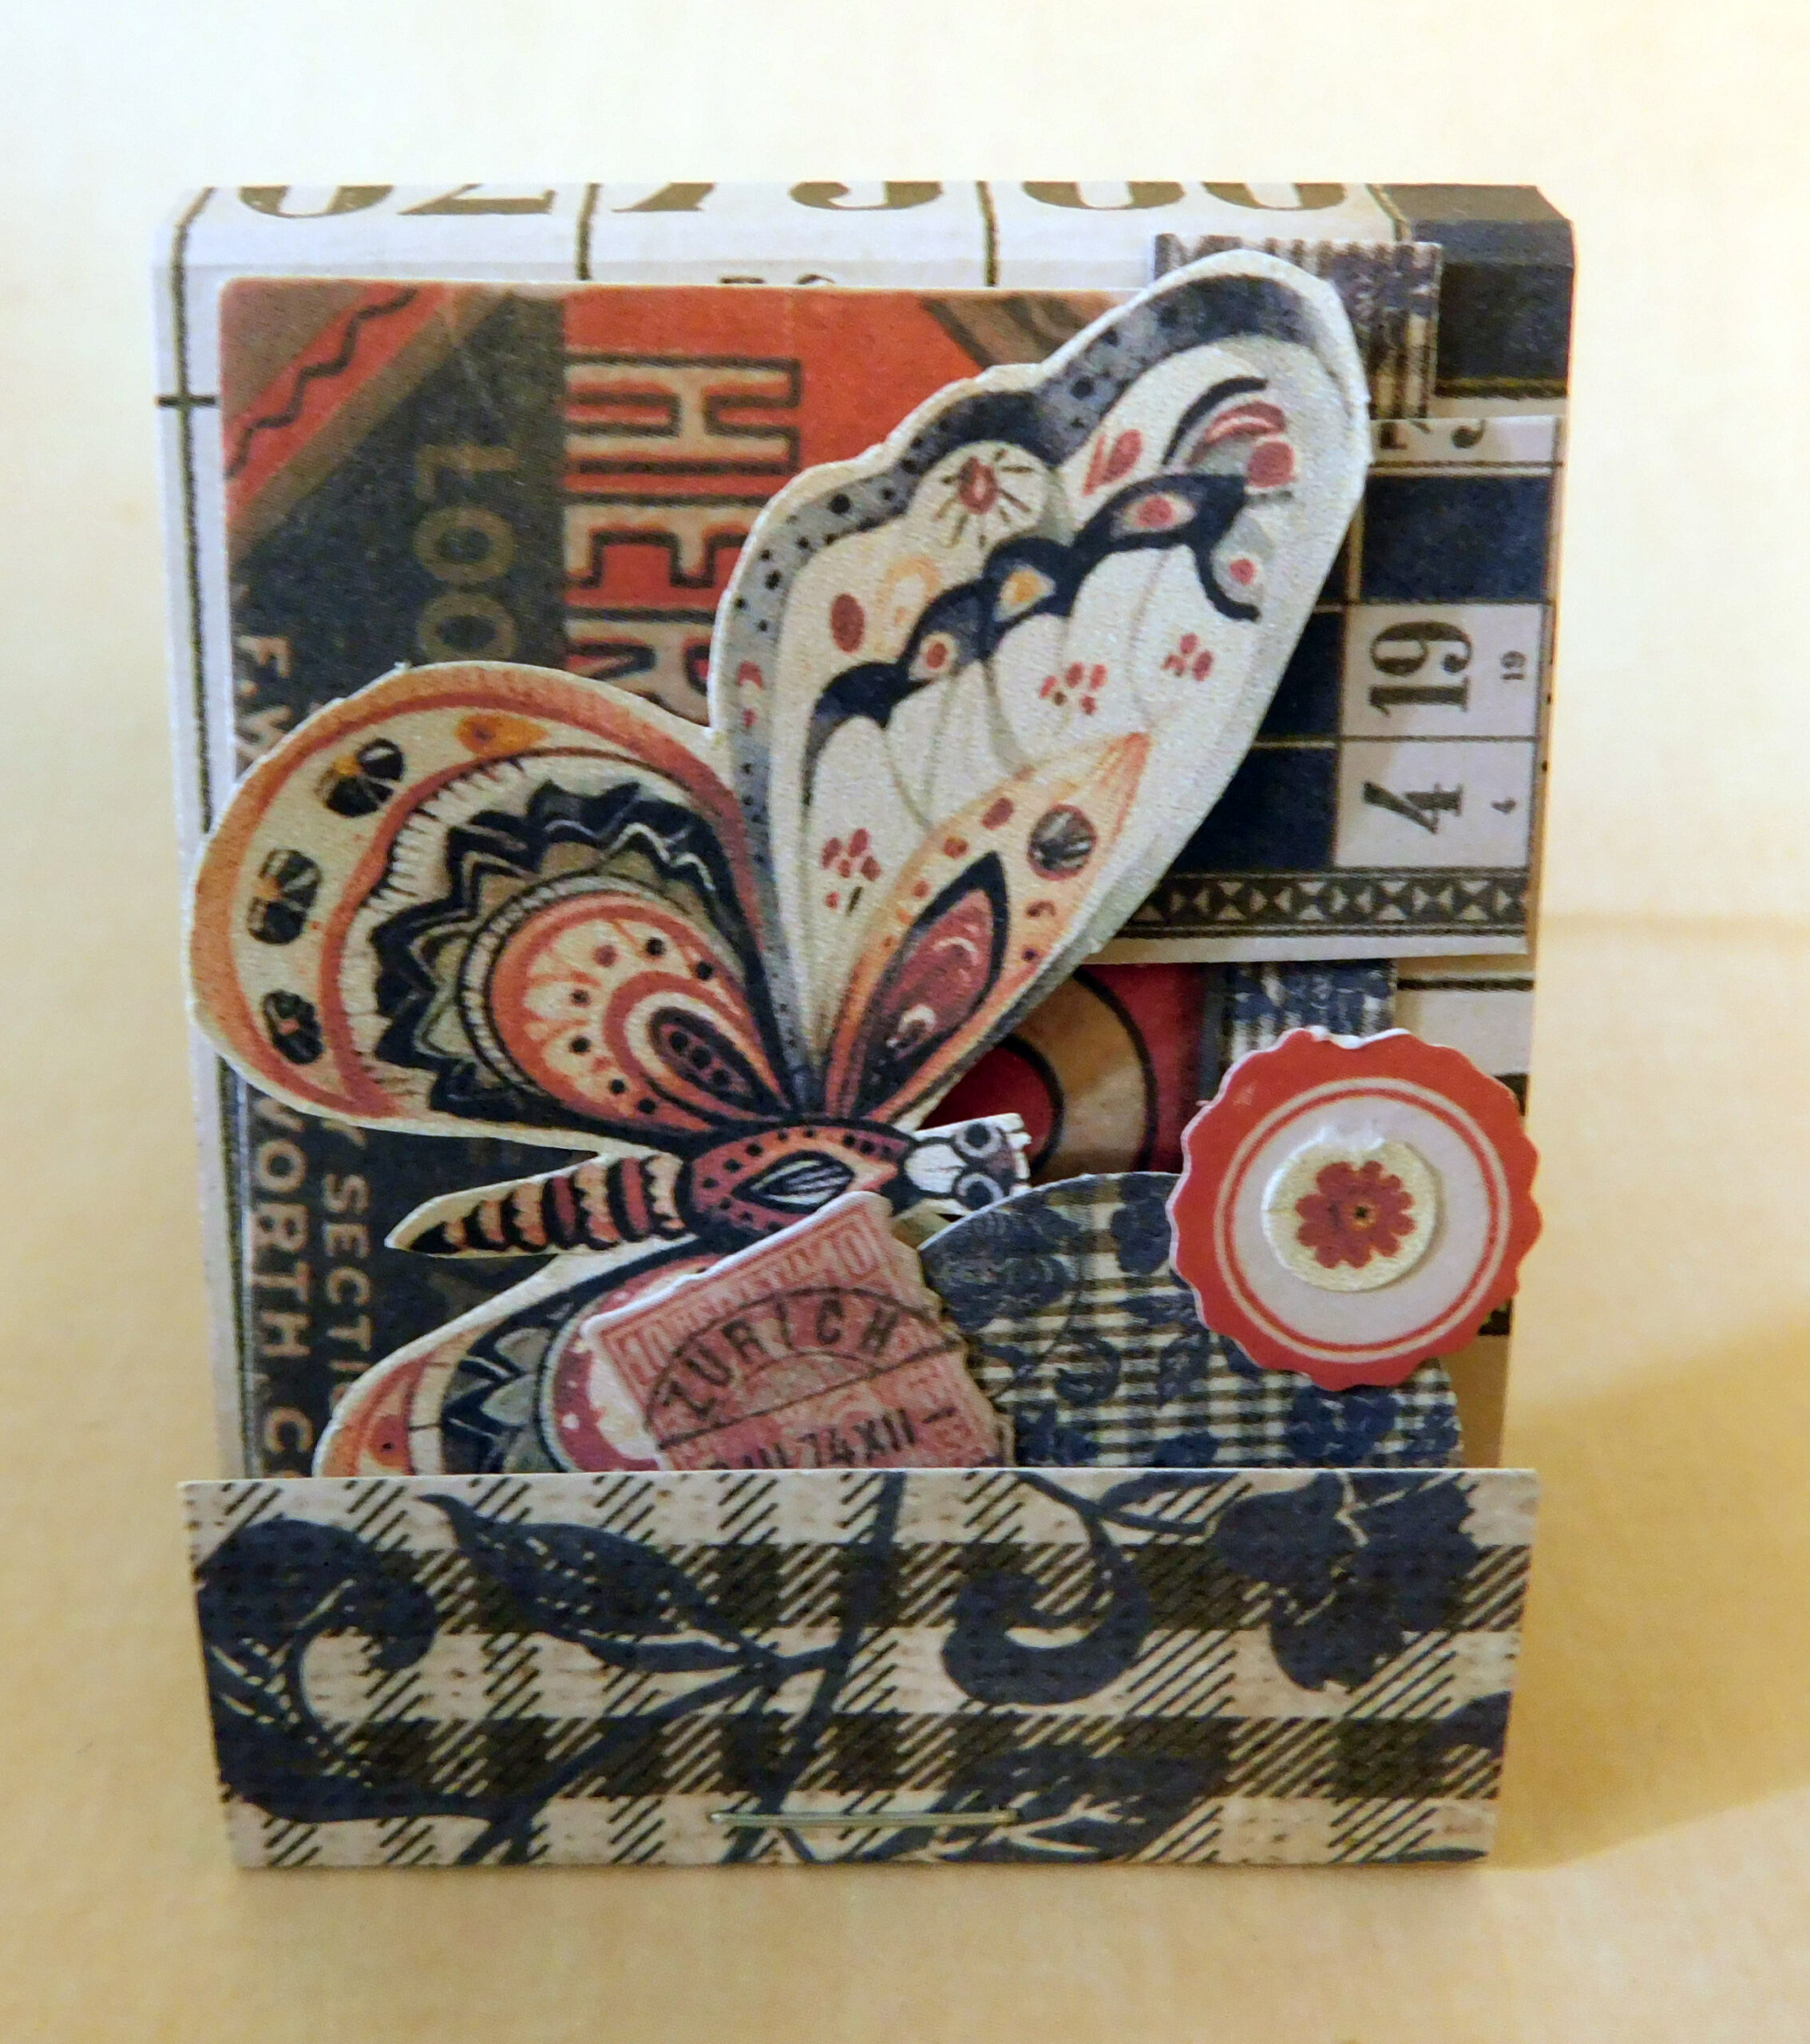
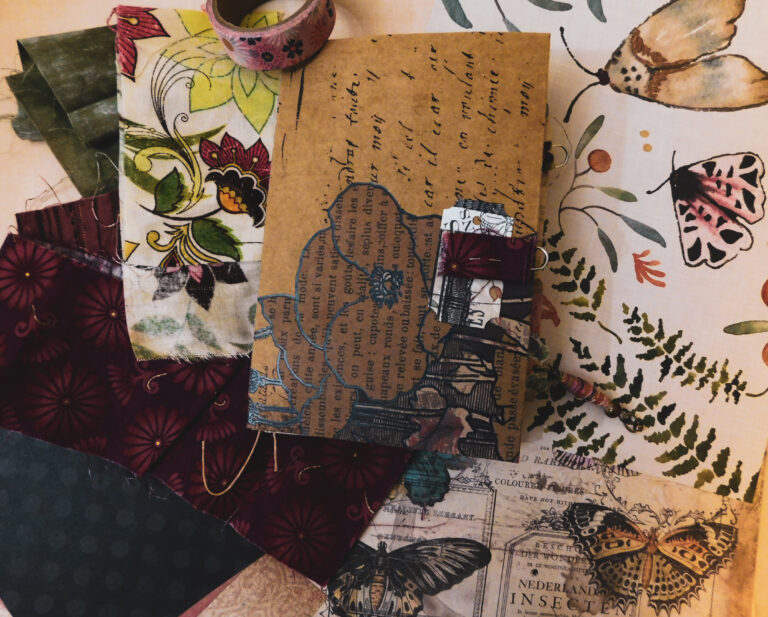
These matchbooks feature lots of little ephemera pieces, from mini cards to labels and even a tiny charm. The hat label is wax vellum so you can even play around with transparency effects.You can start with a background glued on the back cover if you desire.
3D Matchbooks
An easy summertime dimensional paper craft that can be opened to perch on a shelf or place a handful in a basket for your craft room. Fun happy mail or tuck in any gift. Kids can do it too! Can make any size and uses a lot of scraps or ephemera. Gather your tiny treasures, you’ll want to save this project for holidays or any time as a relax time creativity boost.
materials
What you’ll need:
1 – 2″ x 6″ piece scrapbook paper, single or double sided.
1 – 4″ x 6″ piece paper. Doesn’t have to be scrapbook weight, lighter weight paper or book pages will do.
Any ephemera or die cuts you would like to use to create your dimensional scene.
Scoreboard or scoring tool.
Scissors
Glue
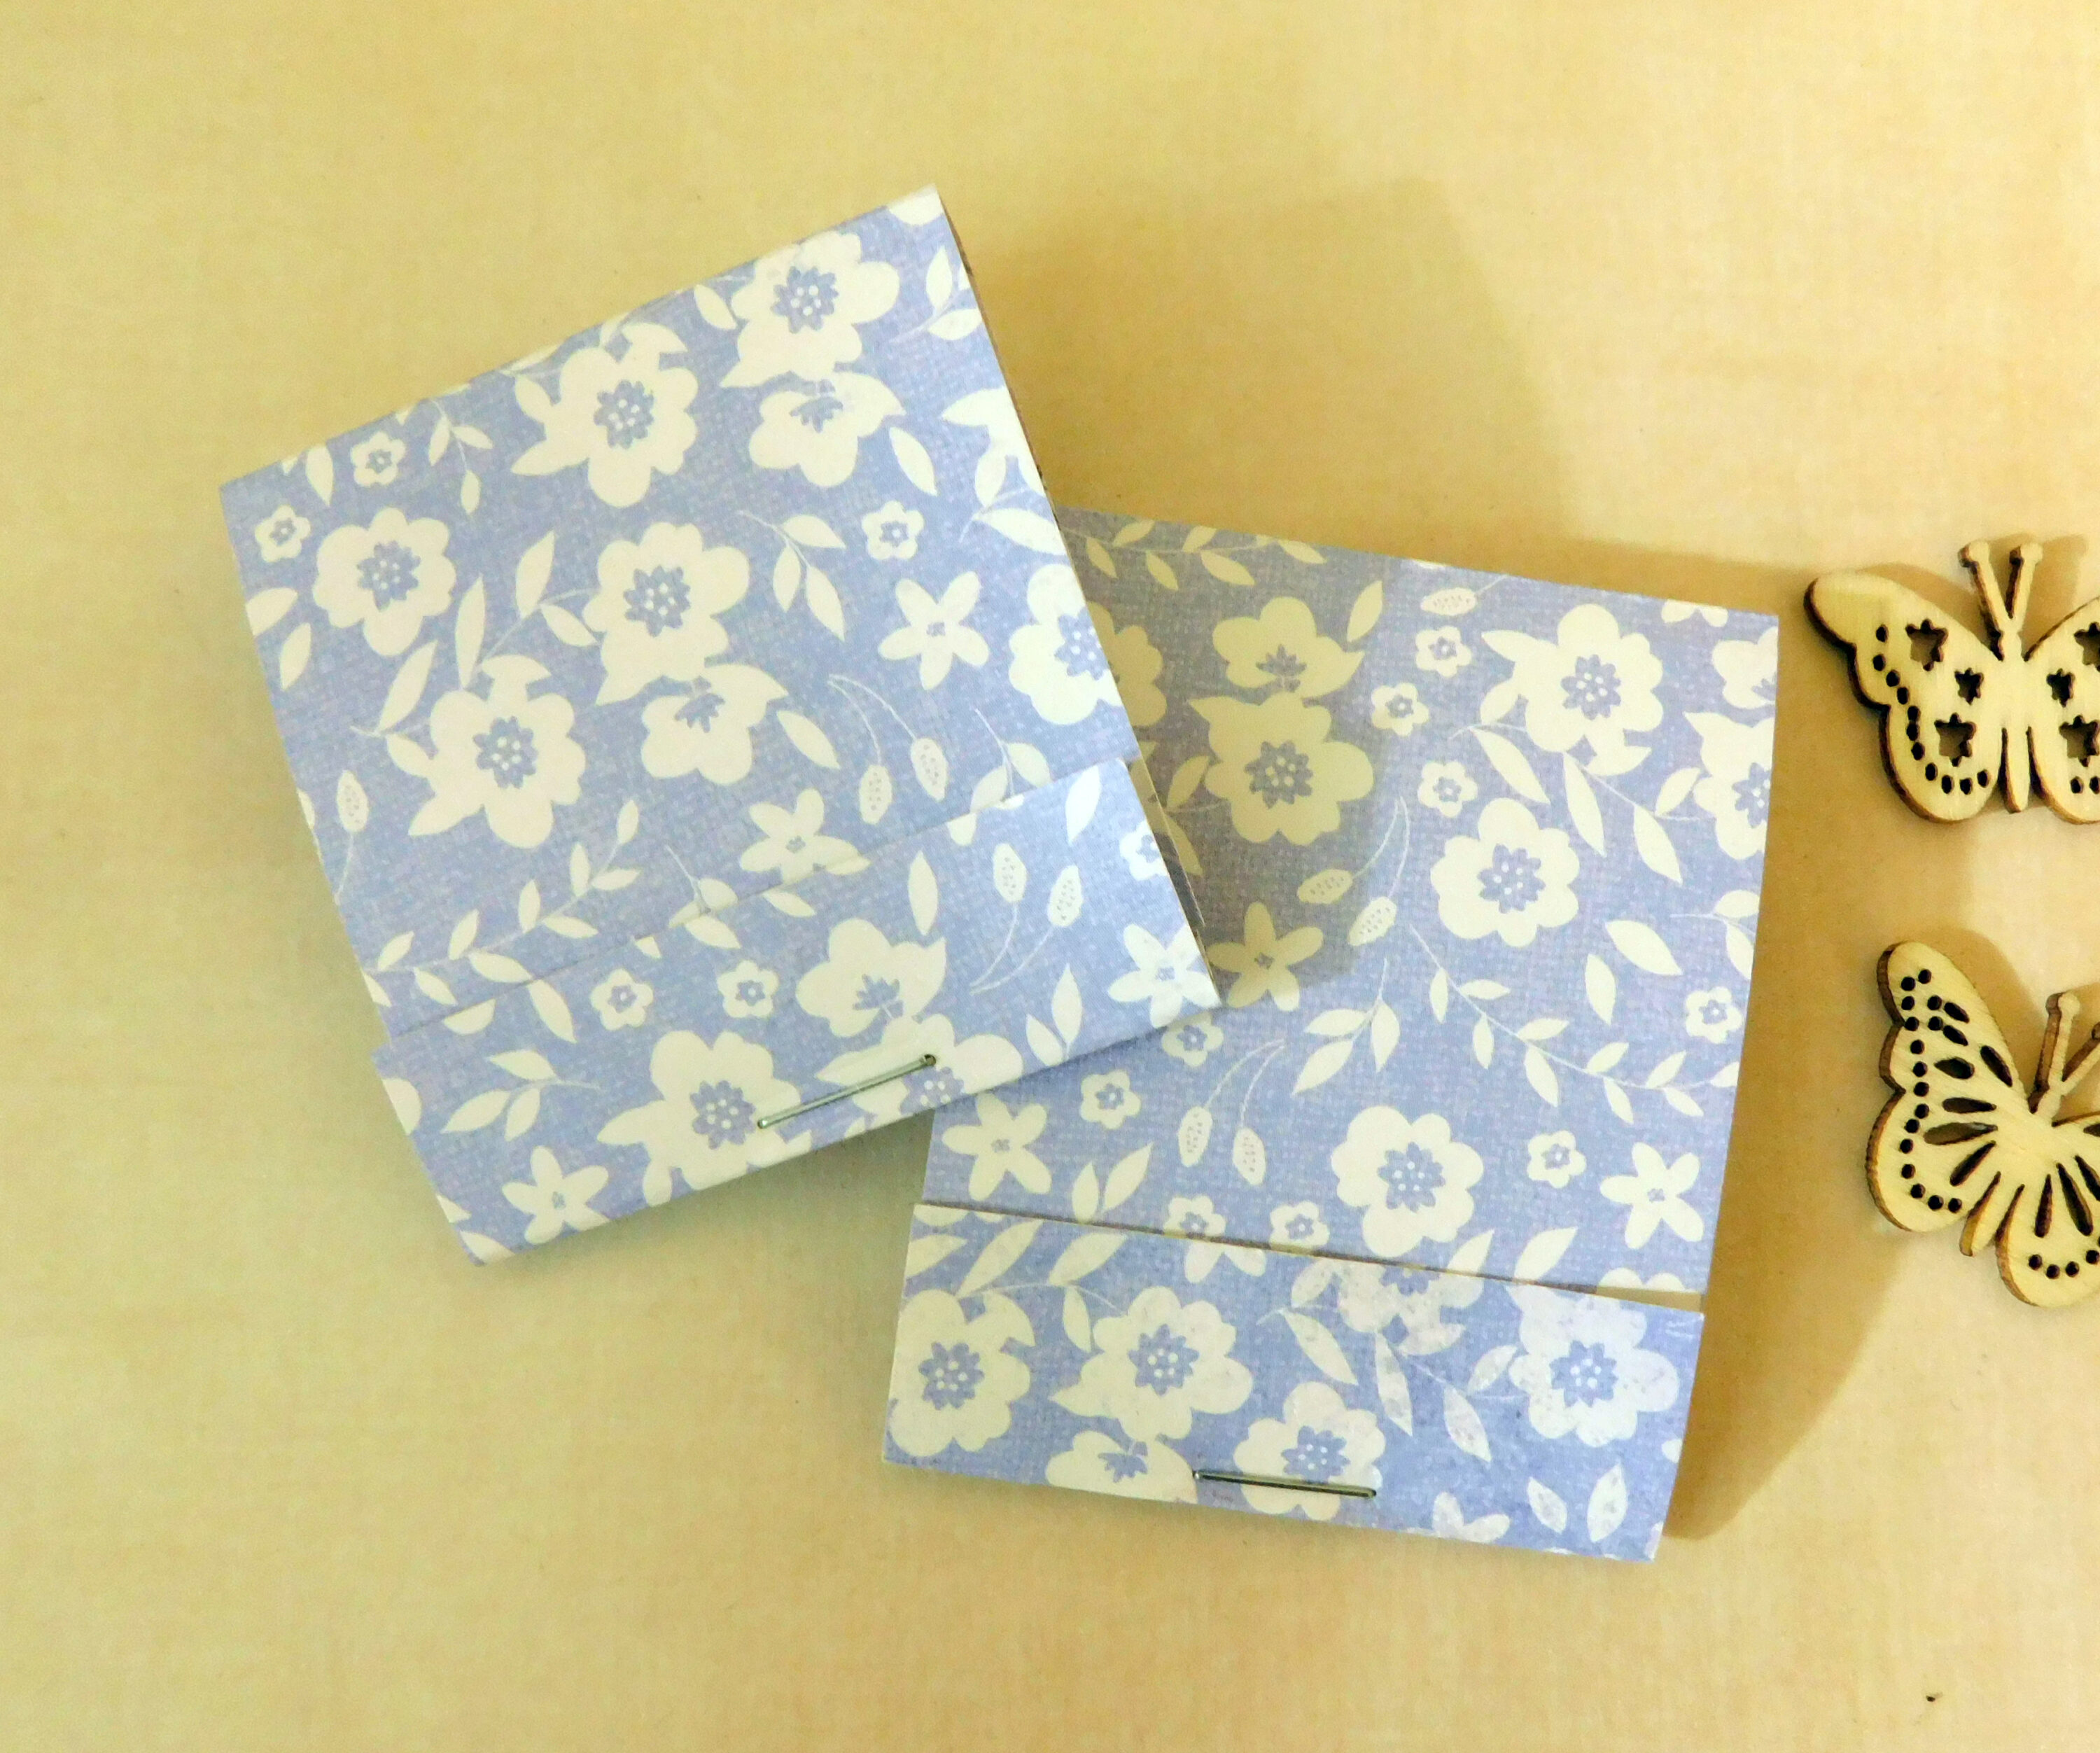
Basic matchbook size and assembly for an accordion fold is shown in the video tutorial. It is best to start with your larger and taller pieces on the peak of the accordion fold furthest from you. Work your way forward on each peak of the fold, checking often to see how your items are layering as you go. Keep in mind your space size is the back of your matchbook cover and you won’t want to go beyond any edges including the top fold. Your bottom flap will fold up when your design is finished. Glue both the front and back of the accordion fold as shown. This will make your items pop out slightly. Finish with a staple and the basic design is finished.
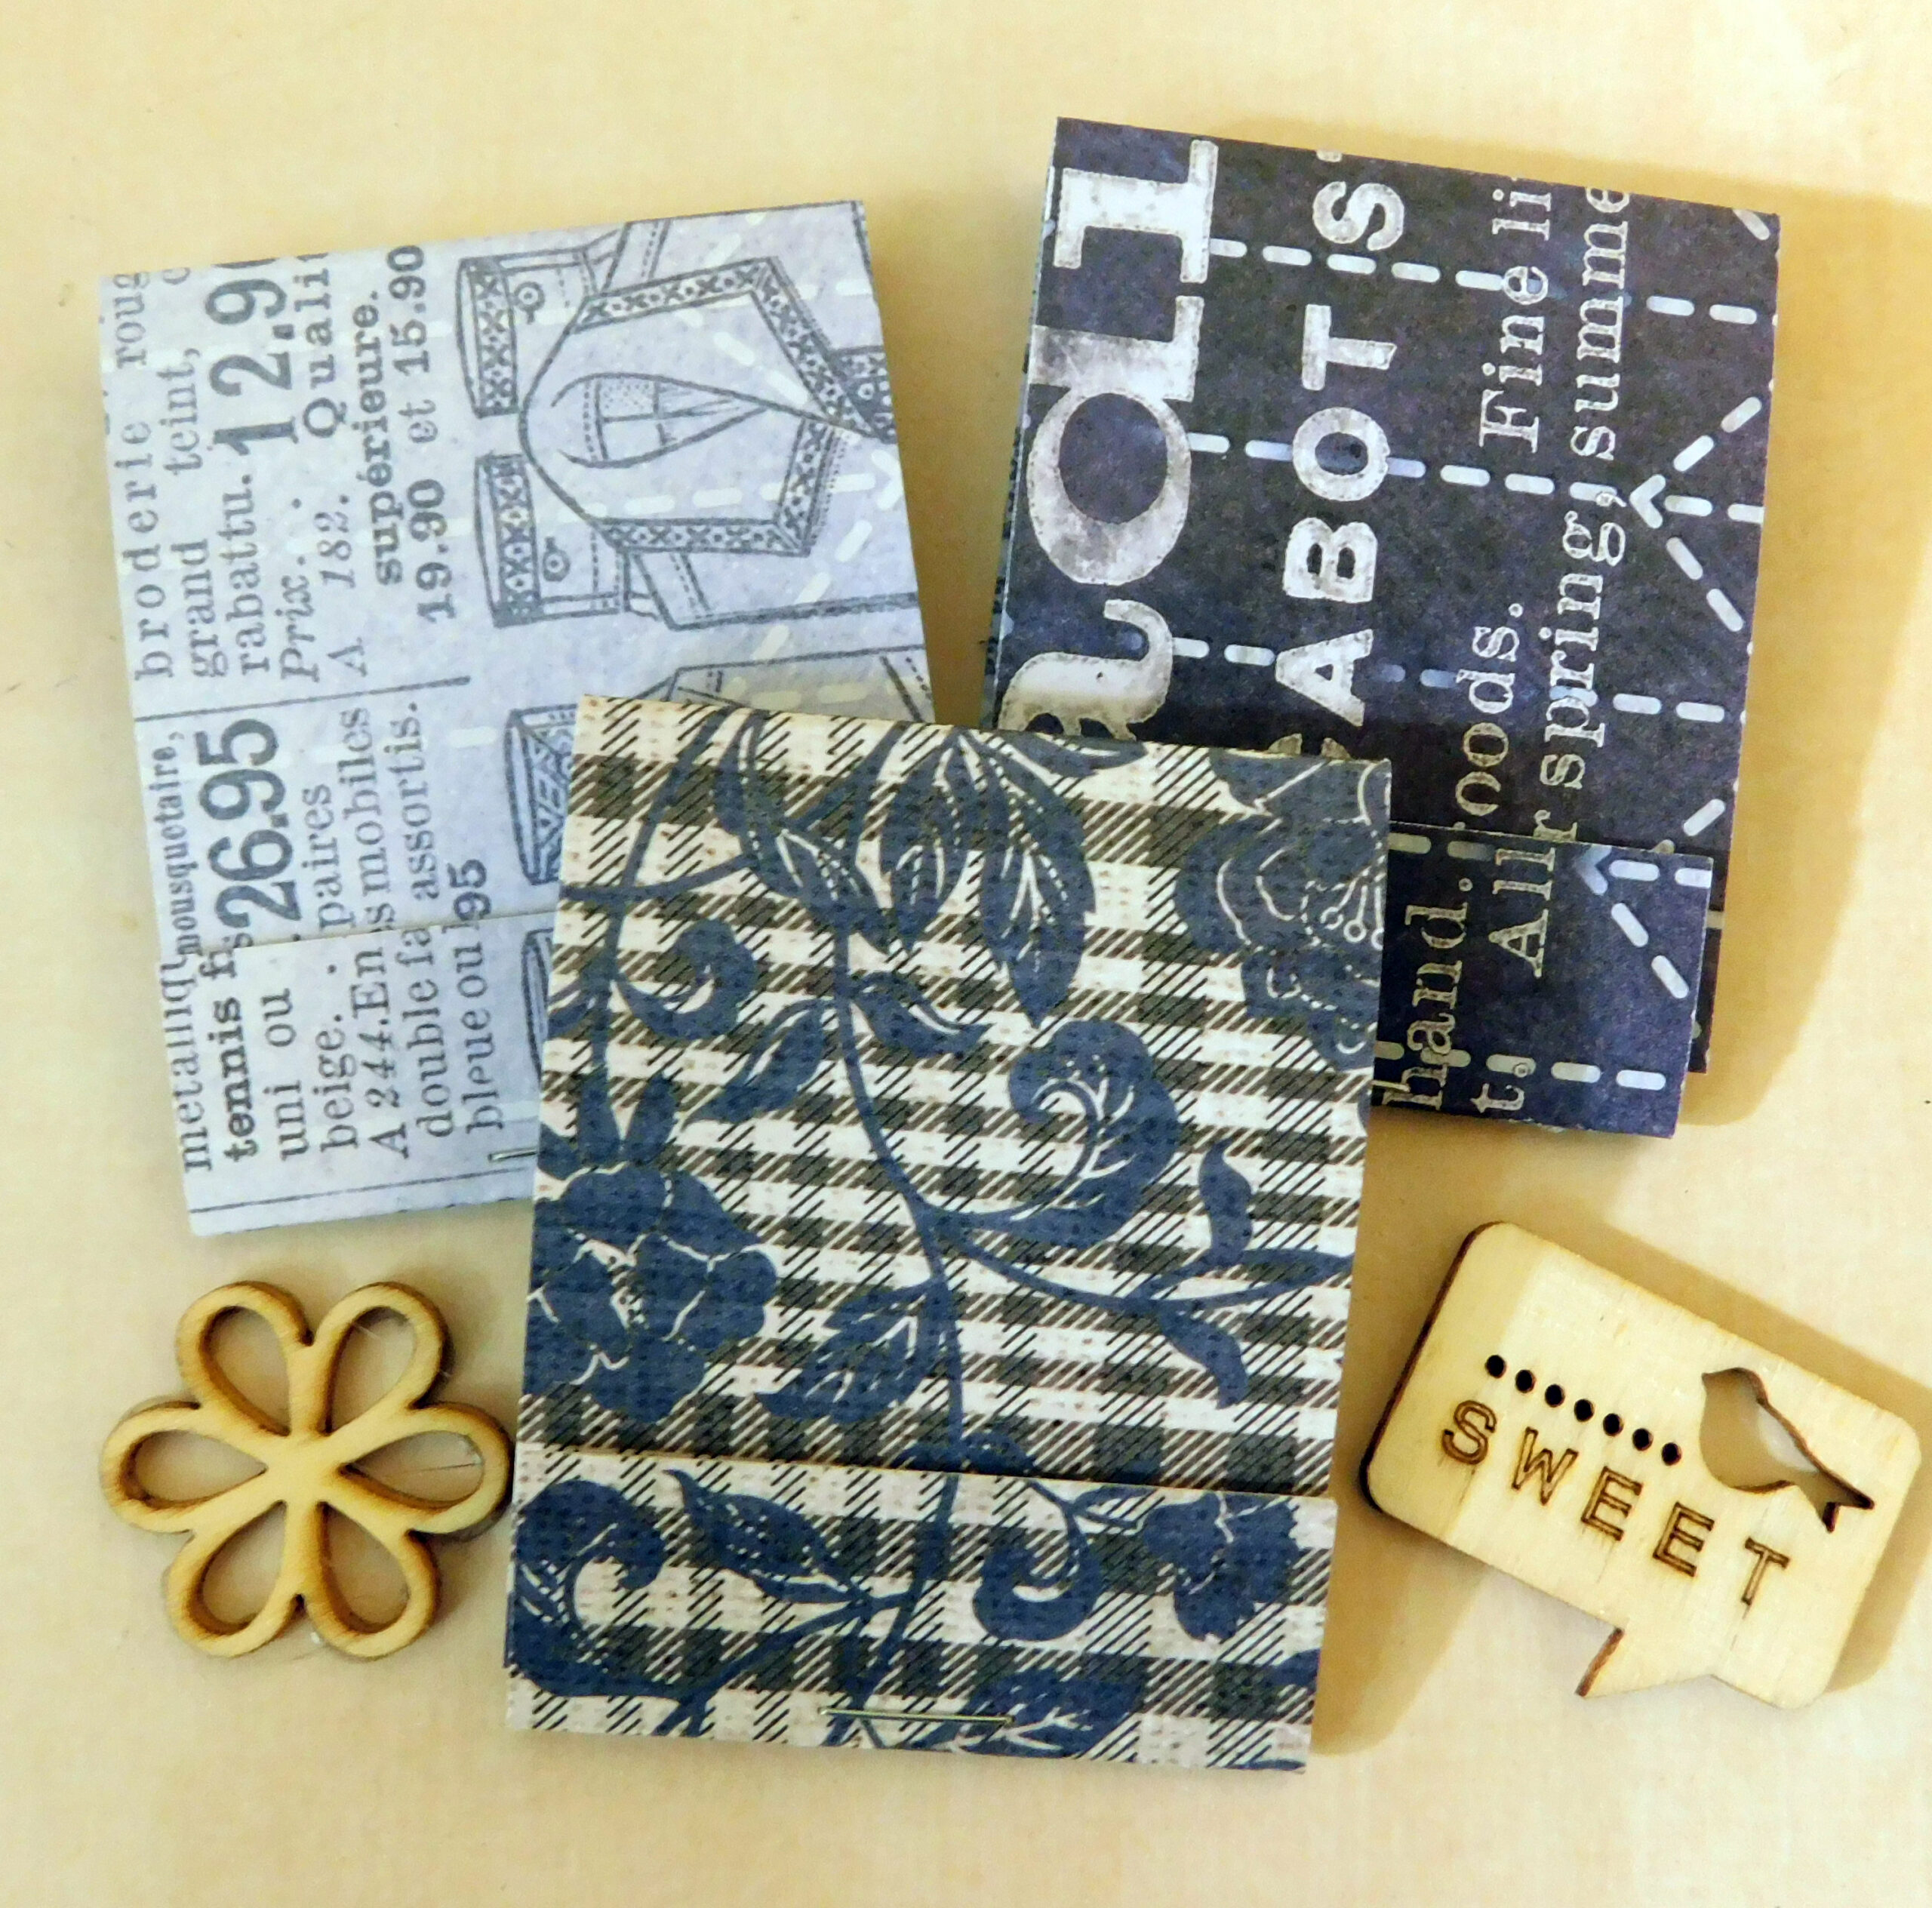
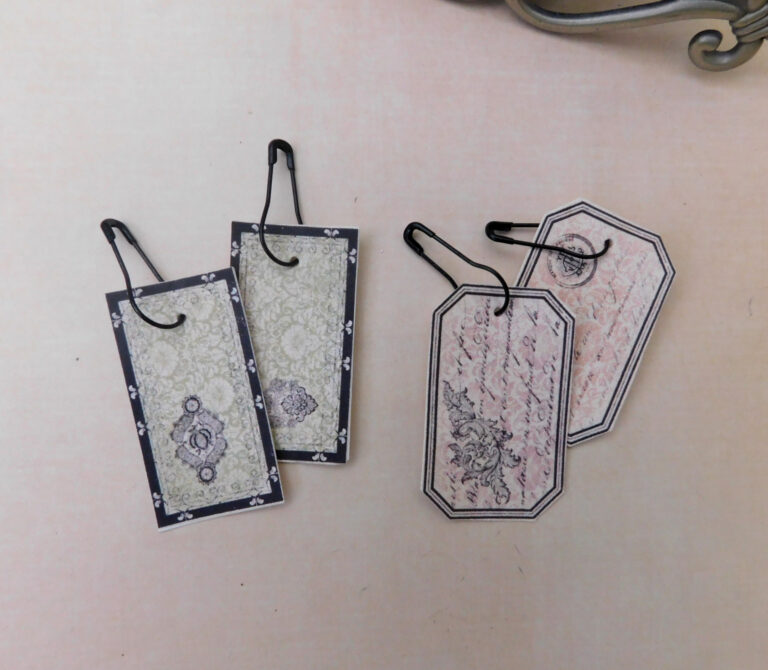
You can decorate the front or punch a round or square hole in your cover to make your matchbook even more dimensional.
The ideas for this project are endless. Choose a story, theme or holiday. Use ephemera, die cuts, butterflies, animals, fish, shapes, houses, photos, paper dolls or even word layers are just a few ideas to get you started. Try die cuts in lacy shapes to create more shadows and depth. Make some using your favorite papers or that special ephemera so you’ll have your own little keepsake. Layer as many pieces as you can or add a fold or two to your accordion for even greater dimension. Store open or closed.
This dimensional paper craft is loads of fun and really helps kick your creativity up a notch.
Happy paper crafting!
Video Tutorial
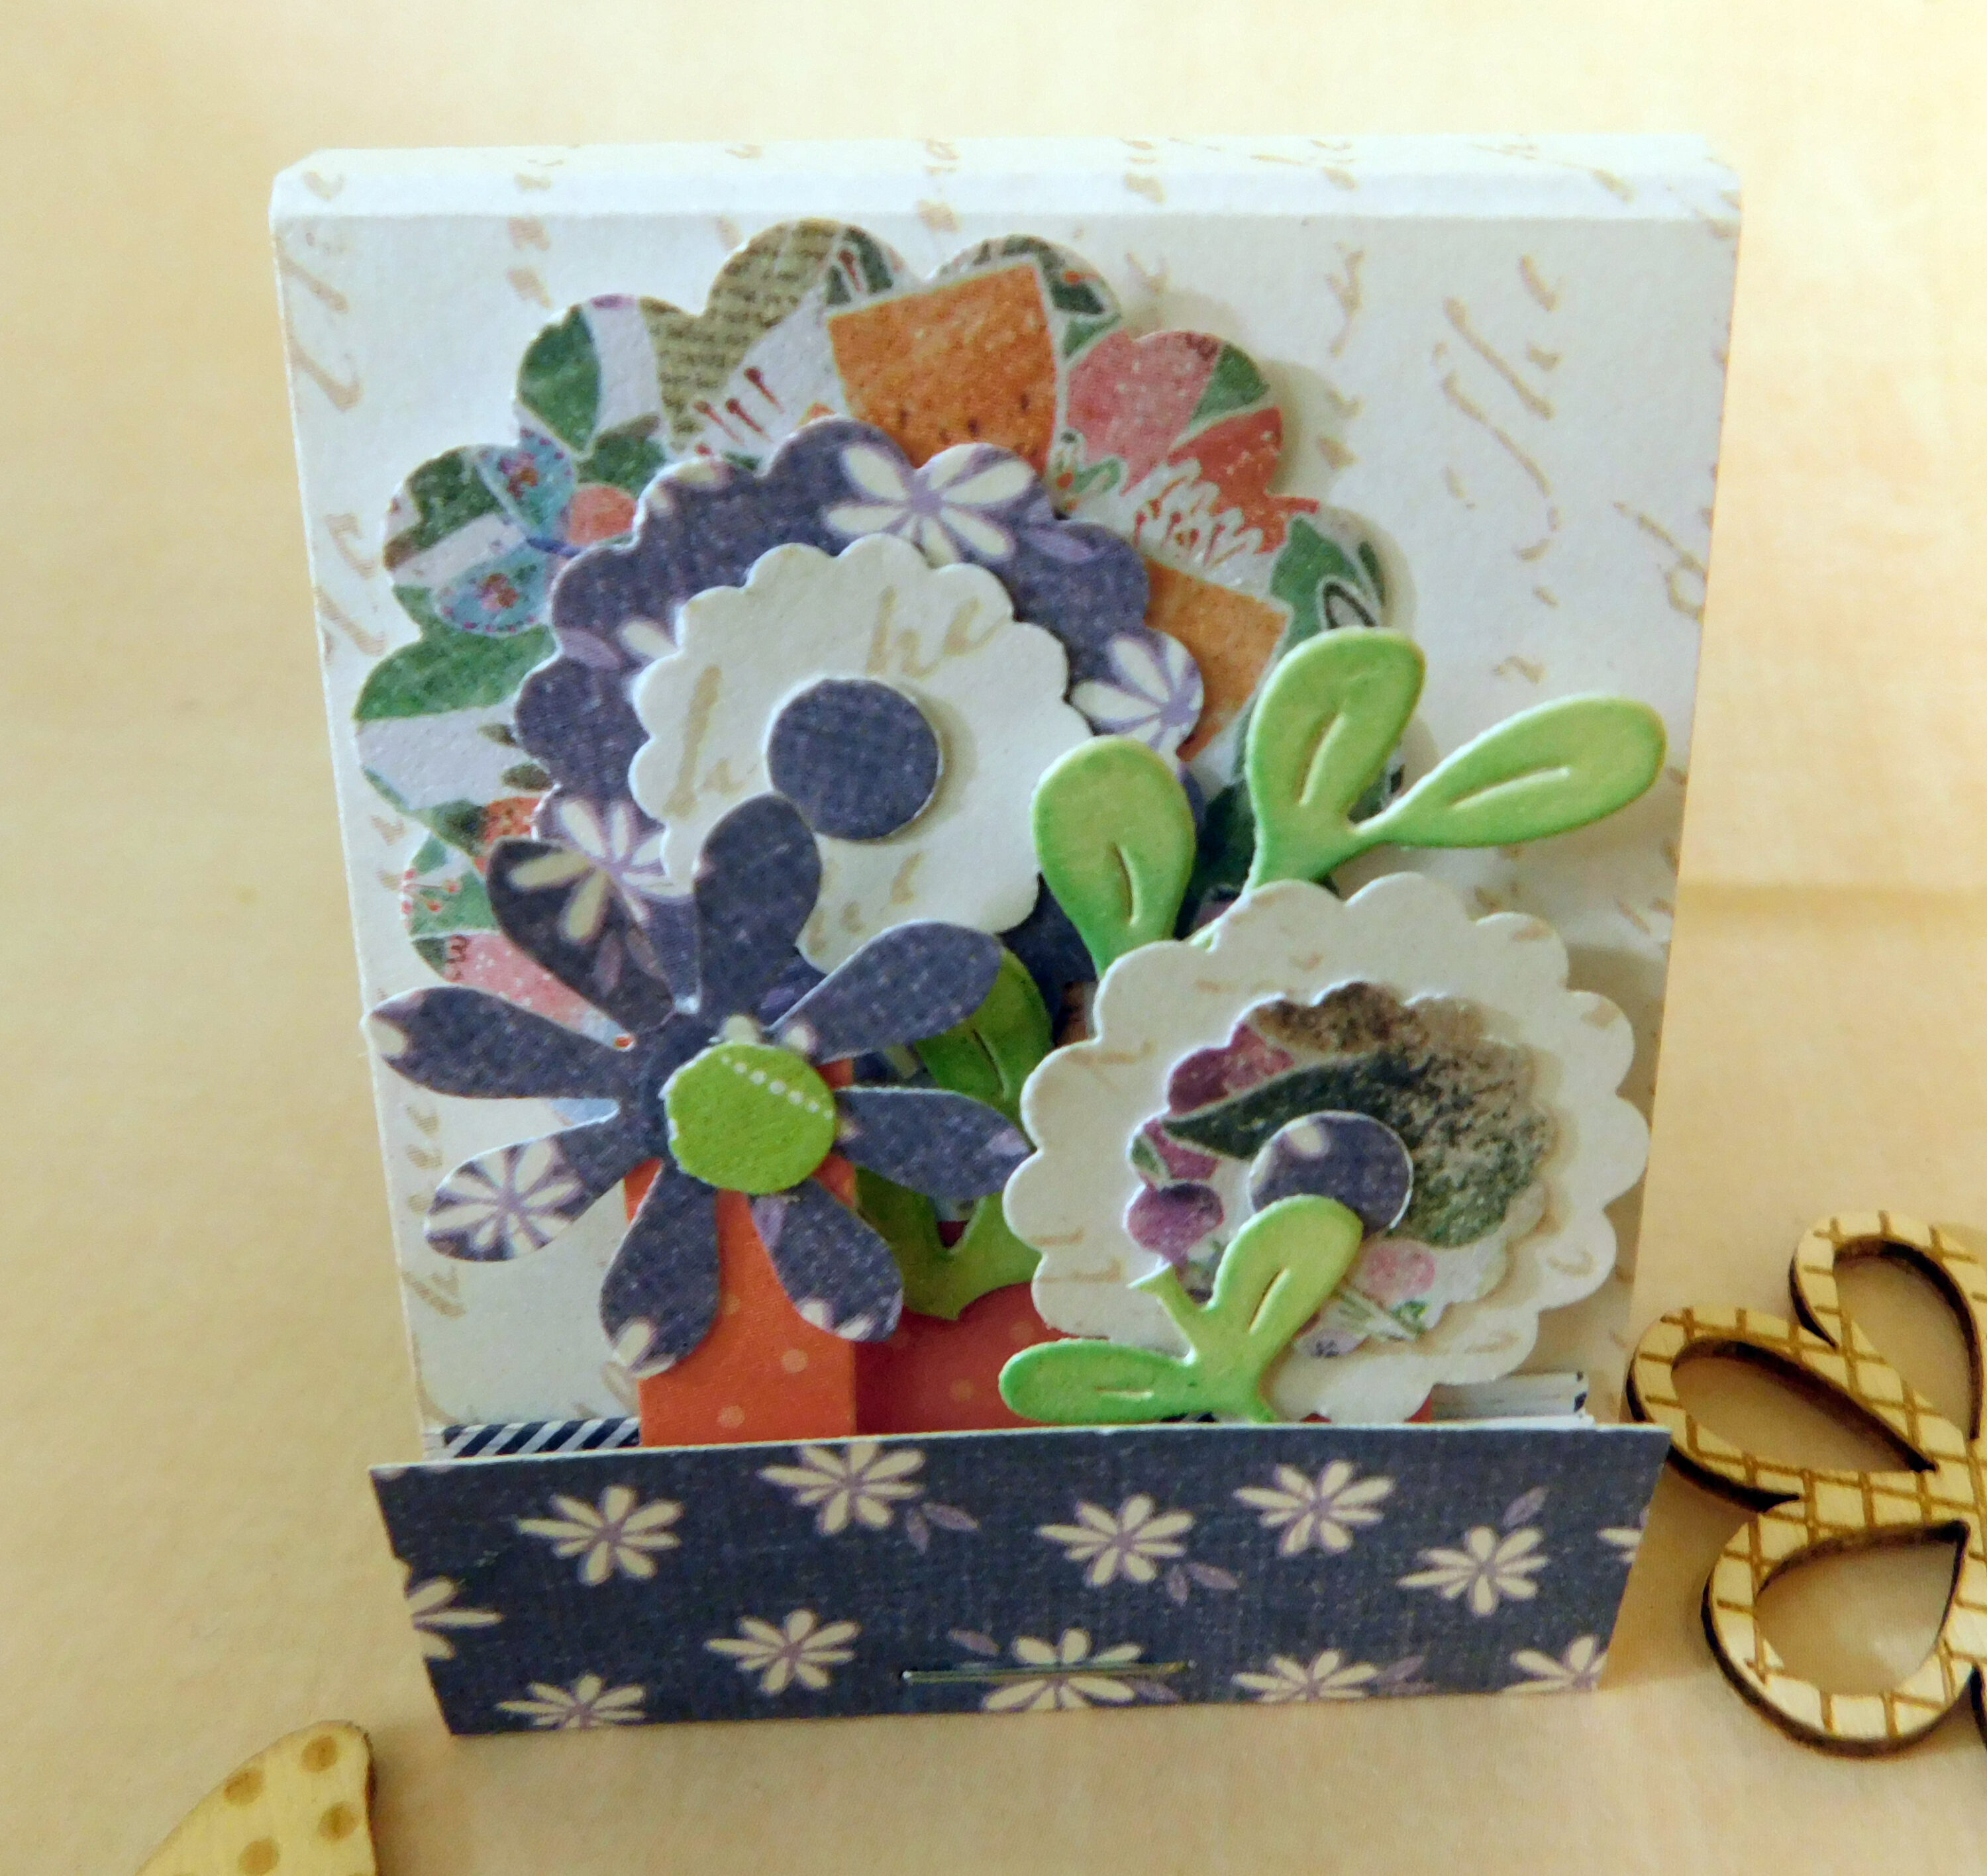
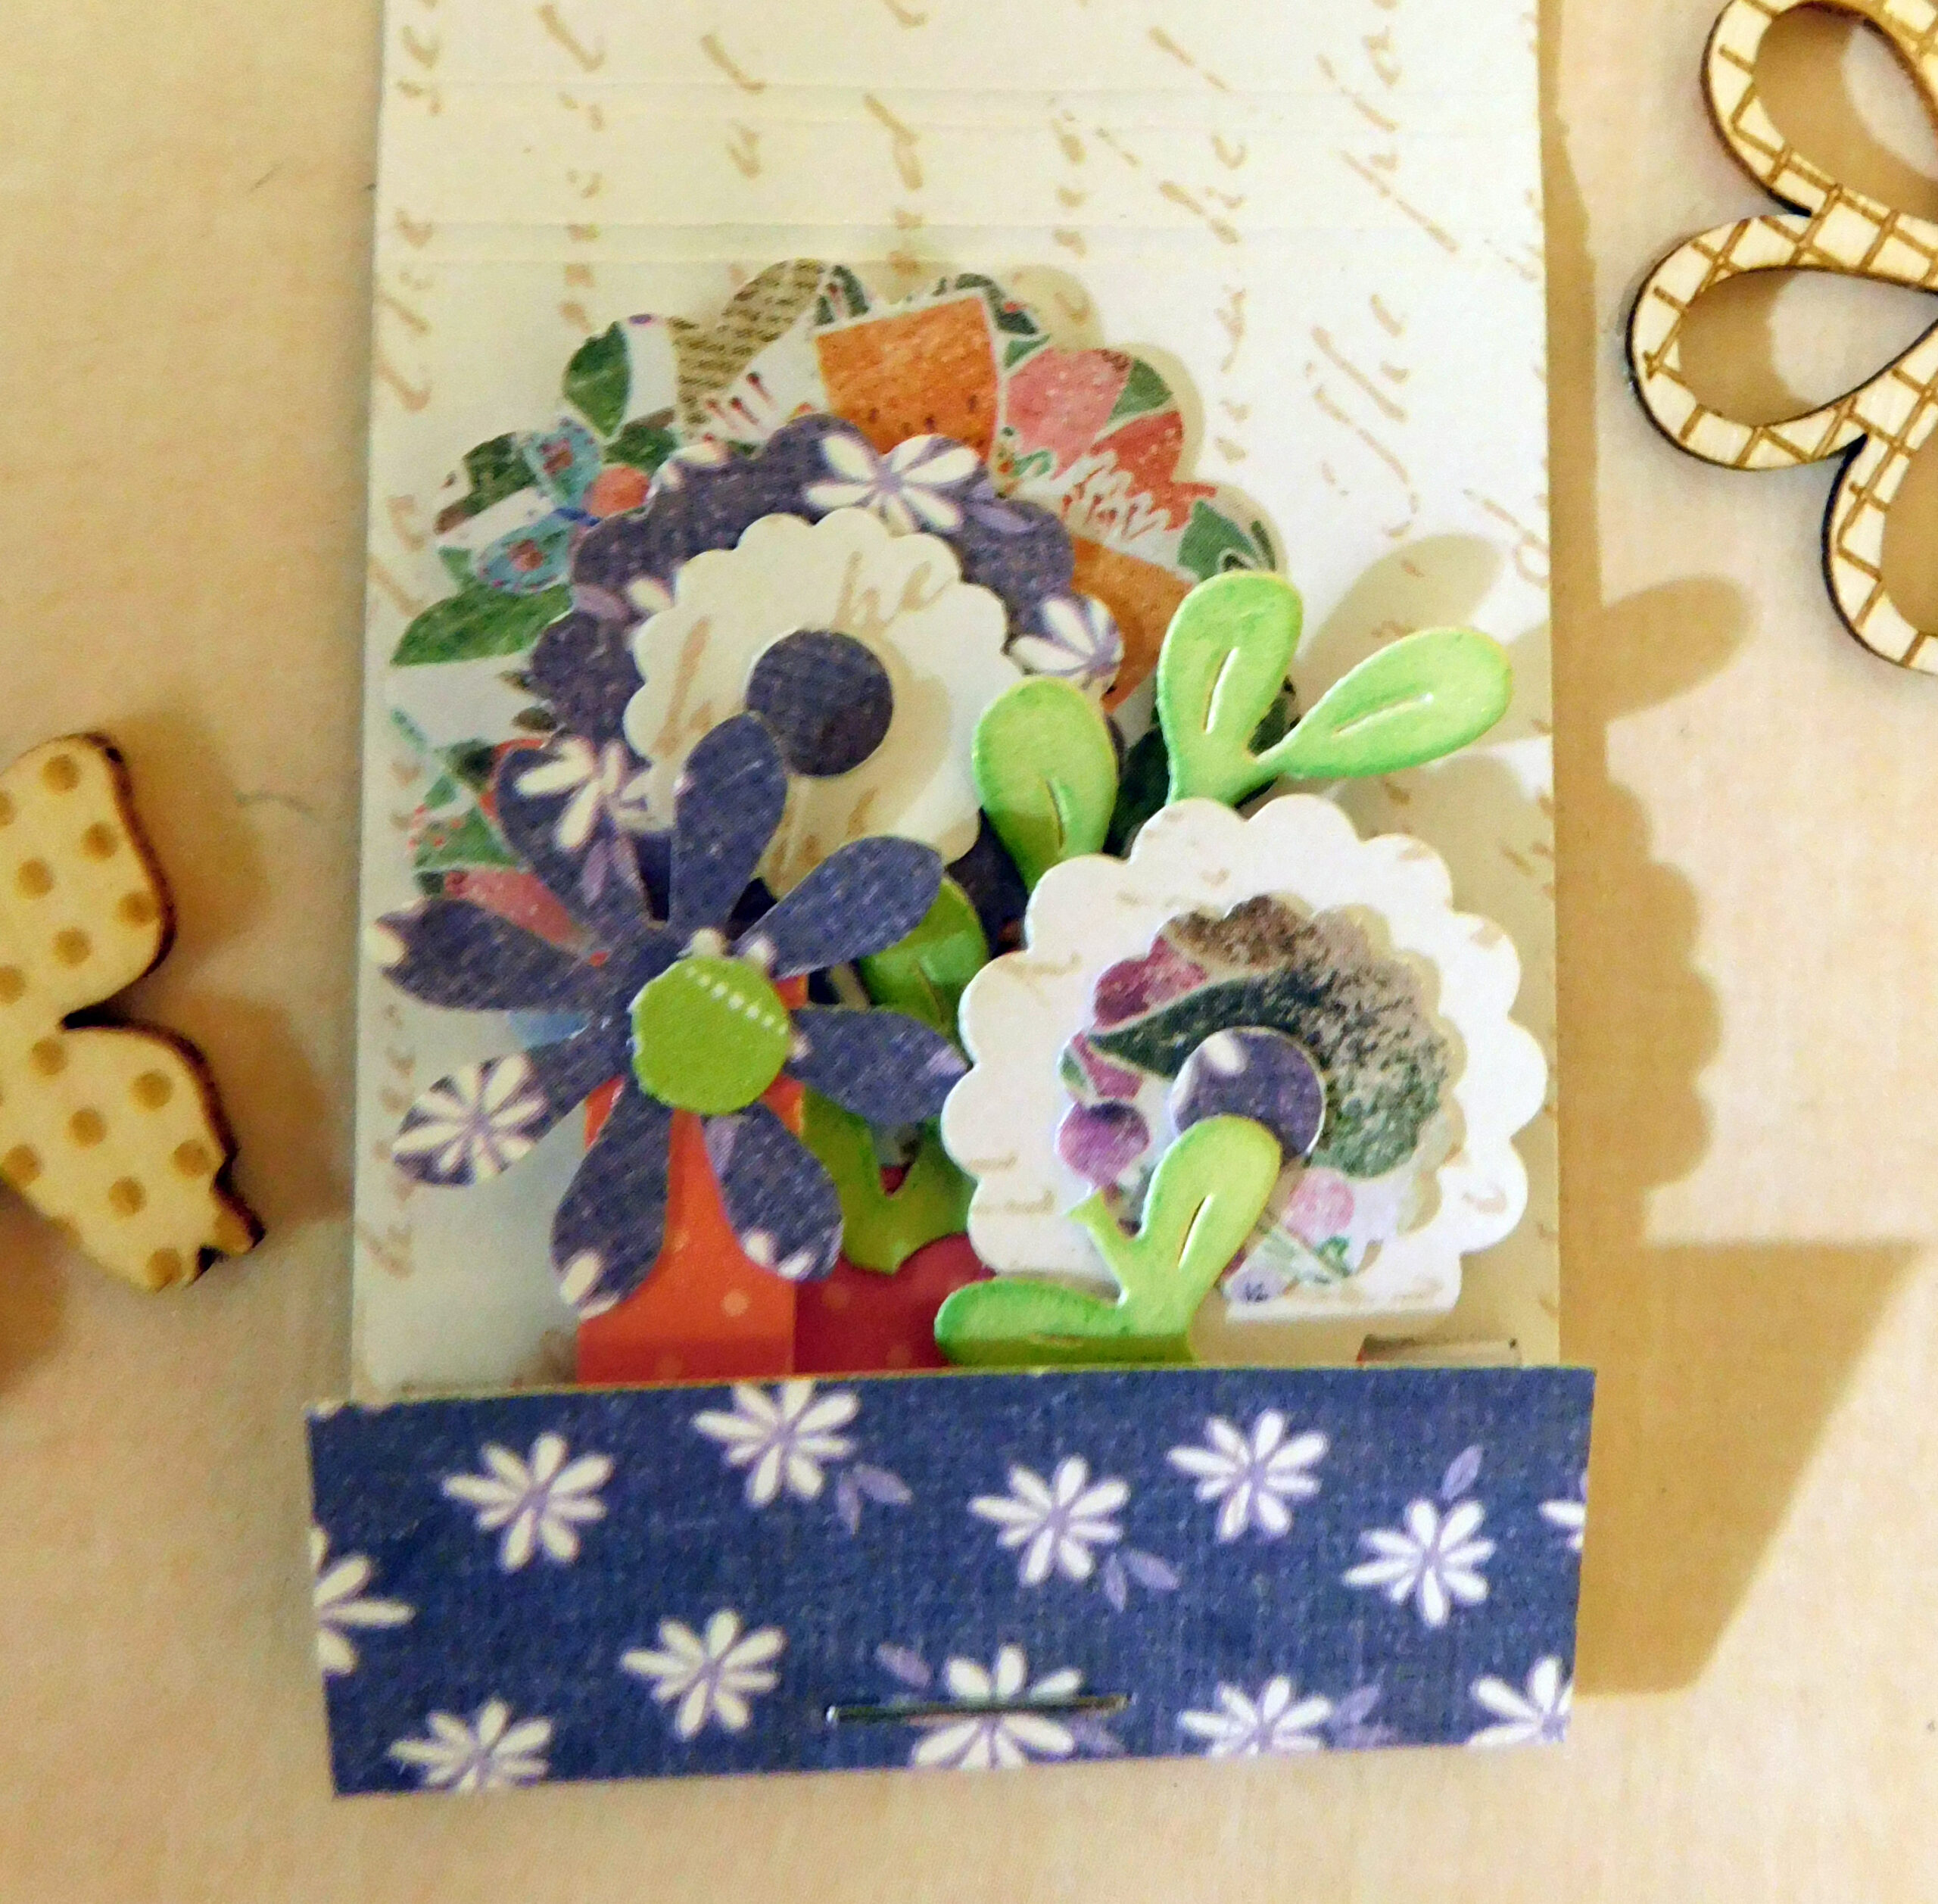
Layers of simply shaped flowers are an easy motif to begin with. Punch another shape in the cover for even more dimension. Decorate as little or as much as you desire. This design is shown in the video tutorial.
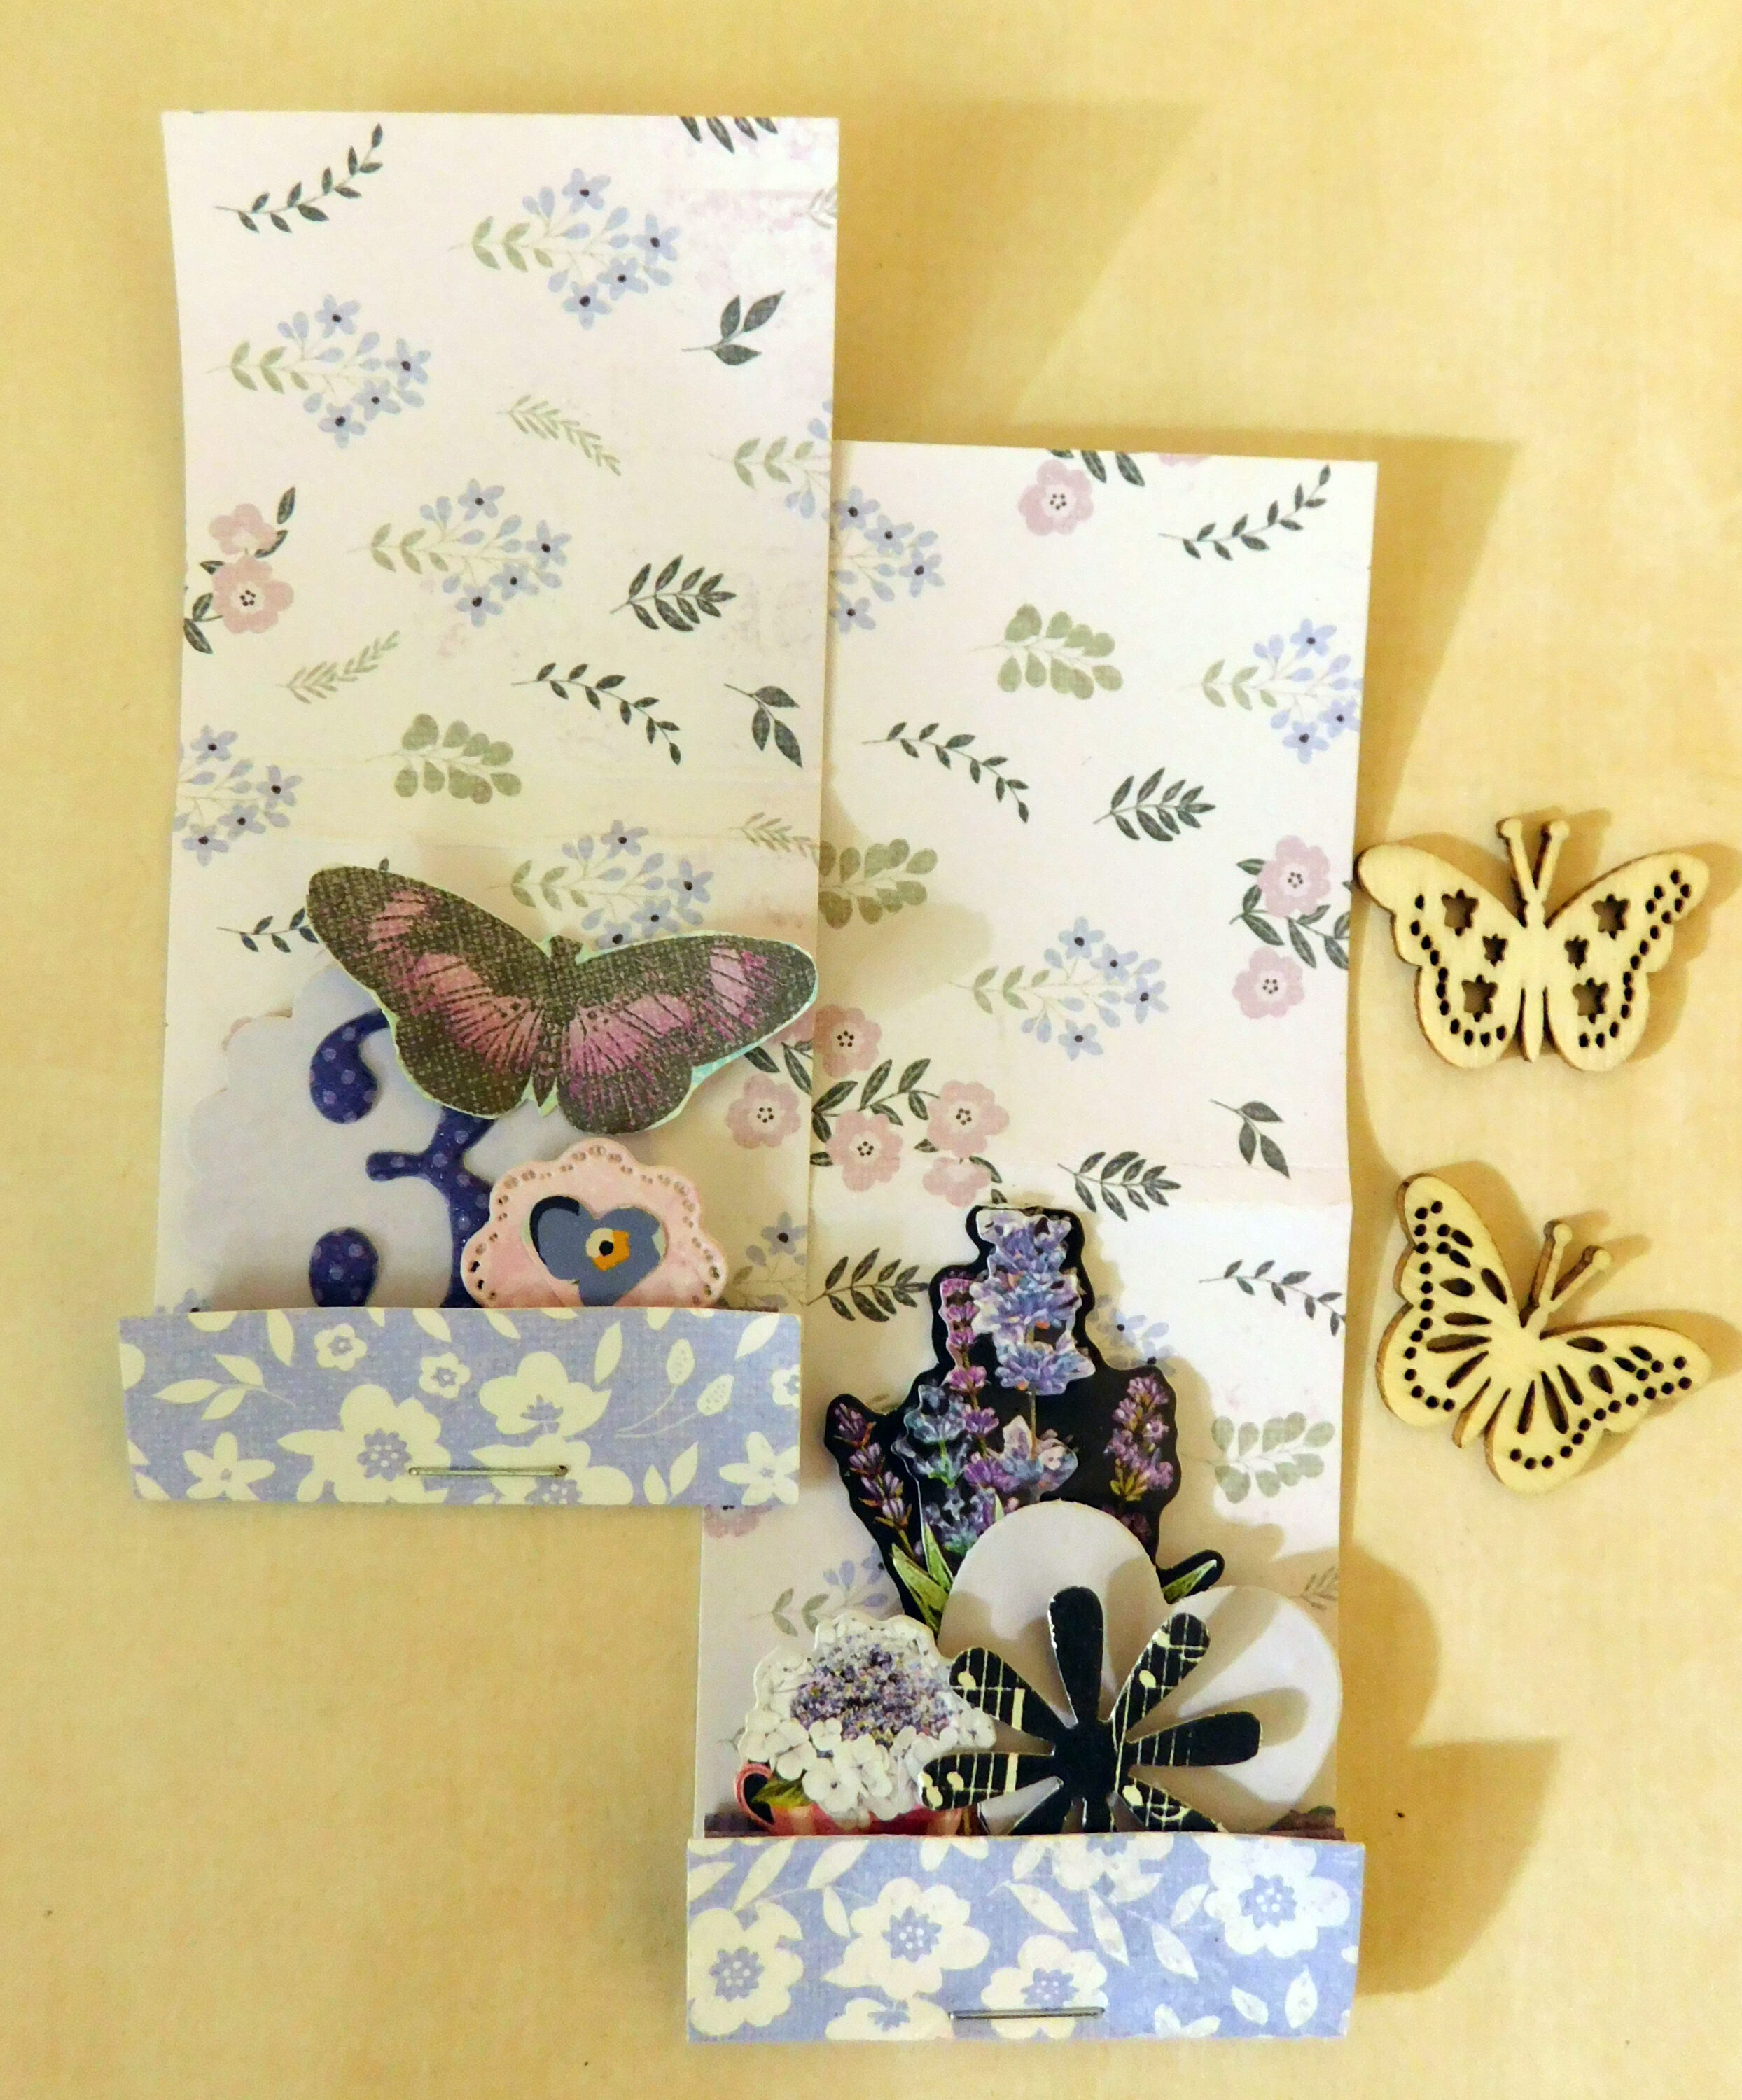
This design uses stickers from the Dollar Tree instead of die cuts. Decorate your front cover or keep it simple.