
Recycle Box - Die Cuts, Masterboards and Clutter
Are you a creative? We all face similar roadblocks no matter our preferred art form and materials. Practical and inspiring tips on what to do when you are unmotivated, stuck or just plain overwhelmed by choices or clutter (even your own creation clutter). Hint, it’s not shop or scroll. It’s a tendency to seek something new but often it helps to remember and build upon what we already have, know and like in order to grow. After just one session you might be surprised at how many new ideas you have; complete with a new beginning or at the very least you will have lightened your load. Many ideas included!
Start simple. Your junk box is the perfect place to begin whether it is a recycling box, your own creative paper clutter or finished creations you haven’t touched for quite some time. Maybe it is creations you didn’t like very much or didn’t know what to do with. New paper might be overwhelming so stick with junk or clutter. Your junk box is perfect; it won’t lead to more stress. If you don’t like it you can toss it and it forces you to think outside of the box. You probably have a few items in one category of basic materials.
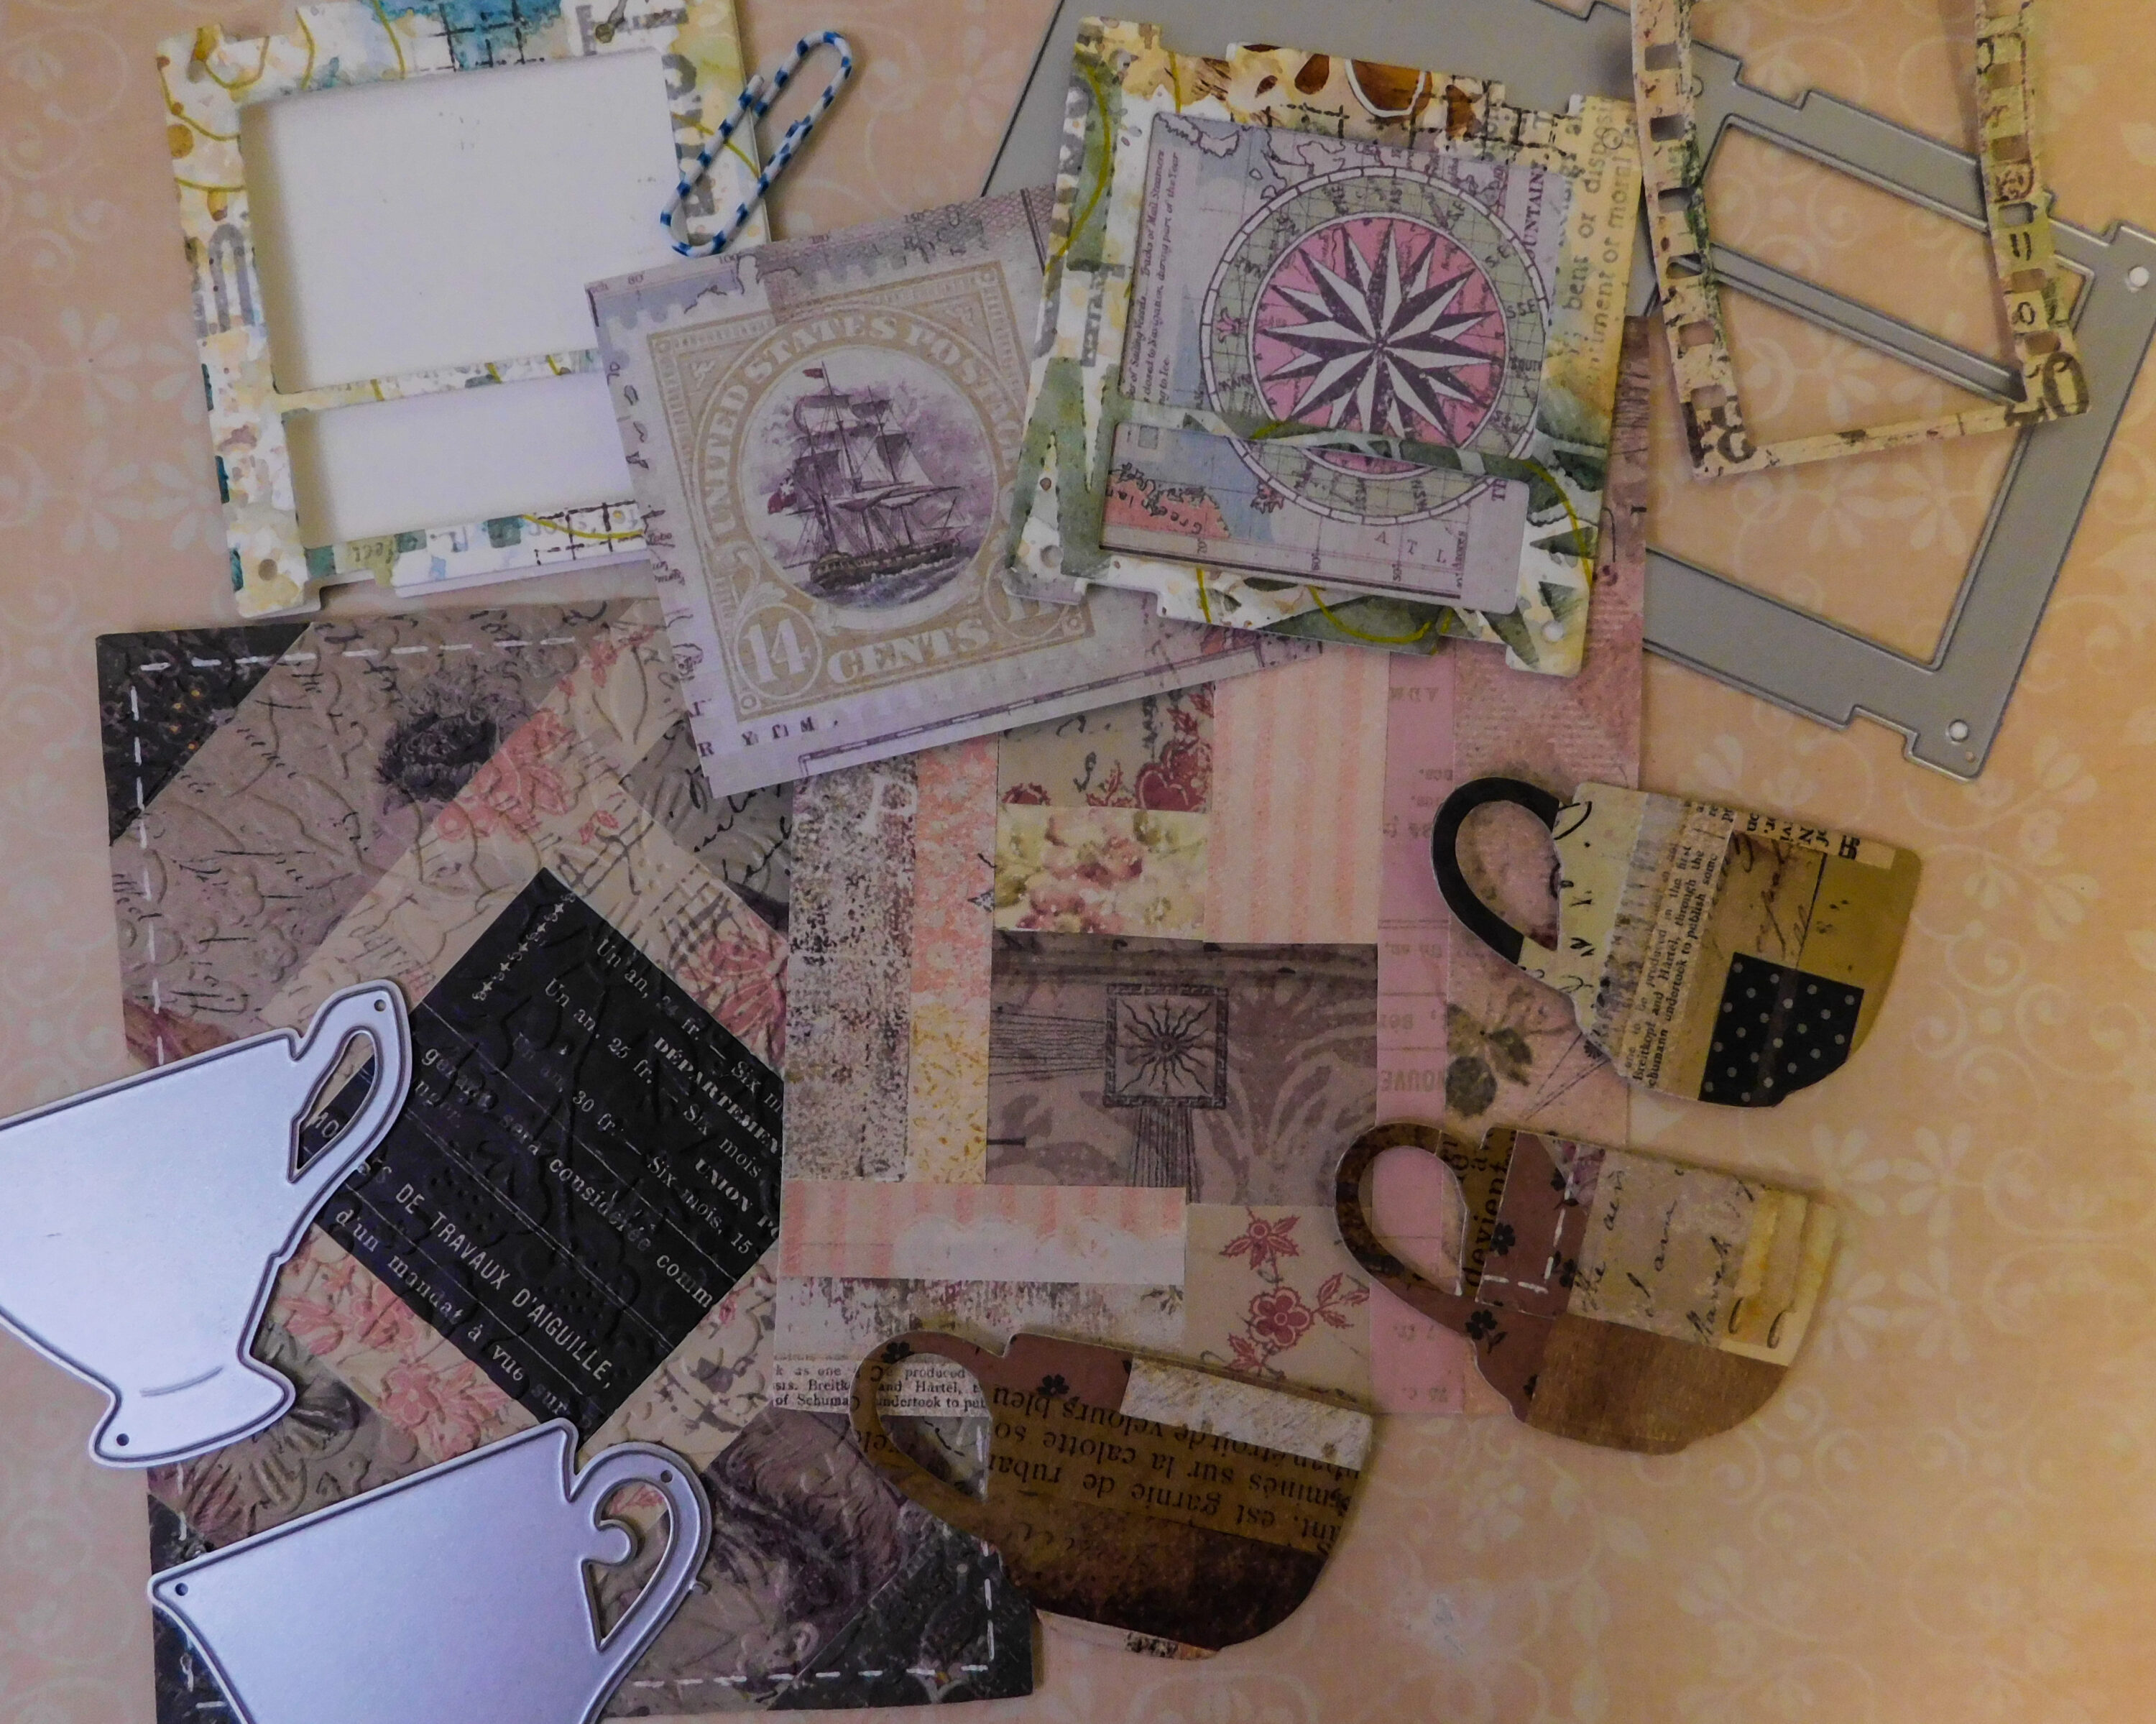
Choose a few distinct categories. What’s on your desk is too broad with too many choices. Today I’ll be choosing masterboards, postcards or any other item that I think can be repurposed by using a die cut. Even if you don’t have these tools or don’t consider yourself strictly a paper crafter you can adopt them to your preferred art form.
The second category is your tool/s. Keep these simple. Today I’ll be using die cuts. Die cuts aren’t hard to master and the results aways look professional so you don’t have to worry about your skill level. At the end you’ll have a nice collection of starting pieces.
Choose your favorites, ones you already find useful, ones that always spark ideas or ones that are versatile. You’ll also want a few sizes and options. Maybe you like birds, leaves or flowers. I chose cups, slides, buttons and an envelope. By choosing cups or slides I can always change my style, material or motif. Envelopes and buttons are always practical. With my cut off scraps I can usually find enough paper space to make a few buttons or something with another small die cut. Choose a punch and make plain circles with your waste. Simple shapes are creative sparks and you’ll have less waste at the end.
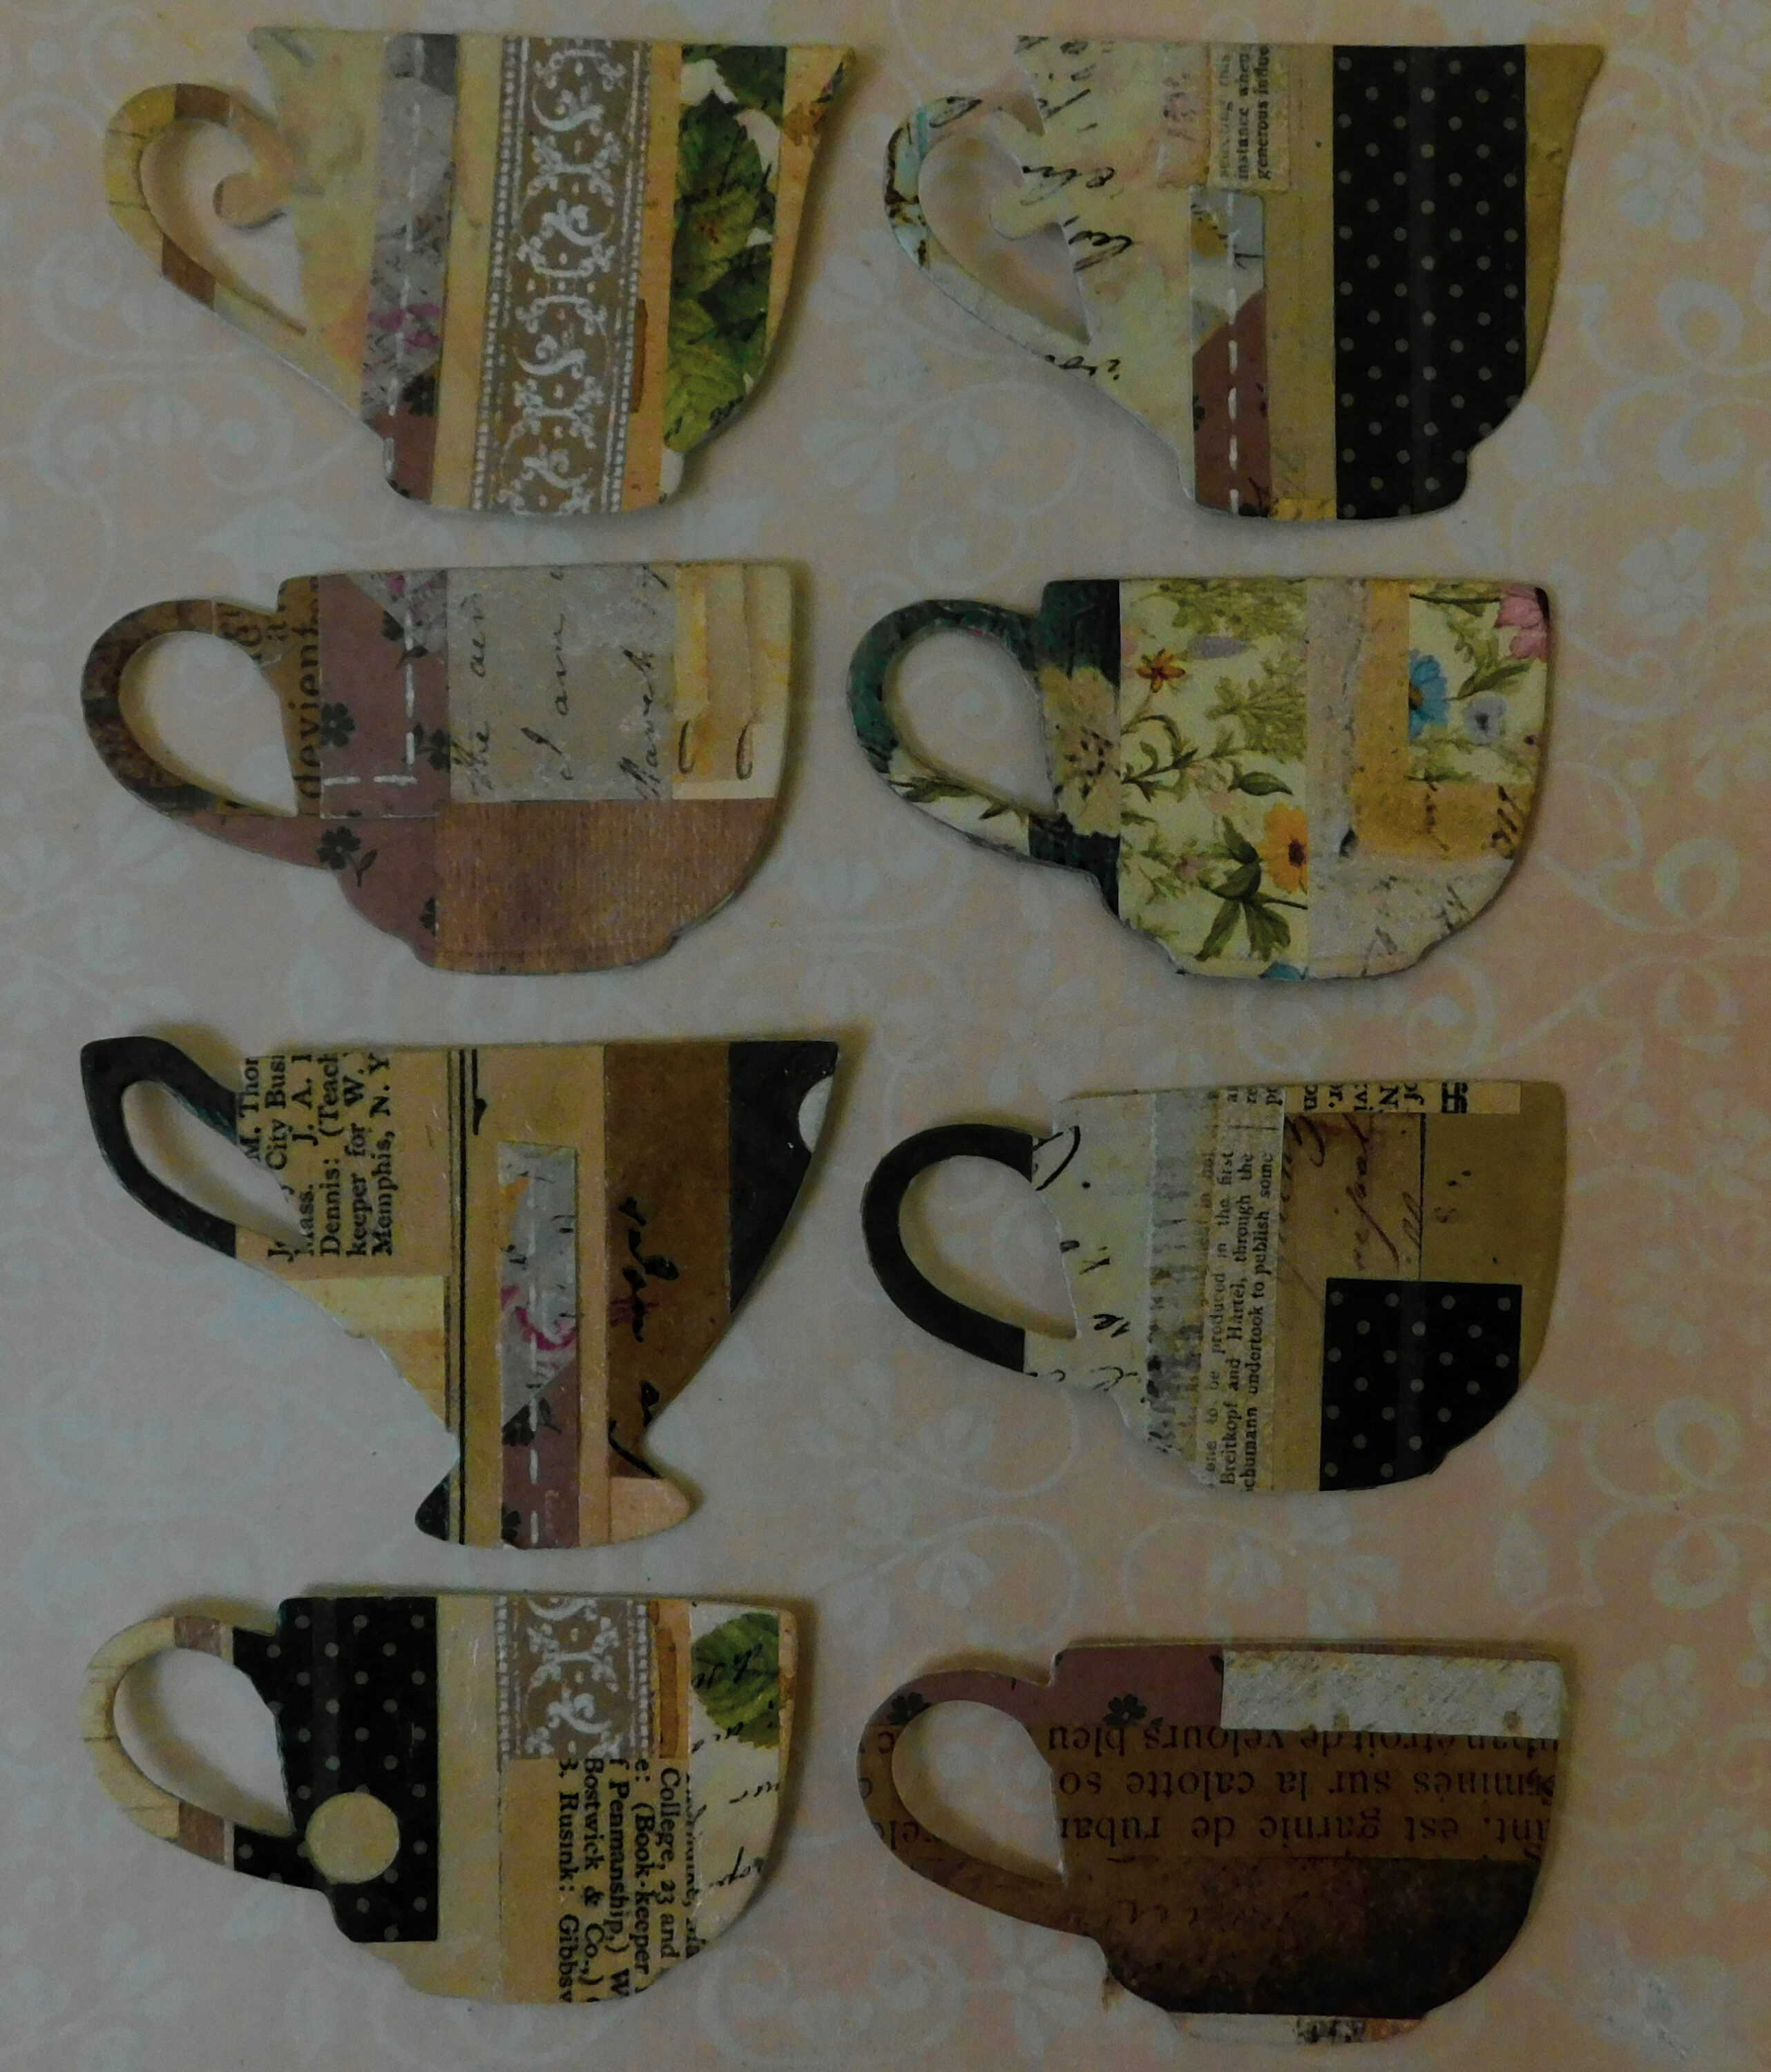
Start with your main categories and make as many simple items as you can. You don’t have to embellish or finish them. Just die cut them. You also don’t have to use all of your die cuts in this session, you are just limiting your choices while still allowing enough freedom to create.
After you’ve die cut the clutter in your main category take a look around and find a different material to use with your chosen tools. Again keep it simple and don’t use any new or just purchased materials. Some ideas you might try are unwanted photographs, magazines, greeting cards, kleenex boxes, other packaging, book pages etc. What is appropriate will depend on your chosen die cuts. This is your third category.
Choose your die cuts and make some new items from your third category. Take a break and just let your mind mix, match, wander and see what happens. You might have just found a new direction. Make a few notes for another day or keep playing if you feel inspired. If a spark hits choose another die cut from your selection or grab a new one.
Go through your created collection again. If there is one or more that you don’t like toss it right away. If you must keep it, choose an idea book. Chances are you aren’t going to like it later. Think of where you can use some right now and place them there. Remember at this stage it’s just paper, to the earth it will return. You’ll learn valuable lessons by editing and committing at least one to a chosen spot.
Gather your collections and store appropriately where you won’t forget about them and they will get used. Periodically go through these collections and eliminate items. Do the same with your junk or other materials. Tastes and needs might change but this exercise will help you choose and use wisely or move on to something new with less baggage.
Keep an allotted space for each category of materials, tools or finished creations and stick to it. If you need more room chances are this category is already too full. Go back to step one and trim using what you’ve learned. This exercise helps refresh your memory of the tools and materials you already own.
Regarding finished creations. If the items are cherished find another room to enjoy them or find a way to make a collection or display to contain them as decor. Don’t just hide them in a box but if you do make it special. If things are still too overwhelming think about donating or selling. Creators, create and any space can easily become cluttered.
You can leave your craft space refreshed and ready to try your new ideas. Take a favorite break and just let everything sink in. At the least you have your saved favorites that you held onto with memories transformed into new creations and less clutter or choices to face. You also have some techniques to tailor and use in the future.
Happy paper crafting!
more tips: third category
- Photographs Don’t just use your own, maybe you’ve purchased or inherited a set with un-desirables, repurpose them.
- Book pages Die cut heavy weight color pages from coffee table books or any book where you just used the cover. Repurpose book pages with questionable content using die cuts.
- Greeting cards Repurpose the entire card. Sentiments are often a nice font and you can use some of the words or sentences or use the card back for a sturdy base for your die cut, especially text or small die cuts rather than using card stock. It’s also often glossy, color with an alcohol marker or alcohol ink.
- Packaging Packaging almost always includes patterns, use for buttons, birds, leaves or flowers. Scavenge your packaging, look for words, shapes, borders, accents. It’s sturdy professionally printed and designed quality material you can use for embellishments. It often has foil or embossed elements too. You’ll have ready made colorful accents, especially for junk journals.


