Ink Stamped Patterns
Learn how you can use a handful of those odd tiny stamps to create whimsical patterned paper designs that you can scissor cut or die cut into different embellishments like hearts, birds, cups or buttons.
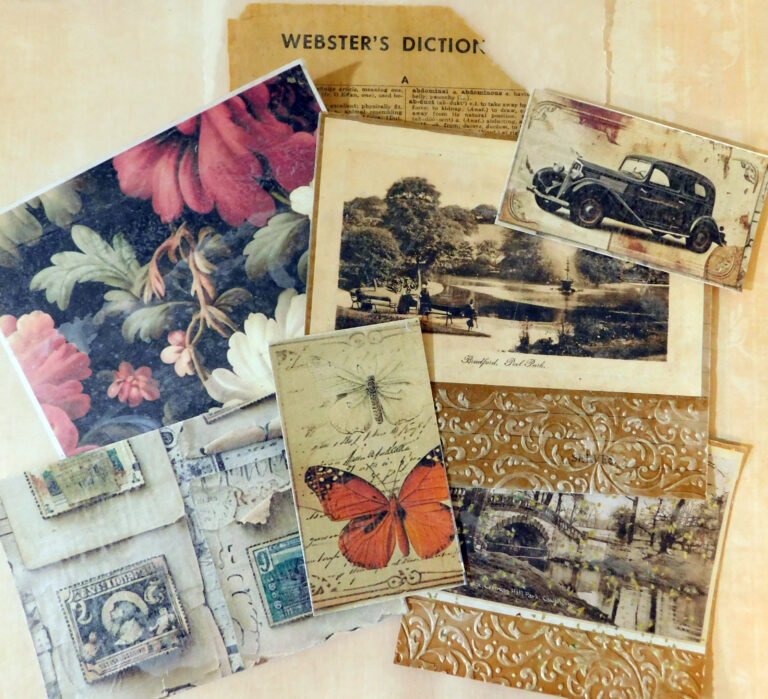
You’ll need a few random tiny stamps that are often included in stamp sets, used for planners or are abundant finds in thrift shops. Wood stamps with simple shapes work especially well.
Paper is your choice. You can use watercolor paper, mixed media paper, card stock or copy paper.
Begin by painting or ink blending some colored stripes on your paper in whatever colors you like. Tint the background if you don’t like white gaps between your stripes. Vary your stripes, make some thin and some thick changing color and tones.
After everything is dry just begin stamping across each stripe with ink and stamps of your choice, fitting the stamp to each particular stripe. If you think you’ll be re-wetting your paper after stamping choose an archival or Stazon ink to avoid smearing. Contrast with black or white, go monochromatic or vary your ink colors. Create any type of pattern you wish across your stripe. If you are using clear stamps you can line up a few on your stamping block to speed things up.
Layer in other media if you wish—acrylic markers, metallic pens, or water-soluble crayons for more patterns and colors.
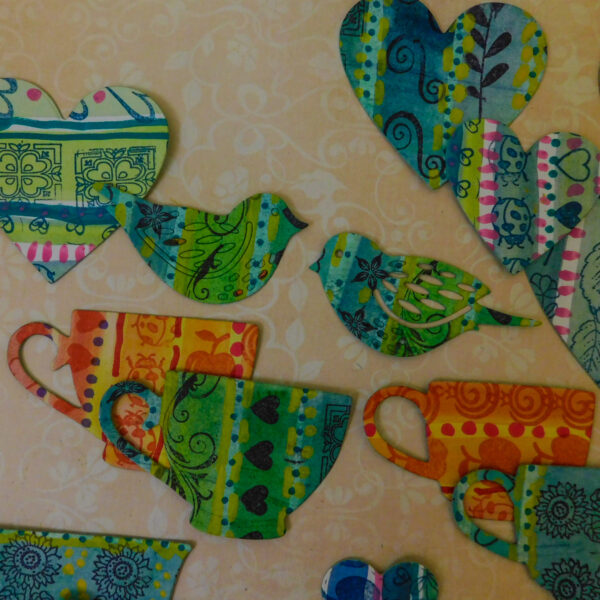
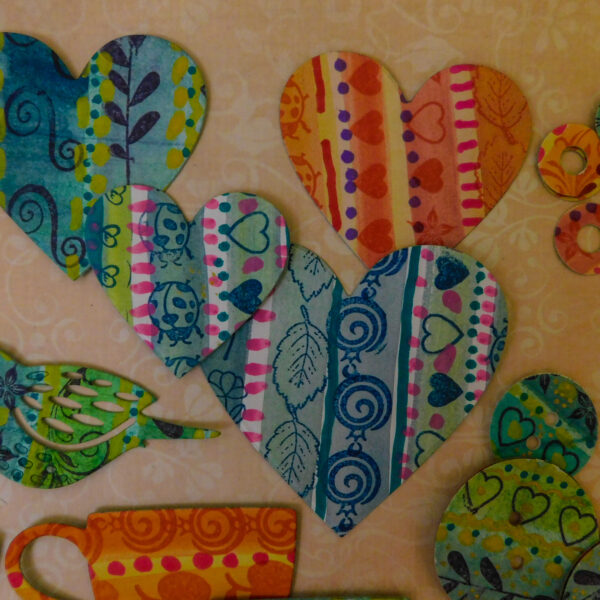
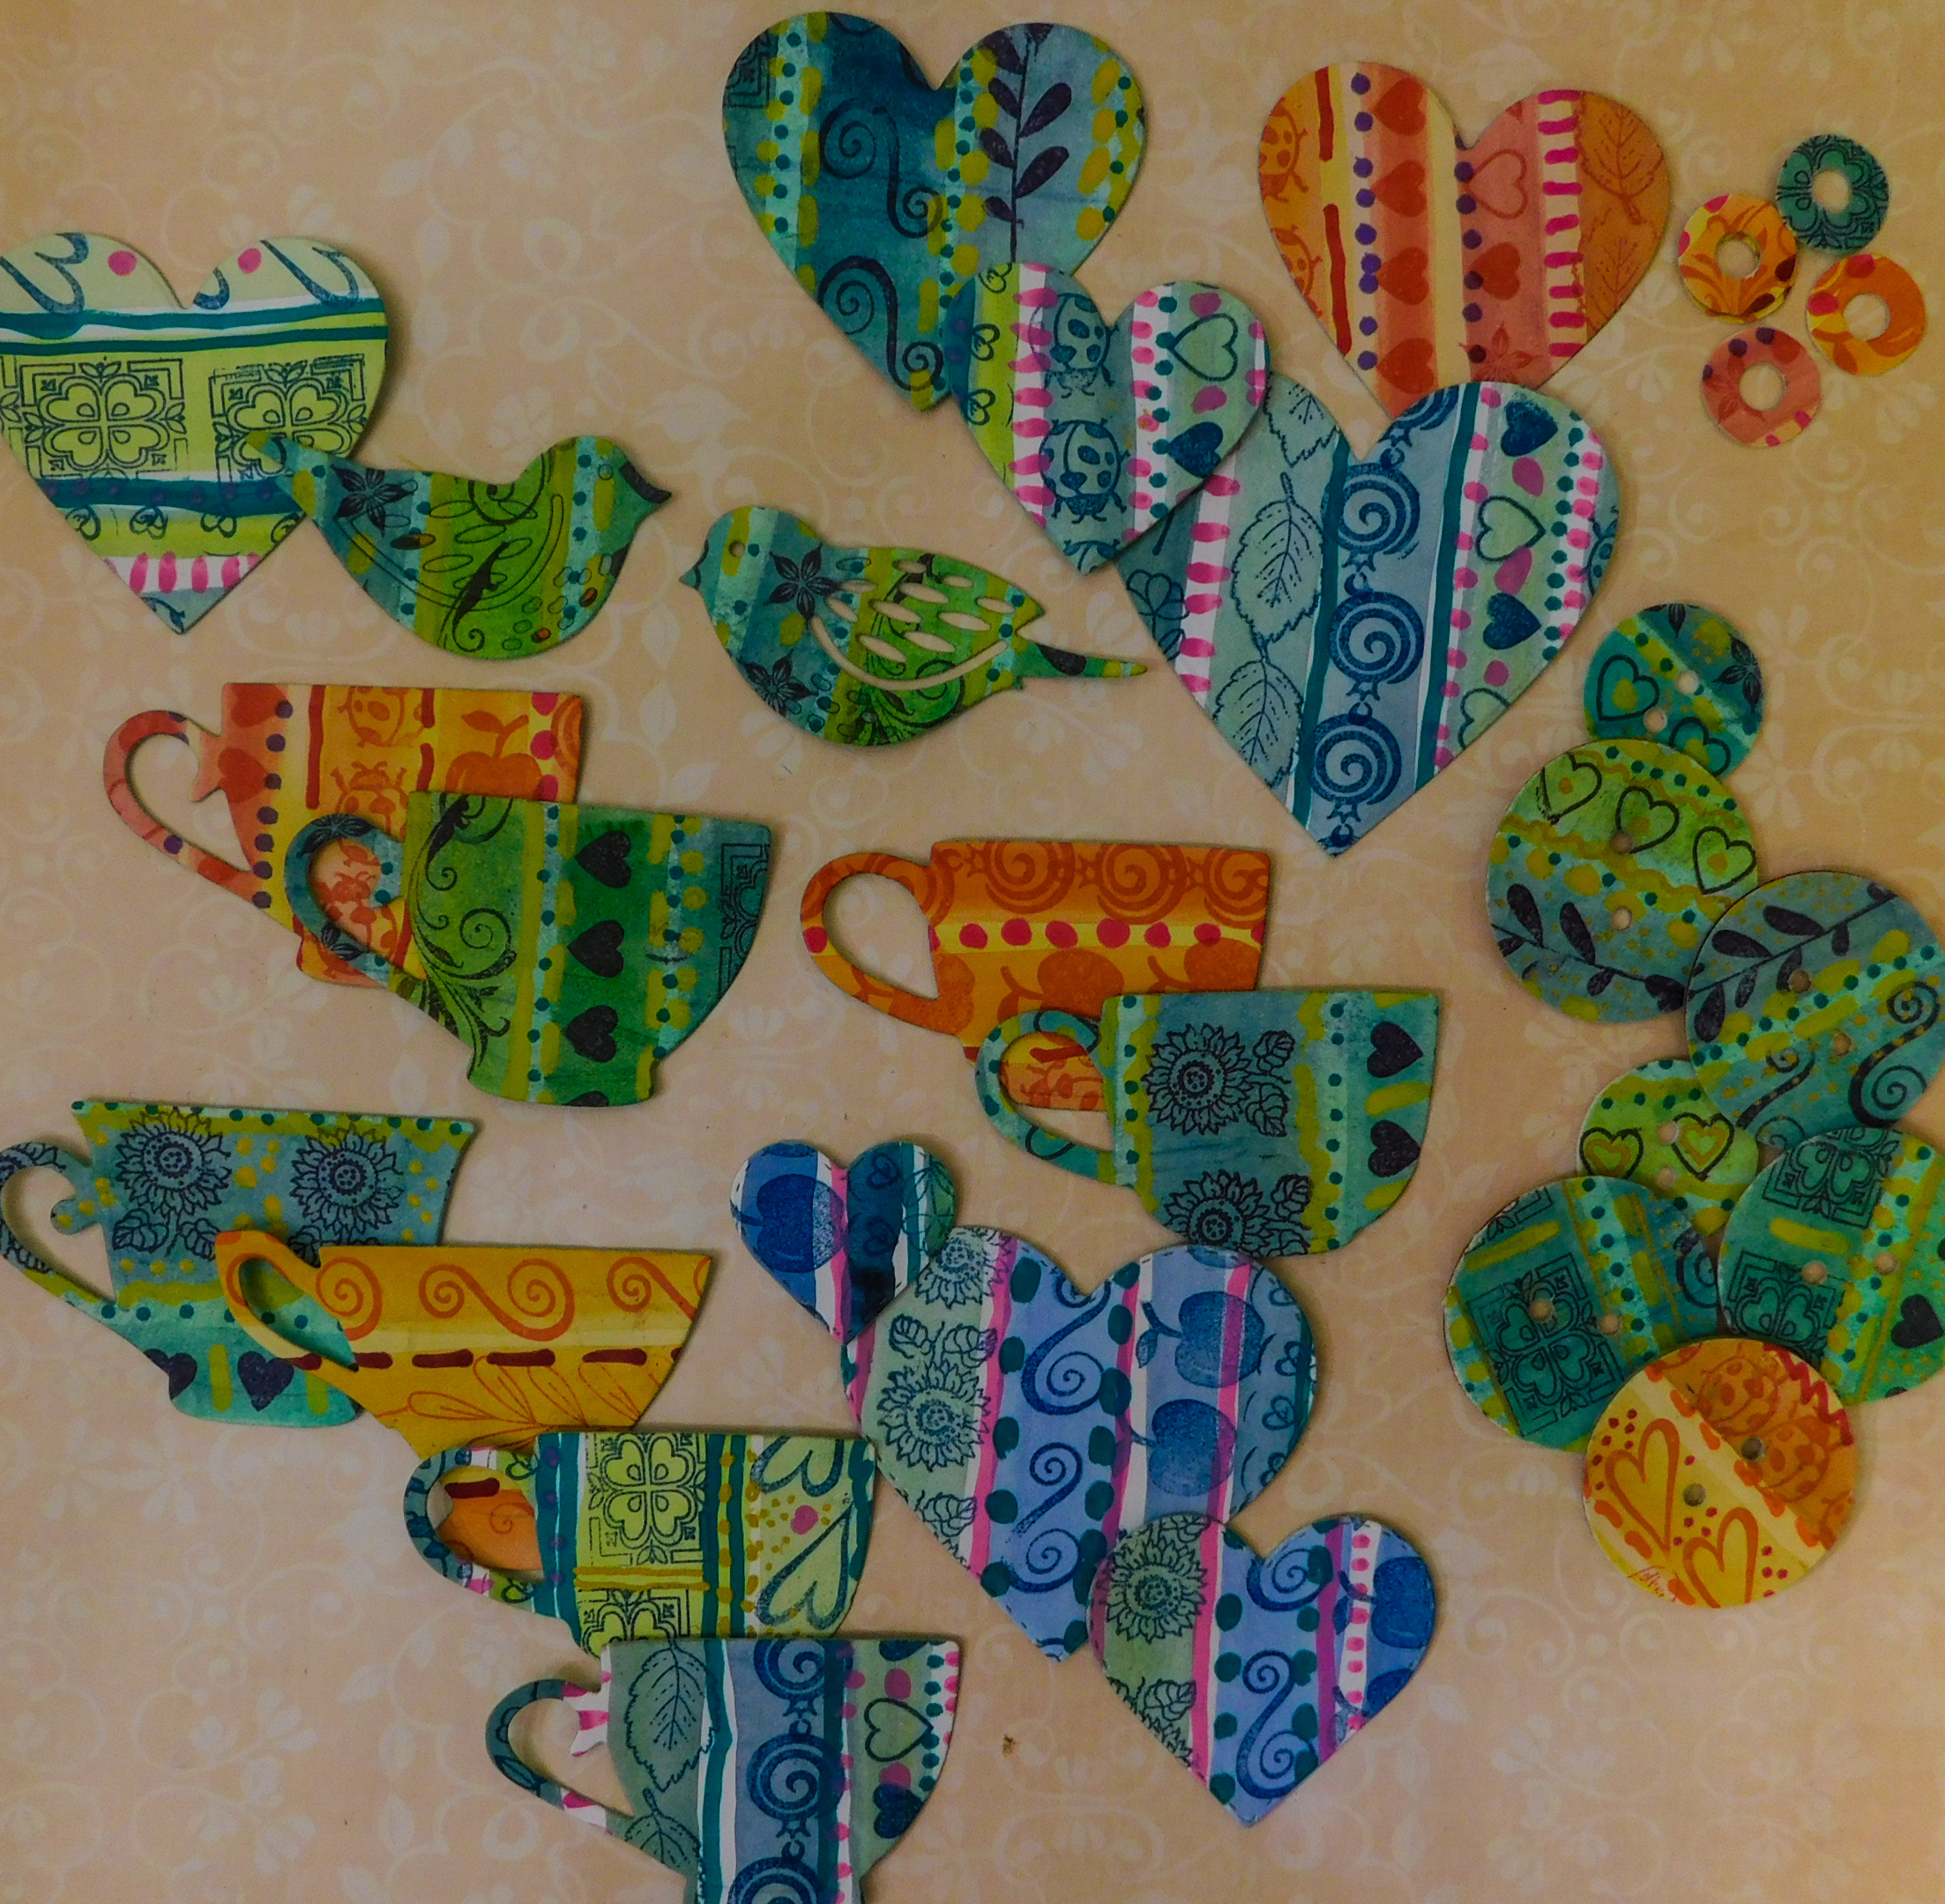
When your pattern is complete, die cut shapes that showcase it clearly. Avoid overly intricate designs; keep to simple, bold silhouettes like hearts, cups, flowers, or birds. You can also scissor-cut primitive hearts for a rustic boho look.
Experiment with as many color and stamp combinations as you can dream up—those overlooked little stamps might just become your new favorite design tool.
Happy paper crafting!